What to Do When Windows 11 Black Screen Appears After Signing In

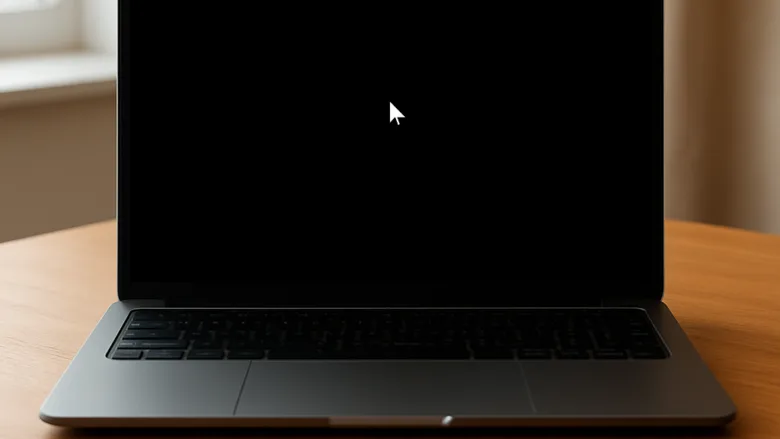
A Windows 11 black screen after signing in is a startup error where your display shows only a blank background and a movable mouse cursor instead of your normal desktop, taskbar, and menus.
This failure usually happens when the graphical interface—the background process that runs your desktop—crashes, or when a bad graphics driver or faulty system update blocks Windows from loading properly. You can fix this issue without wiping your hard drive by using quick keyboard shortcuts, Safe Mode, and step-by-step troubleshooting to get your display working normally again.
When a Windows 11 black screen appears after signing in, you can fix it by restarting the desktop helper program. Press the Ctrl+Shift+Esc keys to open Task Manager , click File, select Run new task, type explorer.exe, and click OK to restore your desktop and taskbar.
Understanding the 🪟 Windows 11 Post-Login Black Screen
A Windows 11 black screen appears after signing in when Windows Explorer (the core system process that controls your taskbar and desktop icons) fails to start correctly. Even though your computer is running and you can move your mouse, the main desktop interface never loads. This usually happens because of a crashed user profile, a bad graphics driver, or corrupted system files.
If Windows Explorer crashes or fails to start during the login process, the screen stays black. Sometimes, your mouse cursor still works because the basic hardware drivers are running, but the visual shell cannot display itself. Other times, third-party antivirus programs, outdated graphics cards, or broken Windows updates block the system from loading your profile.
Before trying advanced fixes for a Windows 11 black screen after signing in, you should always check your physical monitor cables. A loose video cable can trick your computer into sending the display signal to a ghost monitor or failing to send the signal at all. You need to unplug your monitor cable—whether the cable is an HDMI cable or a DisplayPort cable—and plug the cable back in firmly. If you have a desktop computer, make sure the monitor cable connects directly to your graphics card.
Quick Fixes Using Task Manager
You can use a special keyboard shortcut to open the Task Manager , which lets you force background programs to restart.
Restart Windows Explorer
Restarting Windows Explorer is the quickest way to fix a black screen after signing in because it forces your computer to redraw the taskbar and desktop background. You can do this by using the Task Manager to manually end and restart the process. This clears out the temporary glitch that caused your desktop to disappear right after you logged into your account.
- Press the Ctrl + Shift + Esc keys on your keyboard at the same time to open the Task Manager.
- If the Task Manager opens in a small window, click the More details link at the bottom to expand it.
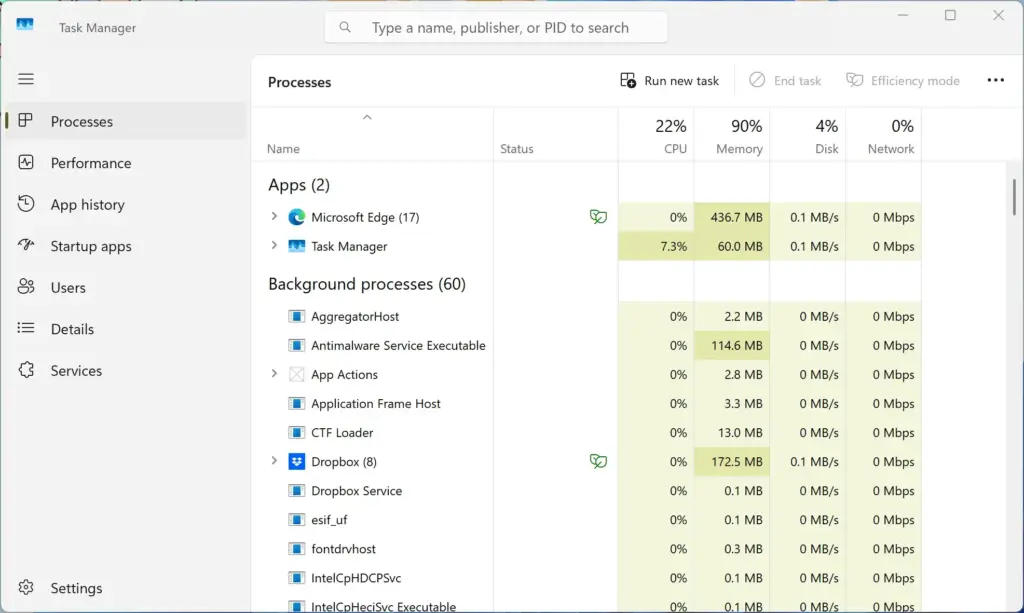
Task Manager - Click the File menu at the top left corner of the window.
- Select Run new task from the menu.
- Type
explorer.exeinto the open box. - Check the box that says Create this task with administrative privileges. (Admin privileges required)
- Click the OK button.
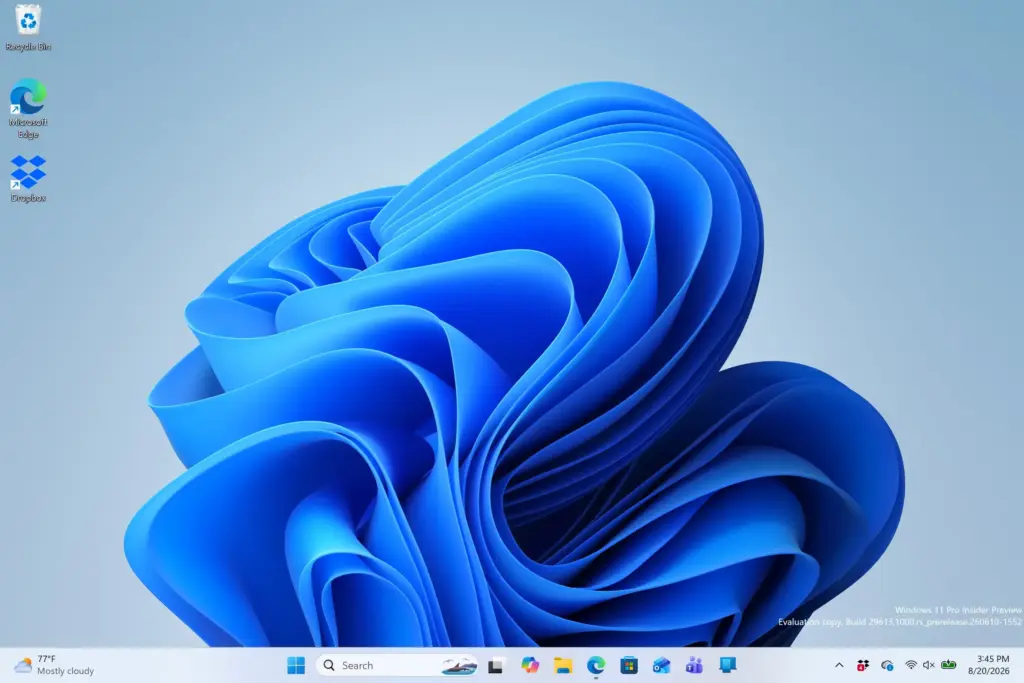
Your screen should flash, and your taskbar and desktop icons should reappear. If this works, your computer is functioning normally again, though you may want to restart your computer normally later to ensure the fix sticks.
Sign Out and Sign Back In
Signing out and signing back in helps fix a black screen by clearing out temporary user profile glitches that prevent your desktop from loading. If your user account fails to load completely during the first login, forcing a log out lets Windows try the sign-in process again from scratch. This fresh attempt usually loads your desktop and taskbar correctly without needing a full system restart.
- Press Ctrl + Alt + Del on your keyboard.
- Click the Sign out option on the screen.
- Wait a few moments until you return to the sign-in screen.
- Type your password or PIN to sign back into your account.
Keyboard Shortcuts to Reset Your Display Connection
Using a specific keyboard shortcut resets your graphics driver and can instantly fix a black screen after signing in. Pressing the Windows Logo Key + Ctrl + Shift + B tells Windows to restart your graphics hardware and refresh the display connection. This forces your monitor to wake up and redraw the screen without losing any of your open work or running apps.
- Press the Windows Logo Key + Ctrl + Shift + B keys all at the same time.
- Listen closely for a short beep sound from your computer.
- Watch your screen to see if it flickers.
When you press these keys, Windows restarts the graphics subsystem. Your screen may go black for a second or two, and you might hear a beep. This action is completely safe and refreshes how Windows talks to your monitor.
If your display settings accidentally switched to a second monitor that is not connected, pressing this shortcut a few times followed by the Down Arrow and Enter keys can force your display back to your main screen.
Booting Into Safe Mode to Fix Deep System Errors
Booting into Safe Mode lets you fix deep system errors by starting Windows with only basic drivers and essential services. This special mode blocks faulty third-party apps and bad graphics drivers from loading automatically. Starting in this environment gives you a safe chance to repair the problem when your normal desktop will not show up after you log in.
To get into Safe Mode when you cannot see your desktop, you need to interrupt the normal startup process three times in a row.
- Turn on your computer using the power button.
- As soon as you see the Windows logo or your computer manufacturer's logo, press and hold the physical power button for about 10 seconds to force the computer to turn off.
- Turn your computer on again and repeat step 2.
- Turn your computer on a third time and let it run normally.
Windows 11 will recognize that the operating system failed to start three times and will automatically open the Automatic Repair environment so you can troubleshoot the black screen issue.
- On the screen that appears, click the Advanced options button.
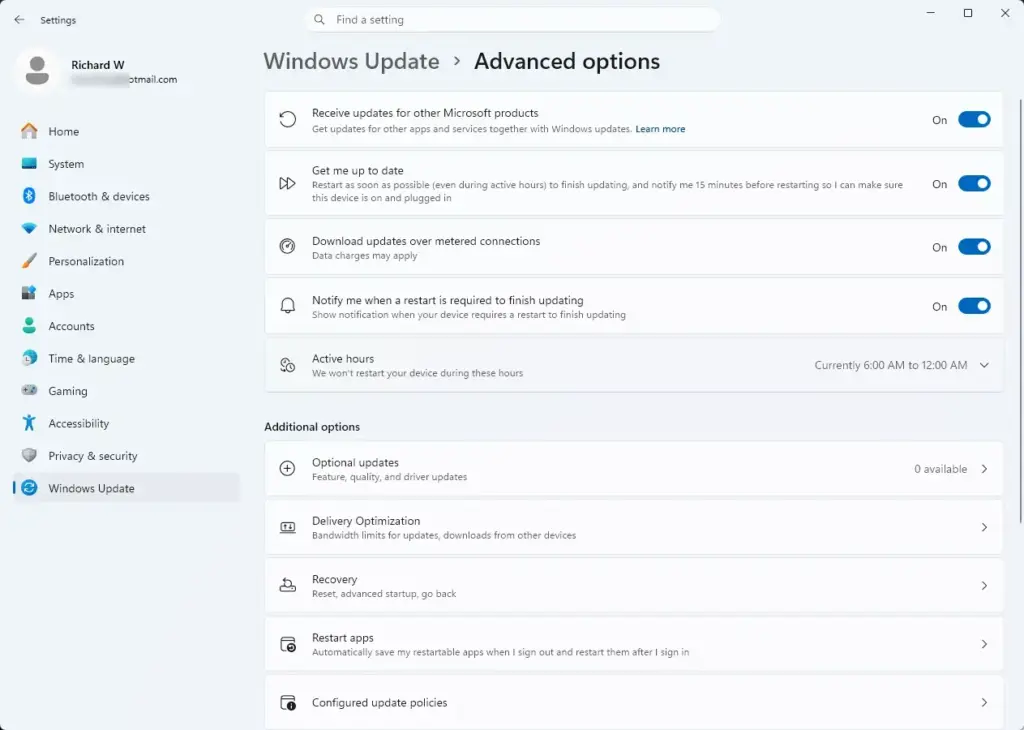
Settings › Update › Advanced options - Click on Troubleshoot.
- Click on Advanced options again.
- Click on Startup Settings.
- Click the Restart button.
- When your computer restarts, you will see a list of options. Press the 4 or F4 key on your keyboard to select Enable Safe Mode.
Once your computer boots into Safe Mode, your screen resolution will look basic and the background will be black with words in the corners. This is completely normal. While in Safe Mode, you can uninstall recent apps, remove buggy Windows updates, or roll back your graphics drivers.
Updating or Rolling Back Graphics Drivers
Outdated or corrupted graphics card drivers are a leading cause of black screens after logging into Windows 11. If you managed to get into Safe Mode or can open the Task Manager, you can fix your drivers.
How to roll back a bad driver update
- Press the Windows Logo Key + X on your keyboard.
- Click on Device Manager from the menu that pops up.
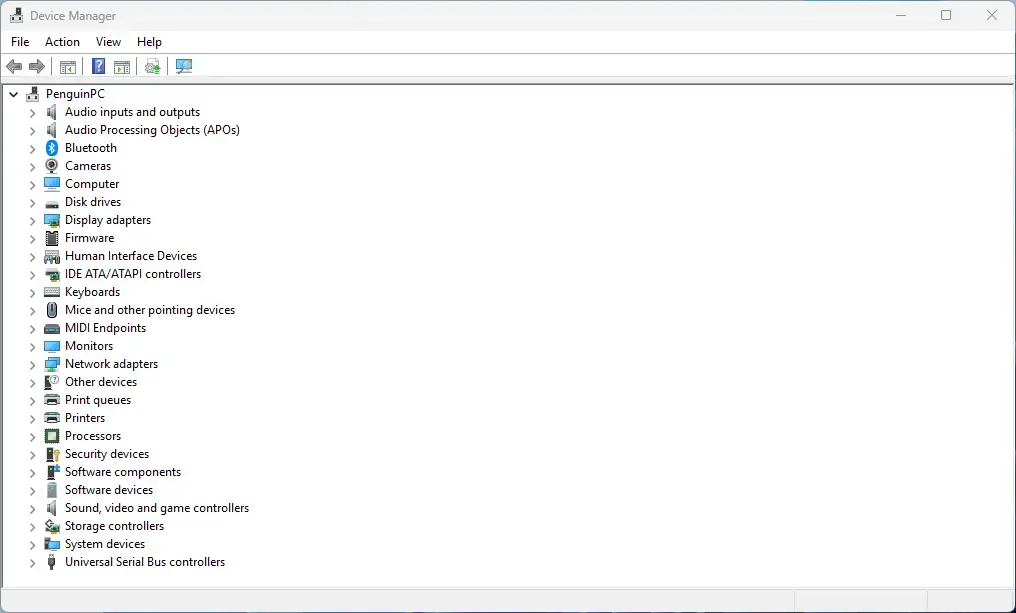
Device Manager - Scroll down the list and click the arrow next to Display adapters to expand the section.
- Right-click your graphics card (such as Intel, AMD, or NVIDIA) and select Properties.
- Click on the Driver tab at the top of the window.
- Click the Roll Back Driver button if it is available. (Admin privileges required)
- Follow the on-screen instructions, then restart your computer normally.
Rolling back a bad driver update fixes a post-login black screen by replacing a faulty graphics update with the previous working version. If a recent hardware update caused your display to stop working, reverting the driver through the Device Manager removes the bad software. This restores normal communication between your operating system and your graphics card.
Repairing Corrupted System Files
Repairing corrupted system files fixes a black screen caused by damaged or missing Windows components. You can use built-in command tools through the Task Manager to automatically scan your computer for broken files and replace them with healthy copies. This built-in repair process fixes deep operating system errors that prevent your desktop from loading properly after login.
- Press Ctrl + Shift + Esc to open the Task Manager.
- Click File and select Run new task.
- Type
cmdinto the box. - Check the box that says Create this task with administrative privileges. (Admin privileges required)
- Click OK to open the Command Prompt window.

Command Prompt - Type the following command carefully:
DISM.exe /Online /Cleanup-image /Restorehealth - Press Enter and wait for the process to finish completely.
- Next, type this command:
sfc /scannow - Press Enter.
The System File Checker tool scans your computer for damaged files and replaces those damaged files with fresh copies from an internal cache. This scanning process can take up to 15 minutes to complete. Once the System File Checker tool finishes, you should restart your computer normally.
Disabling Fast Startup
Disabling Fast Startup prevents recurring black screens by stopping Windows from saving a partial system snapshot when you shut down. While this feature helps your computer turn on faster, it often causes weird bugs and startup glitches that interfere with your user profile loading correctly. Turning this setting off forces Windows to start fresh every time you turn on your machine.
If you managed to get your desktop working using Task Manager or Safe Mode, you should turn off Fast Startup to prevent the issue from happening again.
- Click the Start button, type Control Panel, and click the app result.
- Click on Hardware and Sound, then select Power Options.
- Click the link on the left side that says Choose what the power buttons do.
- Click the link near the top that says Change settings that are currently unavailable. (Admin privileges required)
- Look at the bottom of the window under Shutdown settings.
- Uncheck the box next to Turn on fast startup (recommended).
- Click the Save changes button at the bottom.
Unique Expert Tips: Checking Background Services and Explorer Shell Replacements
If you have tried all the standard troubleshooting steps and your Windows 11 computer still shows a black screen after you log in, the problem might be tied to hidden background processes or broken registry shell paths.
Checking Shell Settings in the Registry
Checking shell settings in the Registry Editor ensures that Windows knows which program to load for your desktop interface. Malware or broken software can accidentally change this registry value so the computer forgets to start the main user interface. Fixing this entry points Windows back to the correct file and stops the black screen from appearing right after you type your password.
- Open the Task Manager by pressing Ctrl + Shift + Esc.
- Click File, then select Run new task.
- Type
regeditand check the box for creating the task with administrative privileges. (Admin privileges required) - Click OK to open the Registry Editor.
- In the Registry Editor window, use the left sidebar to navigate to this path:
HKEY_LOCAL_MACHINE\SOFTWARE\Microsoft\Windows NT\CurrentVersion\Winlogon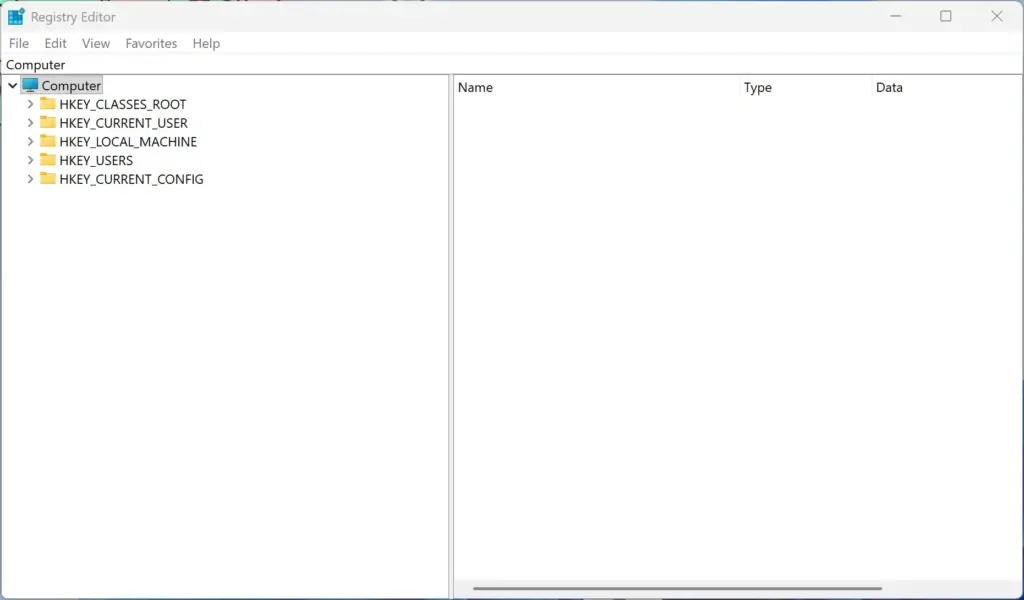
Registry Editor - Look at the list on the right side for a value named Shell.
- Double-click on Shell and make sure the value data says exactly
explorer.exe. If it says anything else, change it back toexplorer.exeand click OK.
Disconnecting USB Devices and Peripherals
Disconnecting USB devices and peripherals is an easy way to fix a black screen caused by a frozen hardware connection. When Windows boots up, it tries to talk to every plugged-in device and external drive. If an accessory freezes during this startup checkup, your screen can go completely black right after signing in until you unplug the offending hardware.
Shut down your computer completely by holding the power button. Unplug every single USB device, external monitor, printer, and accessory from your computer, leaving only your basic keyboard, mouse, and main display plugged in. Turn your computer back on. If Windows boots up normally, plug your devices back in one by one to find out which accessory is causing the hardware conflict.
Summary
Fixing a black screen after signing into Windows 11 usually involves restarting the Windows Explorer process, resetting your graphics driver with a keyboard shortcut, or unplugging faulty USB devices. Most post-login black screen issues are temporary and can be solved easily without losing your files.
Was this guide helpful?

About the Author
Richard
Tech Writer, IT Professional
Richard is a writer at Geek Rewind who turns complex IT tasks into clear, step-by-step guides. He draws on years of hands-on experience in system administration and enterprise IT operations, focusing on Windows, Linux and WordPress: the problems people actually run into, and the fixes that work. His server and WordPress guides come from systems he runs himself. Richard builds and maintains the platform behind Geek Rewind, from its Ubuntu servers and Nginx configuration to its custom WordPress plugins. Many new tutorials start with readers' questions, and he's always glad to answer them in the comments.



No comments yet — be the first to share your thoughts!