Why does your PC automatically reopen apps after restarting in Windows 11
Windows 11 can reopen the apps you had running before a restart, such as browser windows, documents and media players. It does this by saving the state of those apps when you shut down or restart, then relaunching them when you sign in. That helps you pick up where you left off, but it can slow down boot time when many programs start at once.
Advertisement
You can stop it with a few changes to your account settings or your shutdown routine, so the desktop starts fresh each time. The sections below go from the permanent fix to one-off options and a few related checks.
⚡ Quick Answer
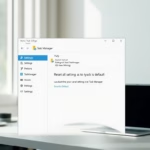
Windows 11 automatically reopens apps you had running before a restart because of the sign-in option “Automatically save my restartable apps when signing out and restart them after signing in.” To stop it, press Win+I, go to Accounts›Sign-in options, scroll to Additional settings, and toggle the restart apps option to Off.
Advertisement
Disable Automatic Sign-in App Restoration
This is the main fix and works on both Home and Pro. Turning off the sign-in option tells Windows not to save your restartable apps when you shut down or restart, so nothing is relaunched at the next sign-in. The change applies only to the account you are signed in with. Other user accounts on the same PC keep their own setting.
Press the Win+I to open Settings. Windows 11 Start menu with Settings gear icon highlighted.
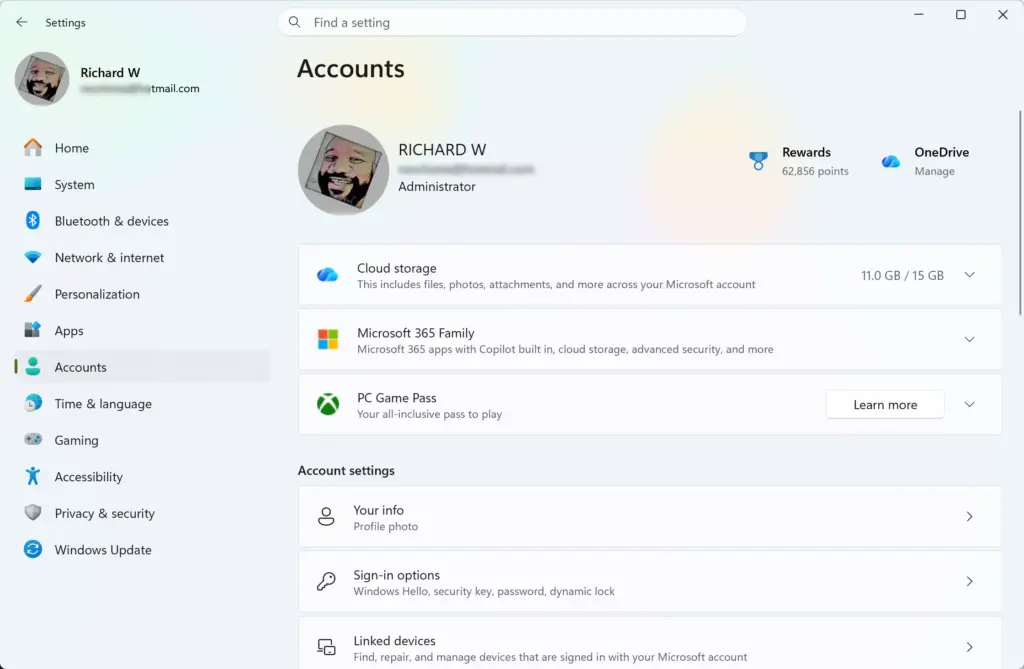
Select Accounts from the left-hand menu. Settings › Accounts
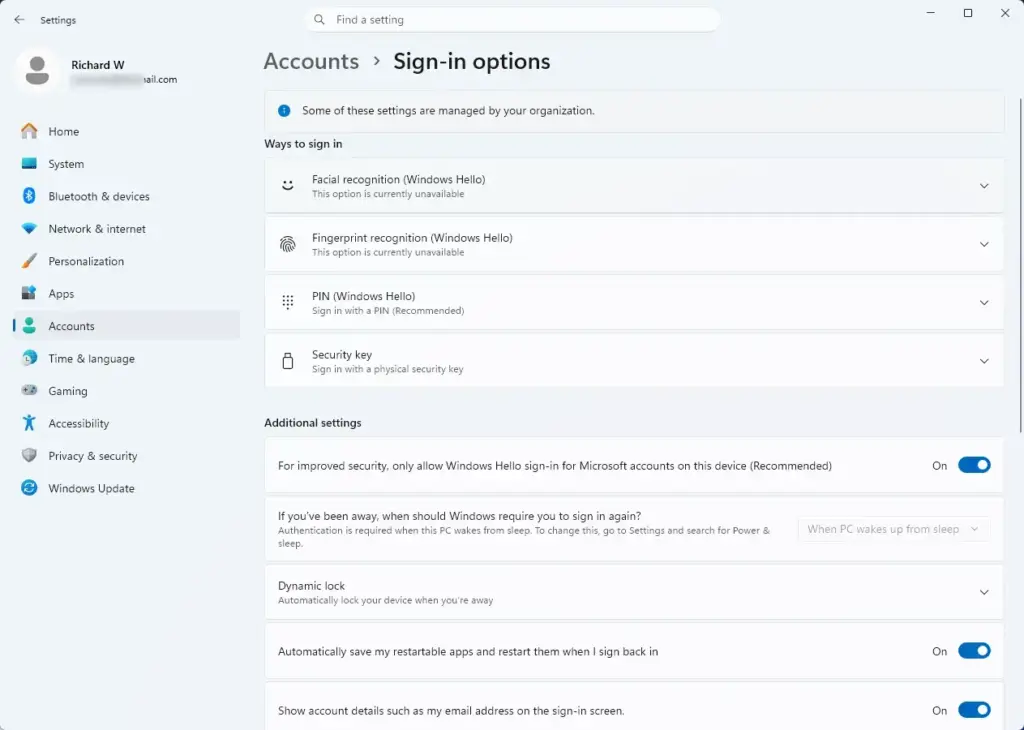
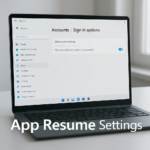
Click Sign-in options. Settings › Accounts › Sign-in options The sign-in methods and related settings for your account should now be listed.
Scroll down to the Additional settings section.
Find the option labeled Automatically save my restartable apps when signing out and restart them after signing in. On some newer Windows 11 builds the wording is shorter, for example Restart apps. If you cannot find it, look for a toggle that mentions restarting apps.
Set the switch to Off. The change takes effect immediately and no restart is needed. It applies the next time you shut down or restart.
📝Good to KnowTo undo it, return to the same page and switch the option back to On.
Note that this is a different setting from the one about using your sign-in info to finish setting up the device after an update. Leave that one alone unless you have a reason to change it.
Use the Shutdown Command to Bypass App Restoration
If you only want a clean desktop once, you can shut down from Command Prompt instead of changing a permanent setting. This is a full shutdown rather than a normal restart, and it is meant to start Windows with an empty desktop at the next sign-in. Your Settings choice stays as it was, so the next ordinary restart behaves the way it did before.
Open the Start menu, type cmd, and press Enter to open Command Prompt. A black window with a prompt should appear.
Type the shutdown command followed by the flags that force a complete shutdown without saving application states. Check the command carefully before you continue.
Press Enter to run the command. The PC shuts down immediately, so save your work in every open app first. Anything unsaved will be lost.
The next time you turn the PC on and sign in, you should see a clean desktop. If the apps still come back, use the Settings ⚙️ method in the first section, because that is the reliable permanent fix.
Advertisement
Check Startup Apps in Task Manager
Some programs open after sign-in for a different reason. They register themselves to start with Windows, which has nothing to do with the restart feature above. If apps keep appearing even with the restart option turned off, check this list. Cleaning it up also helps your PC boot faster.
Press Ctrl + Shift + Esc to open Task Manager. If you see a small window with no tabs, click More details first.
Click the Startup apps icon in the left sidebar. It looks like a speedometer. A list of programs that can run at sign-in should appear.
Review the list. The Status column shows whether each app is Enabled or Disabled, and the Startup impact column shows how much each one slows startup.
Right-click any application you do not want to launch automatically and select Disable. The status changes to Disabled.
Disabling an entry does not uninstall the program. It just stops it from launching at sign-in. The change takes effect the next time you sign in, with no restart needed. To undo it, right-click the app and select Enable. If you do not recognize an entry, search for its name before you disable it, and leave security software and hardware drivers enabled.
Configure Windows Sign-in Options via Local Group Policy
This method uses the Local Group Policy Editor to set a rule for the whole PC. It requires Windows 11 Pro or Enterprise. Windows 11 Home does not include the editor, so on Home use the Settings method instead. You will need to be signed in as an administrator.
Press the Windows key + R to open the Run dialog box.
Type gpedit.msc and press Enter to open the Local Group Policy Editor. If Windows says it cannot find the file, you are on Home edition.
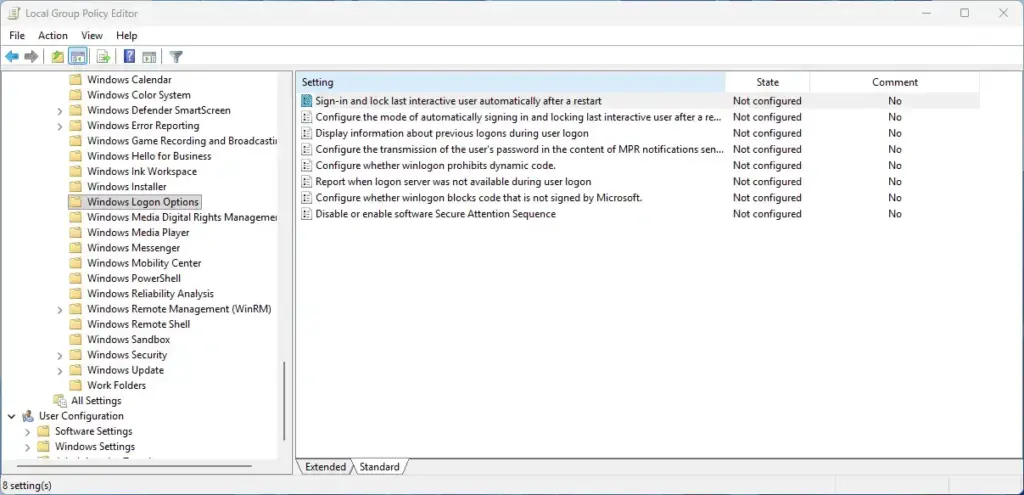
In the left-hand tree, go to Computer Configuration, then Administrative Templates, then Windows Components, and finally Windows Logon Options. The policies for that folder should appear on the right.
Look for the policy named Sign-in last interactive user automatically after a restart, or for policies related to automatic application restoration. Which ones you see depends on your exact Windows build.
Double-click the policy and select Disabled. Then click Apply followed by OK.
The policy applies at the next sign-in or restart. Be aware that the sign-in policy named above mainly controls whether Windows signs you in automatically after a restart, which is related to but not identical to reopening apps. If apps still reopen afterward, check the Settings toggle from the first section as well. To undo the change, open the policy again and set it to Not Configured.
Advertisement
Clear Background Apps and Cache Files
If a program keeps reopening even after you have turned the other options off, corrupted temporary data can sometimes be the cause. Windows may treat a leftover file as a sign of a crash and try to recover the app. Clearing temporary files gives startup a clean slate and can stop these false recovery loops.
Open Settings by pressing Windows + I.
Select System from the left menu, then click Storage.
Click Temporary files and wait while Windows scans your drive. This can take a minute or two.
Check the boxes next to the temporary files you want to remove. Read the list before you tick anything. Items such as Downloads and the Recycle Bin may hold files you still want, so leave them unticked unless you are sure.
Click the Remove files button to clear them out. When it finishes, restart the PC and check whether the apps still reopen.
⚠️WarningDeleted temporary files cannot be restored, but Windows recreates what it needs, so this is safe for the usual cache items.
Was this guide helpful?
📬 Get new Windows tips in your inbox
One email when we publish something worth your time. No spam, unsubscribe anytime.
Richard is a writer at Geek Rewind who turns complex IT tasks into clear, step-by-step guides. He draws on years of hands-on experience in system administration and enterprise IT operations, focusing on Windows, Linux and WordPress: the problems people actually run into, and the fixes that work.
His server and WordPress guides come from systems he runs himself. Richard builds and maintains the platform behind Geek Rewind, from its Ubuntu servers and Nginx configuration to its custom WordPress plugins.
Many new tutorials start with readers' questions, and he's always glad to answer them in the comments.
One email when we publish a guide worth your time — new Windows features, the fixes that actually
work, and a heads-up when Microsoft breaks something. Unsubscribe in one click.
📬 Get new Windows tips in your inbox
One email when we publish something worth your time. No spam, unsubscribe anytime.




No comments yet — be the first to share your thoughts!