Laptop keeps waking up randomly from sleep mode in Windows 11
A Windows 11 laptop that wakes up randomly from sleep is usually being told to do so by a piece of hardware, such as a network card, mouse or keyboard, or by a background task. The result is a drained battery, and a laptop that can overheat inside a closed bag.
Advertisement
The fix has two parts. First, find out what woke the PC last, using Command Prompt and Event Viewer. Then change the matching power setting in Device Manager, Power Options or Task Scheduler, so the laptop stays asleep until you press the power button. Work through the sections in order and test after each change. Then you will know which one fixed it.
⚡ Quick Answer
To find what wakes your Windows 11 laptop, run powercfg -lastwake in an elevated Command Prompt right after an unwanted wake-up. This command shows the device or program responsible. If the output is unclear, check powercfg -waketimers for scheduled wake timers, or open Event Viewer, filter the System log by Power-Troubleshooter source, and look at the Wake Source line in recent entries to identify the culprit.
Advertisement
Step 1Find Out What Caused the Last Wake-Up
The quickest check is the powercfg -lastwake command in an elevated Command Prompt. It reports the device or program that woke the computer the last time it left sleep. Run it right after an unwanted wake-up, before you shut down or sleep the laptop again, so the result is still relevant.
Click the Start button on your taskbar 🖥️.
Type cmd into the search 🔍 box.
Right-click Command Prompt in the search 🔍 results and choose Run as administrator. If a User Account Control prompt appears, click Yes. Command Prompt (Requires administrator privileges)
A black window opens. Type the following command and press Enter:
💻Code
powercfg -lastwake
Read the output. It names the device or program that woke your computer. Write the name down, because you will need it in the sections below.
If the output says the wake source is unknown, the cause may be a scheduled wake timer. In the same window, type this command and press Enter:
💻Code
powercfg -waketimers
If a program is scheduled to wake your laptop, its name appears here. If the list is empty, no wake timers are set at the moment, so look at the devices and the Event Viewer log instead.
Step 2Use Event Viewer to Track Down Stubborn Wake Triggers
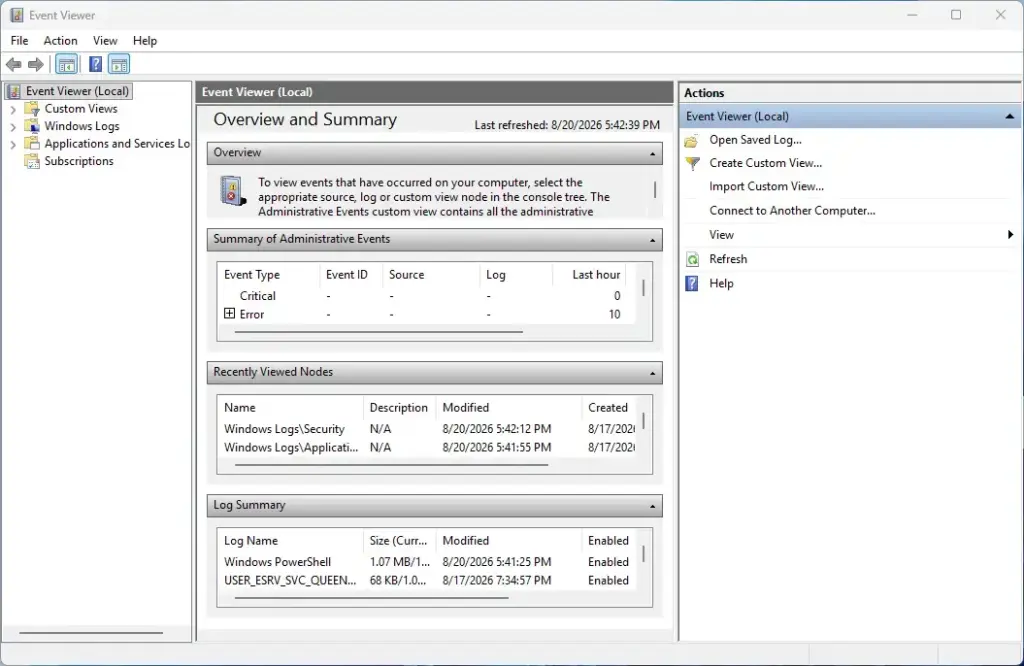
When Command Prompt does not give a clear answer, Event Viewer keeps a history of every sleep and wake event. That makes it useful for spotting a pattern, such as a wake-up at the same time every night. You will be filtering the System log down to the Power-Troubleshooter source. Its Event ID 1 entries record the wake time and the source. Kernel-Power events in the same log record the power state changes around them.
Advertisement
Click the Start button, type Event Viewer, and press Enter to open the app.
In the left menu, double-click Windows Logs, then click System.
On the right side of the window, under Actions, click Filter Current Log...
In the new window, find the Event sources drop-down menu and open it.
Scroll down and check the box next to Power-Troubleshooter.
Click OK.
The middle panel now shows only your sleep and wake events. Click the most recent entries and read the details at the bottom of the window. Look for the Wake Source line to see what caused that wake-up. Compare a few entries. If the same source keeps showing up, that is the device or task to deal with first.
Event Viewer
Step 3Stop USB Devices From Waking Your Laptop
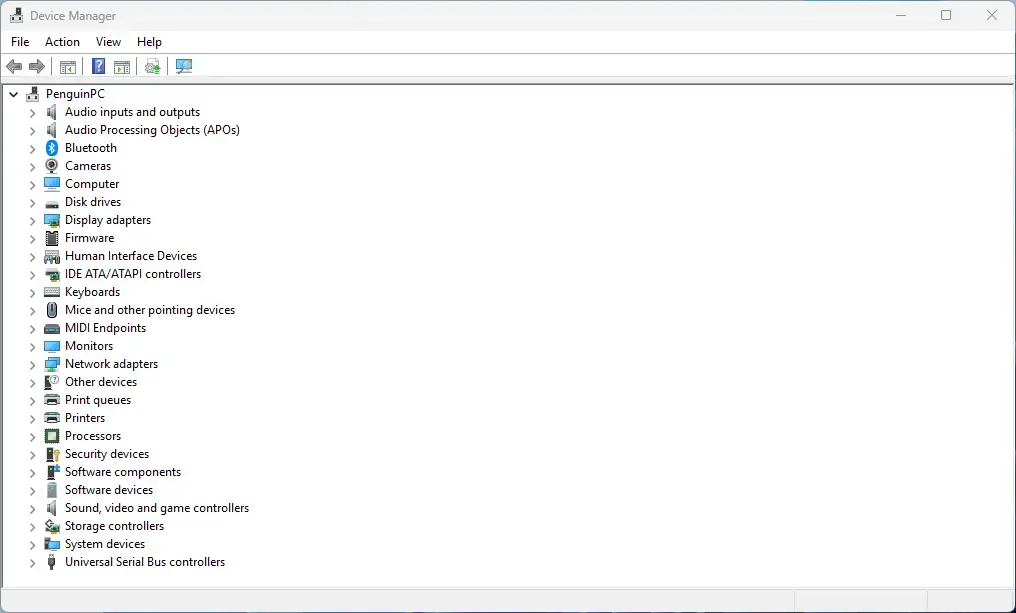
USB devices are common culprits. A mouse that gets nudged by a desk vibration, or a keyboard that sends a stray signal, is enough to wake a laptop. You can stop this in Device Manager by turning off the wake permission for each device. The setting is on the Power Management tab of the device's properties. For USB hubs, it is on the USB Root Hub entries under Universal Serial Bus controllers.
Click the Start button, type Device Manager, and press Enter.
Click the arrow next to Mice and other pointing devices or Keyboards to expand the list.
Right-click your mouse or keyboard and select Properties.
Click the Power Management tab at the top. If you do not see this tab, that device cannot wake your PC, so move to the next one.
Uncheck the box that says Allow this device to wake the computer.
Click OK.
⚠️WarningRepeat these steps for every other mouse and keyboard.
Then expand Universal Serial Bus controllers and do the same for each USB Root Hub entry. Check every plugged-in device, because a single mouse or keyboard can send wake signals and drain your battery while you are away.
Be aware of the trade-off. With this option off, the keyboard or mouse no longer wakes the laptop, so you will wake it with the power button instead. To undo the change, go back to the same tab and tick the box again. No restart is needed.
Advertisement
Step 4Adjust Network Adapters and Wi-Fi Settings
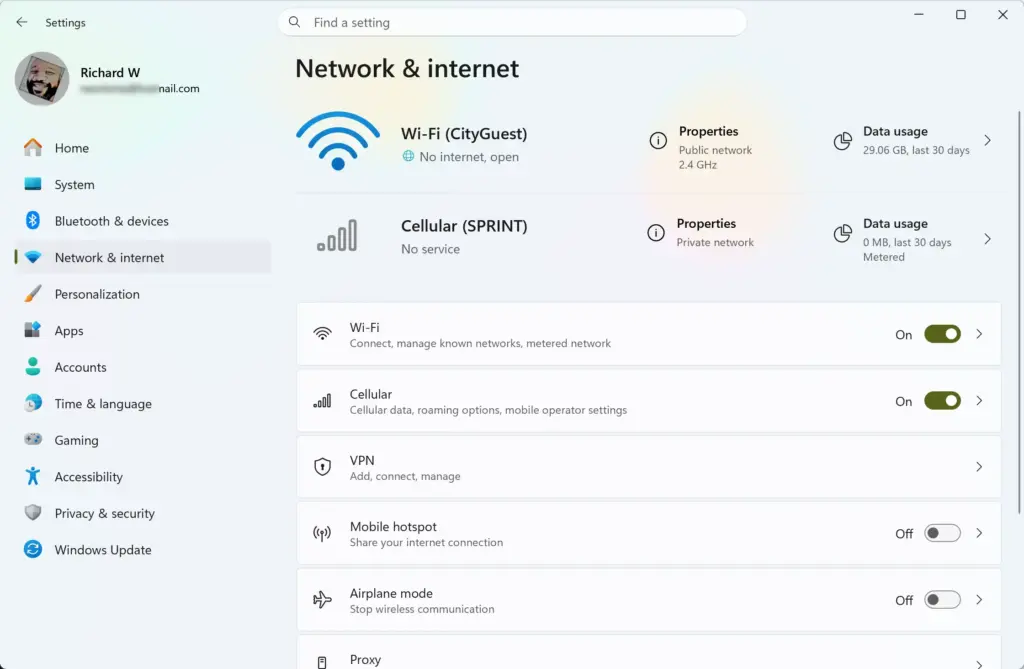
Settings › Network & internet
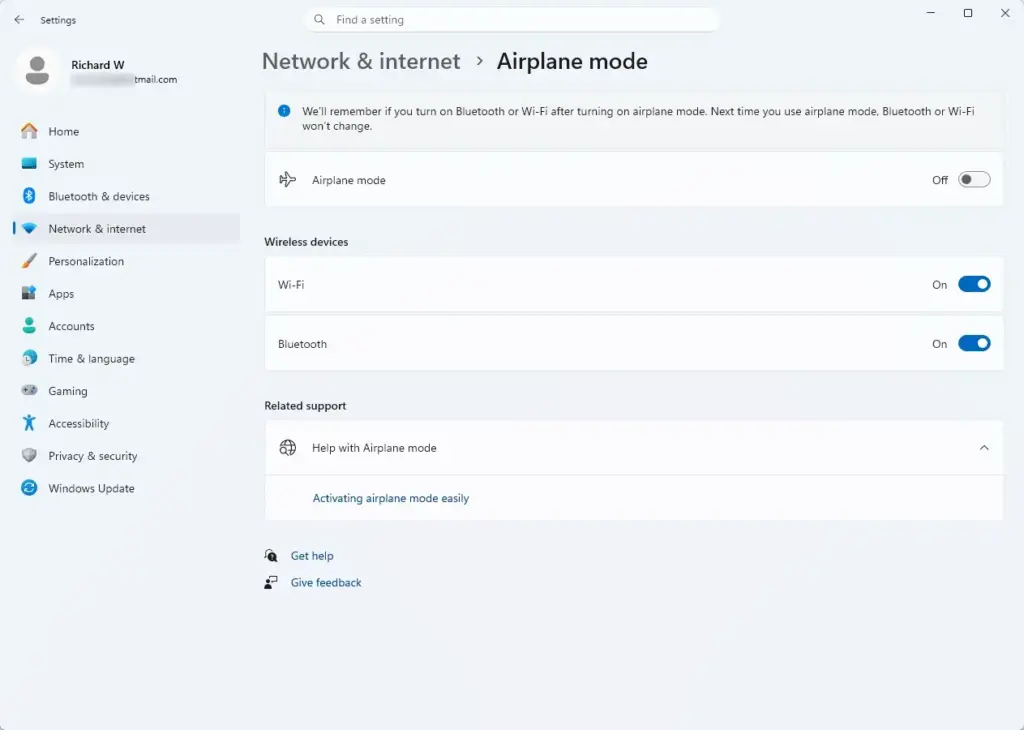
Network traffic is another common cause. Your Wi-Fi or Ethernet adapter can wake the laptop when something on your home network sends it a packet. You can turn this off in Device Manager, using the same Power Management tab as before.
Settings › Network & internet › Airplane mode
Open Device Manager from the Start menu. Device Manager
Click the arrow next to Network adapters.
Find your Wi-Fi card or Ethernet adapter.
Right-click the adapter and select Properties.
Click the Power Management tab.
Uncheck Allow this device to wake the computer.
Click OK.
If you need your laptop to wake remotely, for example for file sharing, you can keep that ability without letting every packet wake it. Leave Allow this device to wake the computer checked, then check the box below it that says Only allow a magic packet to wake the computer. A magic packet is a special network signal sent on purpose to wake one machine, so ordinary traffic will no longer wake the laptop. If that second box is greyed out, the first box must be checked before you can change it.
Step 5Control Windows Update and Automatic Maintenance
Windows Update and Automatic Maintenance can wake the laptop to run scheduled work. The same setting is reachable through Control Panel›Security and Maintenance›Maintenance›Change maintenance settings, but searching from Start is faster.
Click the Start button, type Automatic Maintenance, and click Change Automatic Maintenance settings.
Find the checkbox at the bottom that says Allow scheduled maintenance to wake up my computer at the scheduled time.
Uncheck that box.
Click OK.
Maintenance will then run the next time the laptop is awake instead of waking it. To undo this, tick the box again.
Advertisement
You should also check your update settings so Windows does not restart your PC at bad times:
Settings › Windows Update
Open the Settings app by pressing Windows Key + I on your keyboard.Settings
Click Windows Update in the left sidebar.
Click Advanced options.
Click Active hours and make sure it matches the times you are normally awake and using your computer. Windows avoids restarting for updates during those hours.
Step 6Disable Background Wake Timers
Wake timers let installed programs turn the computer on by themselves, for example for virus scans or cloud backups. Disabling wake timers in your power plan blocks all of them at once. This is a good step if the earlier powercfg check showed a scheduled timer. Do it on each power plan you use.
Click the Start button, type Control Panel, and press Enter.
Click Hardware and Sound, then click Power Options.
Next to your active power plan, click Change plan settings.
Click Change advanced power settings. A small window appears.
Find Sleep in the list and click the plus sign next to it.
Click the plus sign next to Allow wake timers.
Change both On battery and Plugged in to Disabled.
Click Apply, then click OK.
No restart is needed. To undo it, set the same two options back to Enable.
Step 7Check Scheduled Tasks via PowerShell
Some scheduled tasks are set to wake the computer and can override what you expect from your power settings. PowerShell can list them so you can find the exact task. Run it as administrator, otherwise the list may be incomplete or the command may fail.
Advertisement
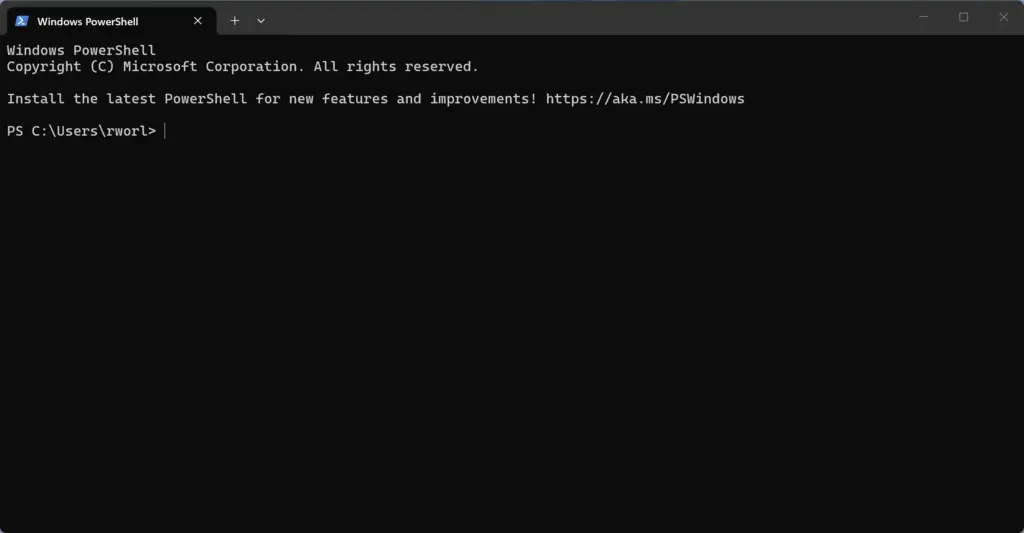
Right-click the Start button and choose Terminal (Admin) or Windows PowerShell (Admin). PowerShell (Requires administrator privileges)
Type the following command into the window and press Enter:
⬛PowerShell
Get-ScheduledTask | where {$_.settings.waketorun}
Review the list of tasks on your screen. Note the name of any task that looks like it could run while you are away, such as an update, backup or scan task.
If you see a task you want to stop:
Click the Start button, type Task Scheduler, and open the app.
Use the left sidebar to find the exact task you saw in PowerShell. You may need to expand Task Scheduler Library and its folders.
Double-click the task to open its properties.
Click the Conditions tab.
Uncheck Wake the computer to run this task.
Click OK.
⚠️WarningOnly change tasks you recognize.
Leave Windows system tasks alone if you are not sure what they do. Turning off the wake option does not delete the task. It will just run when the laptop is next awake. To undo it, tick the box again.
Advanced Tip: Use Modern Standby Sleep Study
If your battery drains quickly while the laptop sleeps, generate a sleep study report. It shows which apps and background tasks keep the laptop from resting properly. The report works on laptops that use Modern Standby. If your laptop uses the older S3 sleep, the command may tell you it is not supported.
Right-click the Start button and open Terminal (Admin) or open Command Prompt as an administrator. (Requires administrator privileges)
Type powercfg /sleepstudy and press Enter. Windows creates an HTML report and prints the location where it saved the file.
Open your web browser, press Ctrl + O, and select the saved HTML file.
Read the report for apps or devices with high drain during sleep periods. This data helps you identify the hardware or software that is waking your laptop. Use it together with the earlier checks.
Advertisement
If the laptop still wakes or behaves oddly after all of the above, turn off Fast Startup as a last step. Fast Startup is a hybrid shutdown mode, and it can interfere with how the laptop wakes and sleeps.
Click the Start button, type Control Panel, and open it.
Click Hardware and Sound, then click Power Options.
Click the link on the left side that says Choose what the power buttons do.
Click the link near the top that says Change settings that are currently unavailable. This needs administrator rights, and the options below stay greyed out until you click it.
Uncheck the box next to Turn on fast startup (recommended). If you do not see this option, hibernation is probably turned off on your PC.
Click Save changes.
To undo this, repeat the steps and tick the box again. Startup may be a little slower with Fast Startup off.
Summary
Fixing random wake-ups in Windows 11 stops battery drain and keeps your computer asleep when you want it to rest. Built-in tools such as Command Prompt, Event Viewer and the sleep study report show which hardware device or software task is causing the problem. Changing the matching device power settings and turning off wake timers usually fixes it. If the wake-ups return, repeat the checks to see whether a new device or task has taken over.
Was this guide helpful?
📬 Get new Windows tips in your inbox
One email when we publish something worth your time. No spam, unsubscribe anytime.
Richard is a writer at Geek Rewind who turns complex IT tasks into clear, step-by-step guides. He draws on years of hands-on experience in system administration and enterprise IT operations, focusing on Windows, Linux and WordPress: the problems people actually run into, and the fixes that work.
His server and WordPress guides come from systems he runs himself. Richard builds and maintains the platform behind Geek Rewind, from its Ubuntu servers and Nginx configuration to its custom WordPress plugins.
Many new tutorials start with readers' questions, and he's always glad to answer them in the comments.
One email when we publish a guide worth your time — new Windows features, the fixes that actually
work, and a heads-up when Microsoft breaks something. Unsubscribe in one click.
📬 Get new Windows tips in your inbox
One email when we publish something worth your time. No spam, unsubscribe anytime.







No comments yet — be the first to share your thoughts!