How to Turn On or off Battery Saver in Windows 11

Extending runtime on a Windows 11 laptop or tablet away from an outlet comes down to managing power settings. This guide covers how to turn Battery Saver on and off, change when it starts by itself, and set that threshold from Windows Terminal. It also covers Energy Saver, the newer feature that builds on it.
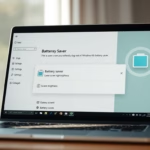
Open Settings with Win+I, go to System Power & battery, expand Battery saver, and click Turn on now. To change when it activates automatically, select a percentage under Turn battery saver on automatically at, such as 10%, 20%, or 30%.
What is Battery Saver?
Battery Saver stretches the charge you have left when a power outlet is out of reach. When it is on, Windows cuts back background activity and lowers screen brightness. On most machines that adds a worthwhile amount of use before you have to find a charger.
Windows 11 turns Battery Saver on by itself when the charge falls below 20 percent. You can change that percentage later in this guide.
When you plug in the charger, it switches off immediately.
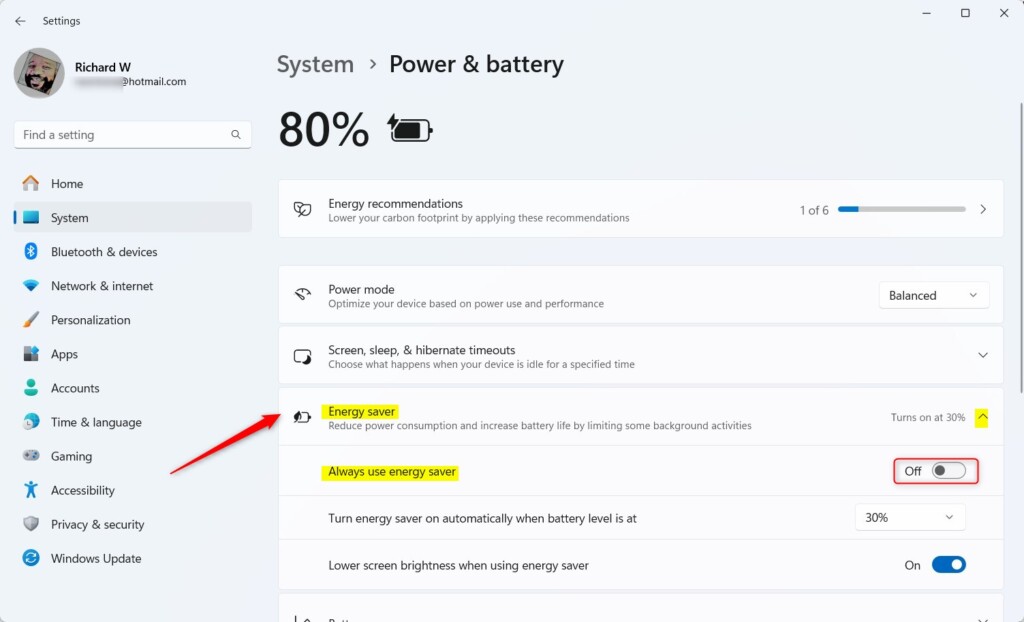
The steps below are the same, but the label on your screen may read Energy saver. If you cannot find “Battery saver”, look for that name.
How to Turn On or Off Battery Saver
Option 1Use Quick Settings
Quick Settings is the fastest way to switch the feature on or off.
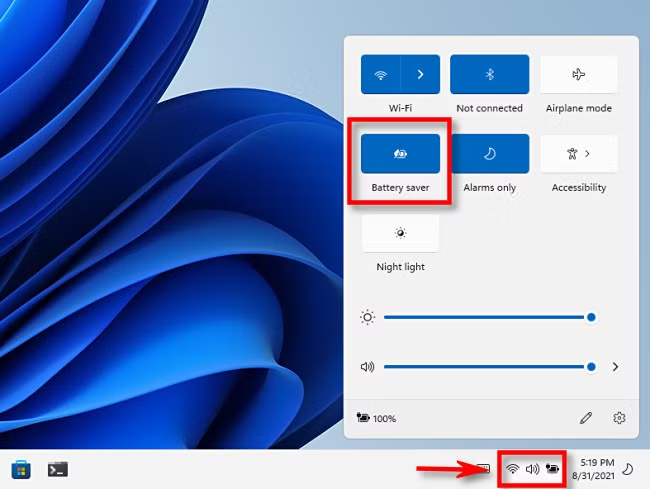
- Press Win + A on your keyboard. Quick Settings opens above the taskbar.
- Look for the Battery Saver button. Its icon is a battery with a heart or leaf on it. On newer builds the button is labelled Energy saver.
- Click the button to turn Battery Saver on or off. When it is on, the button is highlighted in your accent colour.
If you can't see the button, click the pencil (Edit quick settings) icon at the bottom of the panel, then click Add and pick it from the list. On a desktop PC with no battery, Battery saver may not appear at all. Energy saver usually does.
Option 2Use Settings
The Settings app gives you the same switch, plus the options that control automatic behaviour.
- Press Win + I to open the Settings app.
- Click System on the left menu.
- Select Power & battery on the right side. You will see the battery level and a list of power options.
- Find Battery saver and click it to expand the section.
- Click Turn on now or Turn off now to change the Battery Saver status. The button text changes to match the current state.
If Turn on now is greyed out or you can't find the section, check that you are on a device with a battery. Also check whether your build has renamed the section Energy saver. Turning the feature on while the charger is connected has no effect on Battery saver, because it only runs on battery.
Option 3Set When Battery Saver Turns On Automatically
You can change the charge level at which Windows turns the feature on by itself.
- Open Settings with Win + I.
- Go to System Power & battery.
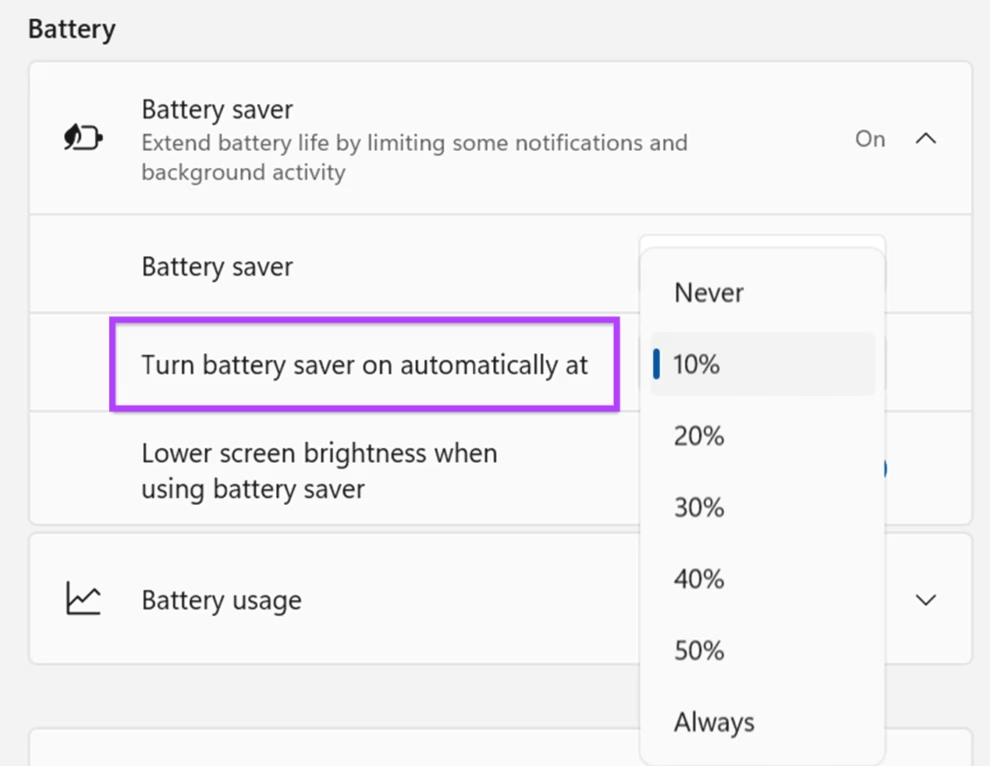
- Expand Battery saver.
- Under Turn battery saver on automatically at, pick a percentage such as 10%, 20% (default) or 30%. Choose Never if you don't want it to turn on automatically.
A higher percentage means it starts earlier and saves power for longer. A lower one leaves you with full performance until the battery is nearly empty. To undo the change, set the drop-down back to 20%. The change applies at once and needs no restart.
Option 4Use Windows Terminal (for advanced users)
Power users can set the activation threshold (the battery percentage that triggers power saving) from Windows Terminal. This is useful if you manage several machines or prefer the command line. Setting the value this way gives the same result as the drop-down above.
- Right-click the Start button and select Windows Terminal. The terminal window opens.
- Type the command shown below and press Enter:
powercfg /setdcvalueindex SCHEME_CURRENT SUB_ENERGYSAVER ESBATTTHRESHOLD <percentage>Replace <percentage> with a value between 0 and 100:
- 0 = Never turn on Battery Saver automatically
- 20 = Default, turn on at 20% battery
- 100 = Always keep Battery Saver on when on battery
Example (to set Battery Saver to turn on at 20%):
powercfg /setdcvalueindex SCHEME_CURRENT SUB_ENERGYSAVER ESBATTTHRESHOLD 20If Windows refuses the command with an access error, close the terminal and reopen it with Run as administrator. To check the result, open Settings System Power & battery and look at the automatic setting under Battery saver. To undo the change, run the same command with 20.
What is Energy Saver in 🪟 Windows 11?
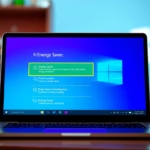
Recent Windows 11 releases introduce Energy Saver, which replaces the Battery Saver name on those builds. It works like Battery Saver, but it can also run while the device is plugged into AC power. That makes it useful on desktops too, because it reduces electricity use without hurting how responsive the system feels. You turn it on and off from the same places: Quick Settings and Settings System Power & battery.
Summary - Why Use Battery Saver?
- Save Battery Life: Helps your laptop last longer by saving power.
- Auto On: Turns on automatically when the battery is low (default 20%).
- Brightness Reduced: Makes your screen a bit dimmer to save energy.
- Easy to Use: Turn it on or off quickly from Quick Settings or Settings.
- Customizable: Choose when Battery Saver should start automatically.
- Energy Saver: A newer, enhanced mode that saves energy even when plugged in.
Battery Saver is worth turning on whenever you travel or work away from an outlet. Low charge triggers it automatically, dimming the display and limiting background tasks. Adjusting the start percentage lets you balance performance against time between charges.
Was this guide helpful?
0% of readers found this helpful (1 votes)

About the Author
Richard
Tech Writer, IT Professional
Richard is a writer at Geek Rewind who turns complex IT tasks into clear, step-by-step guides. He draws on years of hands-on experience in system administration and enterprise IT operations, focusing on Windows, Linux and WordPress: the problems people actually run into, and the fixes that work. His server and WordPress guides come from systems he runs himself. Richard builds and maintains the platform behind Geek Rewind, from its Ubuntu servers and Nginx configuration to its custom WordPress plugins. Many new tutorials start with readers' questions, and he's always glad to answer them in the comments.


No comments yet — be the first to share your thoughts!