How to Remove a Language in Windows 11

Removing a language in Windows 11 deletes the language pack and the keyboards and input methods that came with it. It also frees up some storage space. A language pack is a set of files that translates system menus, enables typing tools, and can add speech and handwriting features for a specific region. Extra languages clutter the taskbar language switcher and the language list in Settings, and they make it easy to type with the wrong keyboard layout by accident.
Open Settings Time & language Language & region, find the language under Preferred languages, click the three dots next to it, and select Remove. The language and its keyboards disappear immediately without requiring a restart.
Before you start, know which language Windows uses as its display language. You cannot remove a language while it is the active display language, so you may need to switch first. The steps below work on both Windows 11 Home and Pro, and you don’t need to restart for a simple removal.
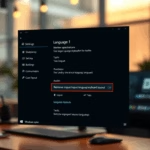
- Open Settings Time & language Language & region You should see the Windows display language setting at the top and a Preferred languages list below it.
- Check the Windows display language drop-down. If it shows the language you want to remove, choose a different language from the list. Windows asks you to sign out to apply the change. Sign out and back in, then return to Settings Time & language Language & region
- Find the language you want to remove in the Preferred languages list.
- Click the three dots (More options) at the right end of that language’s row. A small menu opens.
- Select Remove. The language disappears from the list. Its keyboards also disappear from the taskbar language switcher.
If you only want to get rid of one keyboard layout and keep the language, don’t remove the language. Click the three dots next to it, select Language options, and look under Keyboards. Select the three dots next to the layout you don’t want and choose Remove.
If Remove is missing or greyed out, the usual cause is that the language is still your display language, or it is the only language in the list. Windows needs at least one language to stay installed. Switch the display language first, as in step 2, and try again.
If a removed language comes back later, check whether it is being synced from your Microsoft account. Go to Settings Accounts Windows backup and look at the Remember my preferences options. If Language preferences is ticked, a language you remove on one PC can return from another PC that uses the same account. Remove it on the other PC too, or turn off that sync option.
To undo the change, select Add a language in the same Preferred languages section, pick the language, and let Windows download it again. This needs an internet connection.
How to Remove a Language Using Settings
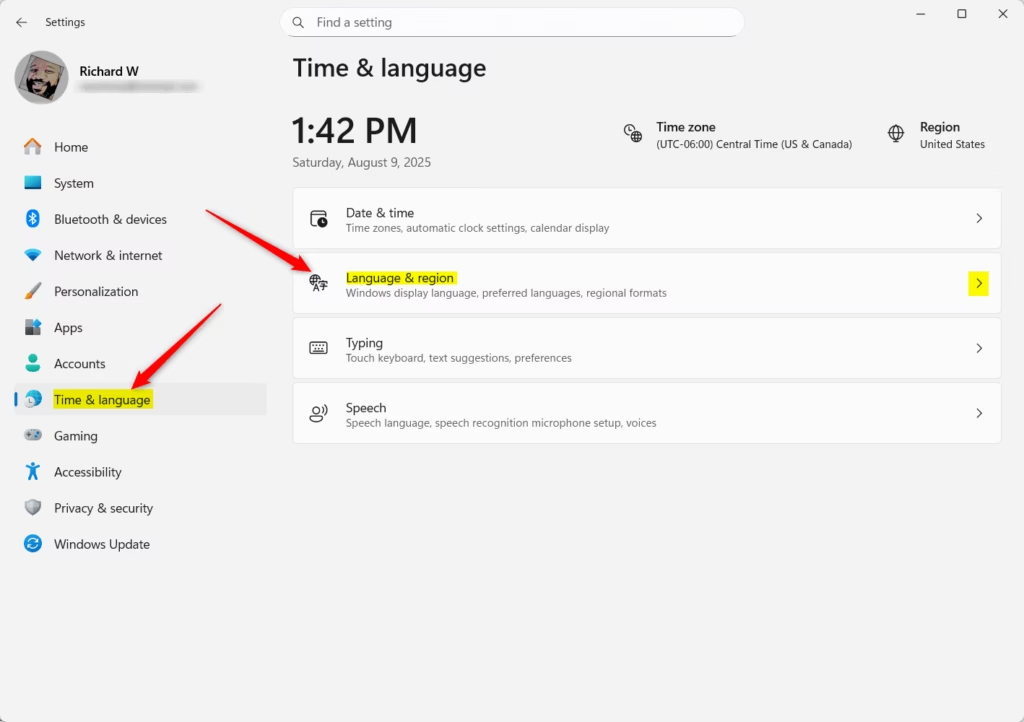
To remove a language in Windows 11 using the Settings app, open your system settings, go to Time & language, and select Language & region. Find your unwanted language under Preferred languages, click the three dots next to it, and choose Remove. This clears out unused typing tools and input methods from your system right away.- Open Settings: Press Windows key + I on your keyboard.
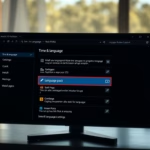
- On the left side, click Time & language. Then click Language & region on the right.
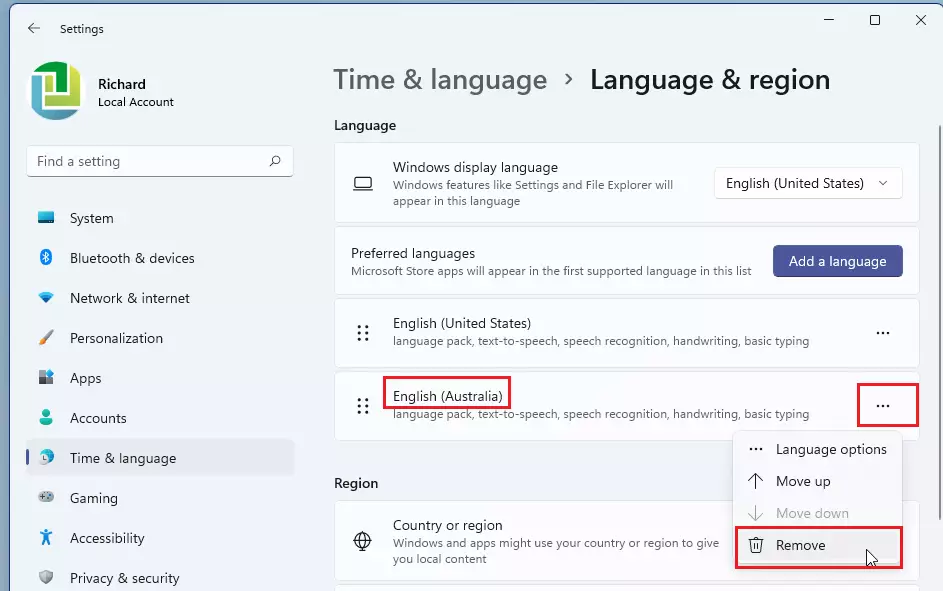
- Under Preferred languages, find the language you want to remove.
- Click the three dots (...) next to the language and select Remove.
- If the language is your current display language, you won't be able to remove it. Change your display language first.
- Confirm by clicking Yes when asked.
- Close Settings when done.
How to Remove a Language Using PowerShell
Open Windows Terminal, run the command to view your installed language list, and use the built-in removal command with the specific language tag. This built-in command-line tool forces stubborn language packs off your computer.
- Open Windows Terminal by right-clicking the Start button and choosing it. Select Windows PowerShell as the tab.
- Type
Get-WinUserLanguageListand press Enter. This shows all languages installed on your account. - Find the LanguageTag for the language you want to remove. For example, "en-GB" is English (United Kingdom).
- Type
$LangList = Get-WinUserLanguageListand press Enter. - Type this command, replacing LanguageTag with the tag you found:
$MarkedLang = $LangList | Where LanguageTag -eq "LanguageTag"
- Type
$LangList.Remove($MarkedLang)and press Enter. - Finally, type
Set-WinUserLanguageList $LangList -Forceand press Enter. - You can now close PowerShell.
Things to Remember
- You can remove languages either through Settings or PowerShell.
- You cannot remove a language that is currently your Windows display language. Change your display language first.
- Removing a language also deletes its extra features like text-to-speech and handwriting.
- Always confirm the removal when prompted to avoid mistakes.
Need More Help?
These guides cover advanced regional settings, keyboard layouts, and PowerShell troubleshooting tips. Reviewing these official resources helps fix stubborn language bugs that block normal deletion.
- Manage language and keyboard settings in Windows 11
- Remove unwanted keyboard or language from Windows 11
- PowerShell command for managing language list
Keep your language list updated so only active languages appear in your menus.
```
Was this guide helpful?
0% of readers found this helpful (1 votes)

About the Author
Richard
Tech Writer, IT Professional
Richard is a writer at Geek Rewind who turns complex IT tasks into clear, step-by-step guides. He draws on years of hands-on experience in system administration and enterprise IT operations, focusing on Windows, Linux and WordPress: the problems people actually run into, and the fixes that work. His server and WordPress guides come from systems he runs himself. Richard builds and maintains the platform behind Geek Rewind, from its Ubuntu servers and Nginx configuration to its custom WordPress plugins. Many new tutorials start with readers' questions, and he's always glad to answer them in the comments.

No comments yet — be the first to share your thoughts!