How to Add a Language in Windows 11
Here’s how to add another language to your Windows 11 computer.
Open Settings by pressing ⊞ Win+I, then navigate to Time & language > Language & region. Click “Add a language,” select your desired language, choose optional features, and click “Install.” Sign out and back in to set it as your display language.
Why Add a Language?
Adding another language to Windows 11 means you can view menus and settings in a language you’re more comfortable with. It also unlocks helpful tools like talking to your PC or having it read text aloud, and lets you type using a keyboard layout made for that language.
- Change Windows menus and settings to another language.
- Use speech features like talking to your computer or hearing it read text aloud.
- Type with the right keyboard layout for that language.
- Write by hand if your device supports it.
Steps to Add a Language
Open Settings
Open the Settings app by pressing the Win + I keys on your keyboard.
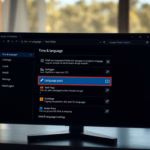
Go to Language Settings
You can add a language in Windows 11 by going to the Language & region settings. To get there, open Settings and click on ‘Time & language’ in the left menu, then select ‘Language & region’. This screen is your hub for managing all installed languages.
Add a Language
Under Preferred languages, click the Add a language button.

Pick Your Language
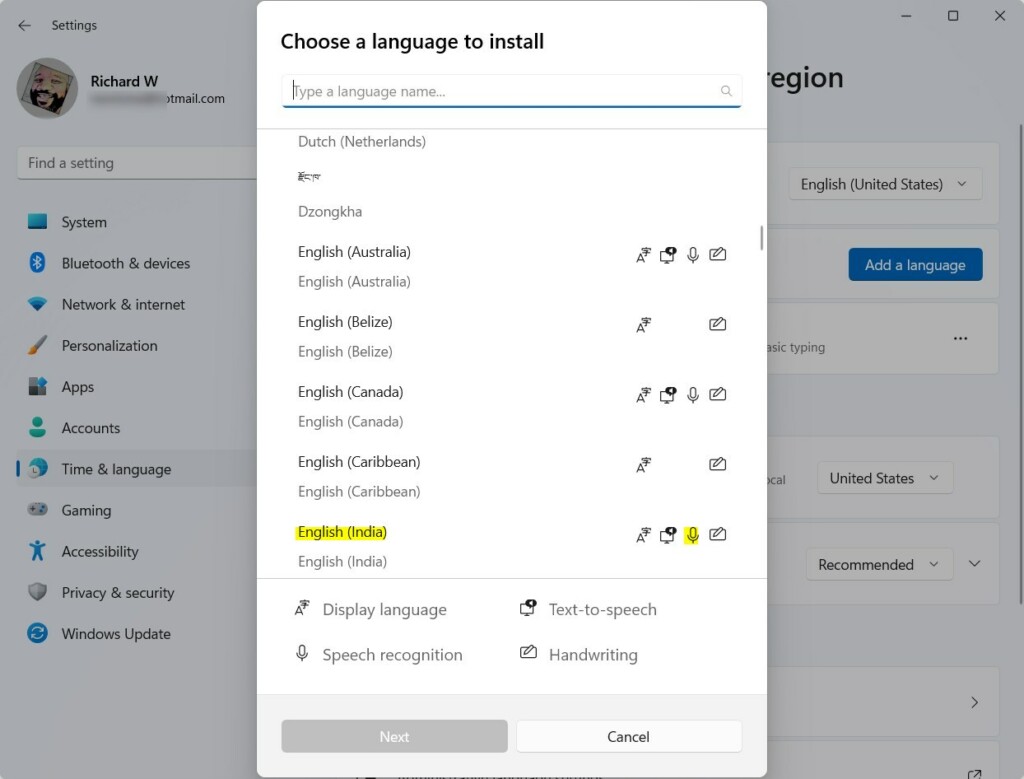
Find the language you want to add, like “English (United Kingdom)”. Once you’ve selected it from the list, click “Next” to begin the installation.
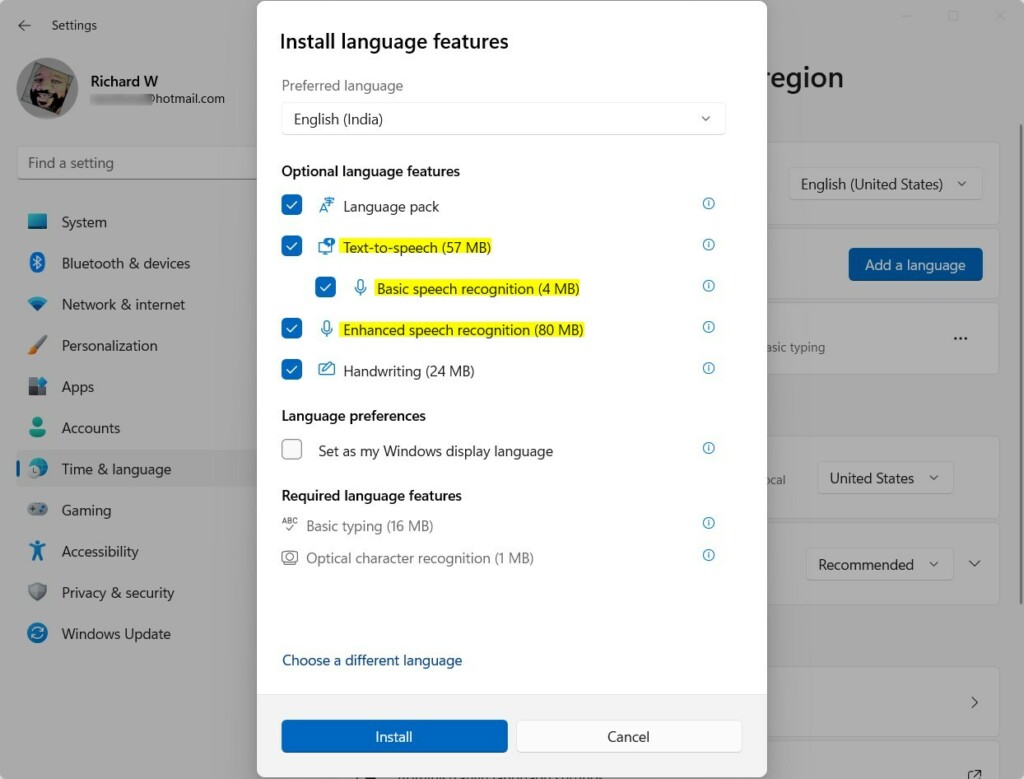
Choose Optional Features
When you add a language in Windows 11, you can pick extra features to make it work better for you. This includes a language pack to change menus and text, text-to-speech so Windows reads things aloud, or speech recognition to talk to your computer.
- Language pack: Changes Windows menus to this language.
- Text-to-speech: Lets Windows read text out loud.
- Speech recognition: Talk to your PC instead of typing.
- Handwriting: Write on your device and Windows will understand.
- Keyboard layout: Changes the keyboard to match the language.
After picking what you want, click Install.
Wait for Installation
Windows will download and set up the language and features you chose.
Set as Display Language (Optional)
If you want Windows to use this new language for its menus and settings, check the box labelled “Set as my Windows display language” before you install. You’ll then need to sign out and sign back in to apply the change.
Important Notes
If you have the Windows 11 Single Language Edition, you cannot change the main display language without upgrading. However, you can still add other languages to use helpful tools like voice typing or reading text aloud, which remains beneficial.
Adding languages can help you use Windows in your preferred language and enjoy features like voice typing and reading aloud.
Summary
- Open Settings with
Win + I. - Go to Time & language > Language & region.
- Click Add a language and pick your language.
- Choose extra features if you want (text-to-speech, keyboard, etc.).
- Click Install and wait for it to finish.
- Sign out and back in if you set the new language as your display language.
To add a language in Windows 11, open Settings by pressing Win + I. Then, go to Time & language > Language & region, and click Add a language to pick your preferred language and any extra features like text-to-speech. After it installs, sign out and back in if you set it as your display language.
Learn More
Official Microsoft Guide: Install a Language in Windows 11
Change Display Language and Keyboard Settings
Download Voices for Text-to-Speech
How do I add more languages on 🪟 Windows 11?
To add more languages on Windows 11, go to Settings, then Time & language, and Language. Under Preferred language, select Add a language and type or scroll to find the one you want.
Why is my language bar missing?
Method 1: Add or remove Language Bar via Settings app Press Win + I to open Settings. Go to Time & language > Typing > Advanced keyboard settings. Under Switching input methods: To make the Language Bar appear, select the checkbox labelled “Use the desktop Language Bar when it's available.”
Was this guide helpful?

About the Author
Richard
Tech Writer, IT Professional
Richard, a writer for Geek Rewind, is a tech enthusiast who loves breaking down complex IT topics into simple, easy-to-understand ideas. With years of hands-on experience in system administration and enterprise IT operations, he’s developed a knack for offering practical tips and solutions. Richard aims to make technology more accessible and actionable. He's deeply committed to the Geek Rewind community, always ready to answer questions and engage in discussions.


No comments yet — be the first to share your thoughts!