How to Start Voice Typing in Windows 11

Windows 11’s Voice Typing lets you talk instead of type, turning your spoken words into text on screen.
This handy tool, available since Windows 10, works like a live scribe, writing down whatever you say into any text box. You can use it to write emails, documents, or even chat messages without touching your keyboard.
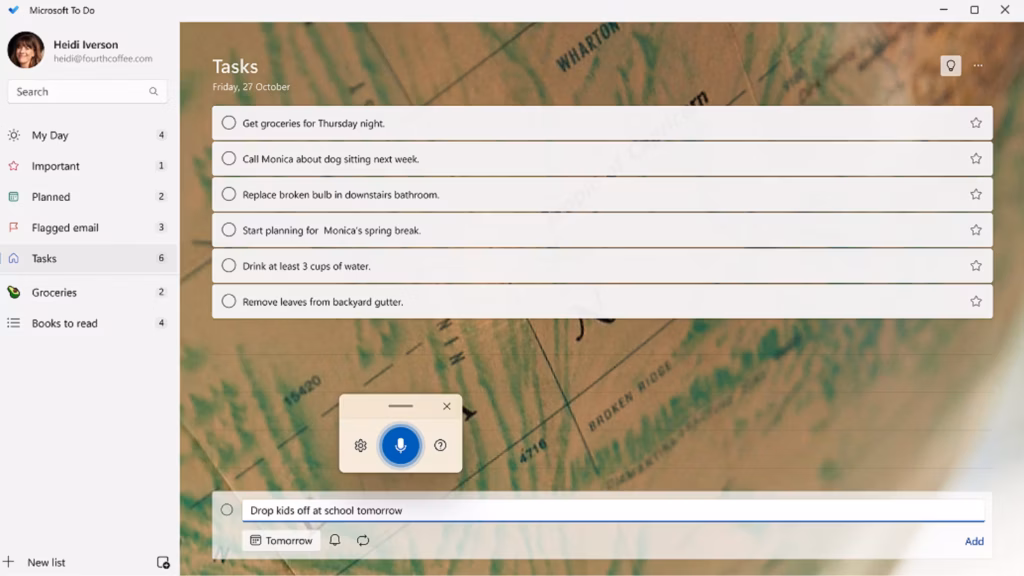
To start, just press the Windows key and the H key together. A small microphone bar will pop up, showing that Windows is listening. Begin speaking, and your words will appear instantly in the program you’re using.
Press Windows key + H to activate Voice Typing. Ensure your microphone is working and your cursor is in a text field. Wait for the “Listening…” message before you start speaking.
What You Need
Windows 11 voice typing works best with a stable internet connection and a working microphone. Your computer needs to connect to online services to understand your speech. Make sure your microphone is plugged in and set up correctly, whether it’s built into your laptop or an external one you plug in.
- An Internet Connection: Voice typing uses online services to understand your speech. So, you need a good internet connection.
- A Working Microphone: Your computer needs to hear you. Make sure your microphone is plugged in and working. It can be built-in or an external one.
- Your Cursor in a Text Box: Voice typing needs to know where to put your words. Click inside any place where you can type. This could be a document, email, search bar, or chat window.
How to Turn On Voice Typing
You can quickly turn on Windows 11 voice typing using a keyboard shortcut. Press and hold the Windows key (the one with the window picture on it) and then press the ‘H’ key at the same time. This action will open the voice typing bar, letting you start speaking and typing right away.
Windows 11 has two quick ways to start Voice Typing.
Using a Keyboard Shortcut
Pressing the Windows key and the ‘H’ key together opens the Windows 11 Voice Typing window. The Windows key on your keyboard displays a picture of a window. This keyboard shortcut provides the quickest method for initiating voice typing.
Windows 11 Voice Typing offers significant convenience for users. Remembering the shortcut for Windows 11 Voice Typing, which is Windows key + H, will allow quick access. This shortcut proves highly beneficial as users frequently interact with the feature, increasing productivity.
Using the Touch Keyboard Button
The touch keyboard in Windows 11 includes a voice typing function. To bring up the touch keyboard, right-click the taskbar (that bar at the bottom of your screen). Then, select "Show touch keyboard button" from the menu that appears.
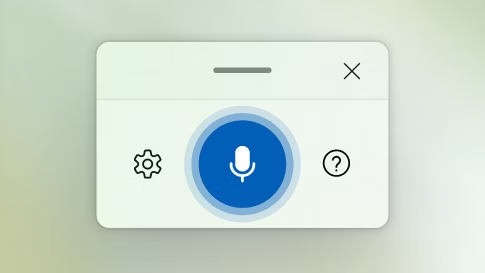
Once you turn on Voice Typing in Windows 11, a small window appears, usually at the top of the screen. This window shows a microphone icon and a "Listening…" message. The "Listening…" message shows your Windows 11 computer is ready to hear your voice. Wait for the "Listening…" message before speaking to avoid missing words.
Understanding the “Listening…” Message
The “Listening…” message in Windows 11 voice typing means your microphone is active and ready to capture your speech.
Reference:
Summary
How do I turn on voice typing on 🪟 Windows 11?
To enable voice typing in Windows 11, press the Windows key + H. This shortcut activates the built-in Voice Typing feature, allowing you to dictate text directly into any text field on your PC. Ensure your microphone is connected and you have an internet connection.
How do I activate voice-activated typing?
Activate voice-activated typing in Windows 11 by pressing the Windows key + H. This command brings up the Voice Typing interface, ready to transcribe your speech into text. Make sure your microphone is functioning and that you are online for optimal performance.
Is Windows voice typing any good?
Windows voice typing is a capable, built-in dictation tool that converts speech to text effectively, especially with a good internet connection and a clear microphone. While it may not match specialized dictation software, it’s a convenient and free option for everyday tasks like writing emails or documents.
How do I activate voice typing on my PC?
To activate voice typing on your PC running Windows 11, simply press the Windows key + H simultaneously. This shortcut will launch the Voice Typing overlay, enabling you to start dictating text into any active text box. A stable internet connection and a working microphone are essential.
Was this guide helpful?

About the Author
Richard
Tech Writer, IT Professional
Richard, a writer for Geek Rewind, is a tech enthusiast who loves breaking down complex IT topics into simple, easy-to-understand ideas. With years of hands-on experience in system administration and enterprise IT operations, he’s developed a knack for offering practical tips and solutions. Richard aims to make technology more accessible and actionable. He's deeply committed to the Geek Rewind community, always ready to answer questions and engage in discussions.


No comments yet — be the first to share your thoughts!