How to Rename Your Microphone in Windows 11
Windows 11 allows users to rename their microphones. A custom microphone name helps users find the correct device faster than using the default model number. This renaming feature aids in quick identification for users managing over 2 audio devices.
This is super helpful if you’ve got more than one way to get sound into your PC, like a gaming headset mic, your webcam’s microphone, or a separate external mic. Giving them unique names makes sure you always pick the right microphone for whatever you’re doing, without any mix-ups.
For instance, you might rename your primary microphone to “Gaming Headset Mic” and a secondary one to “Webcam Mic” for quick recognition in sound settings.
Open Settings, go to System > Sound > All sound devices, select your microphone, click Rename, and type your new name. Alternatively, use Control Panel > Hardware and Sound > Sound, select the microphone, click Properties, and enter the new name.
Rename Your Microphone Using Windows Settings
You can rename your microphone in Windows 11 using the Settings app to give your microphone a recognizable name. This microphone name change makes it simple to pick the correct microphone when you need it. Navigate to System, then Sound to begin the renaming process.
- Open Settings
- Click the Start menu (the Windows icon in the bottom-left corner) and select Settings.
- Or press Windows key + I on your keyboard to open Settings quickly.
- Go to System > Sound
- In Settings, click System on the left side.
- Then click on Sound on the right.
- Open All Sound Devices
- Scroll down and click on the All sound devices link under the Advanced section.
- Choose Your Microphone
- Under Input devices, find the microphone you want to rename.
- Click it.
- Rename Your Microphone
- On the next page, click the Rename link next to your microphone’s current name.
- Type a new name and click Save.
- Close the Settings app when you’re done.
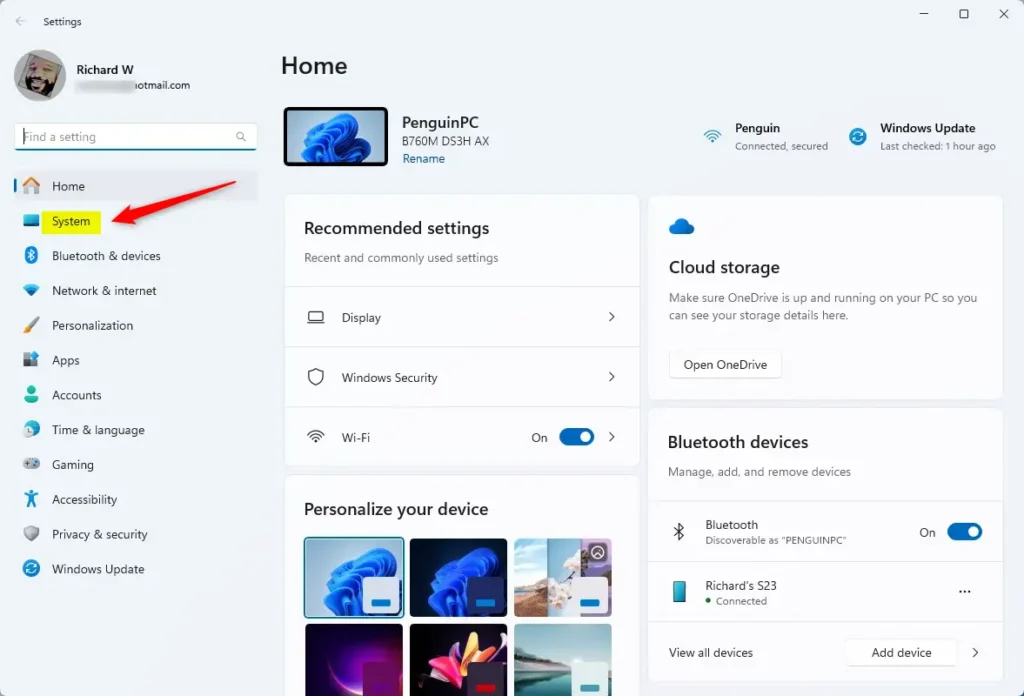
Click “System” in the Windows Settings app.
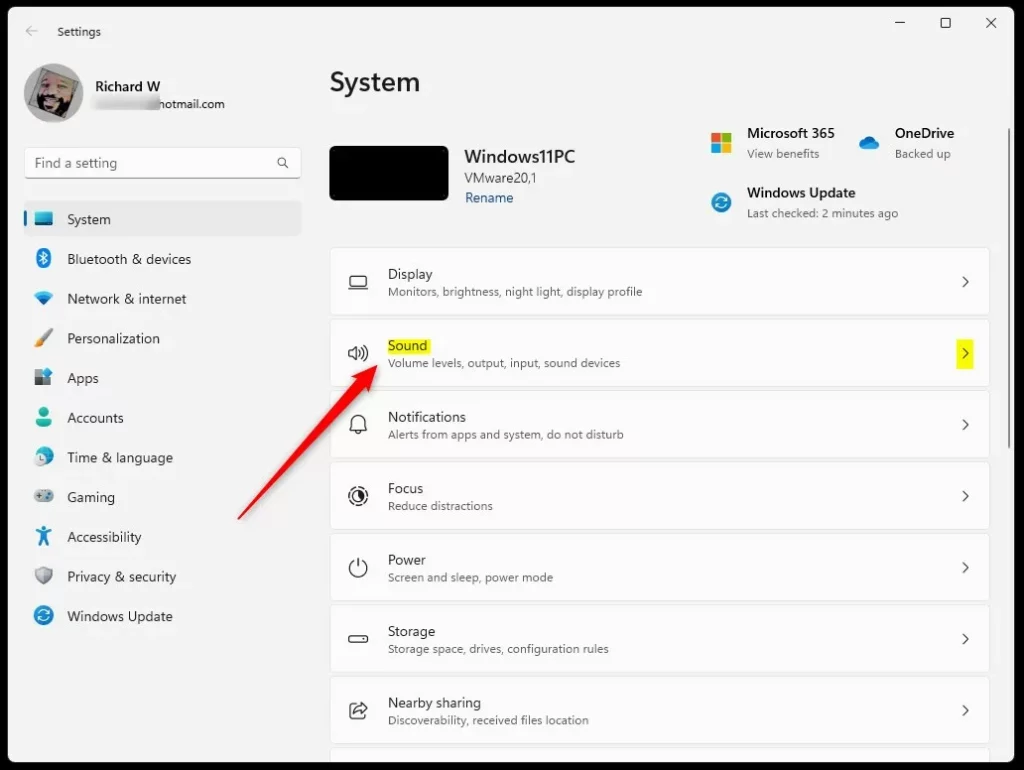
Click the “Sound” tile in Settings.
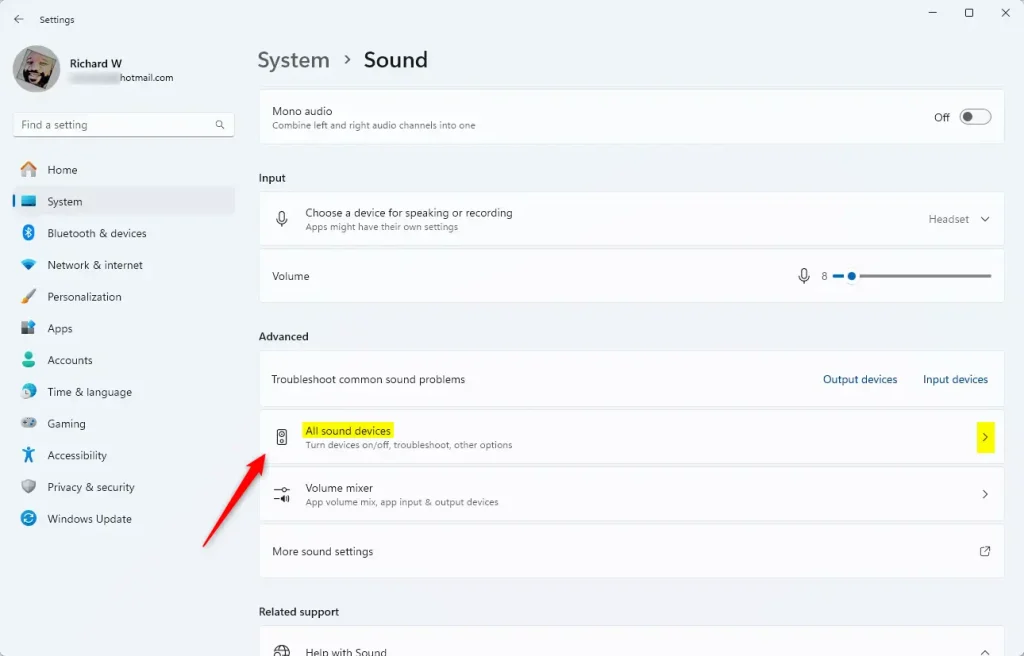
Find and click “All sound devices”.
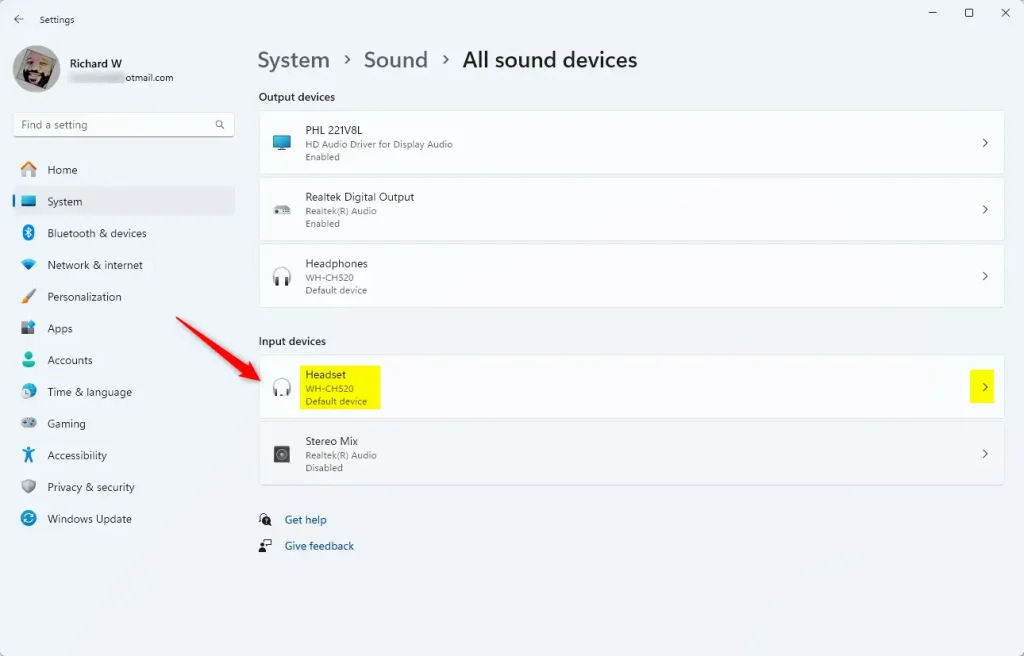
Select the microphone you want to rename.
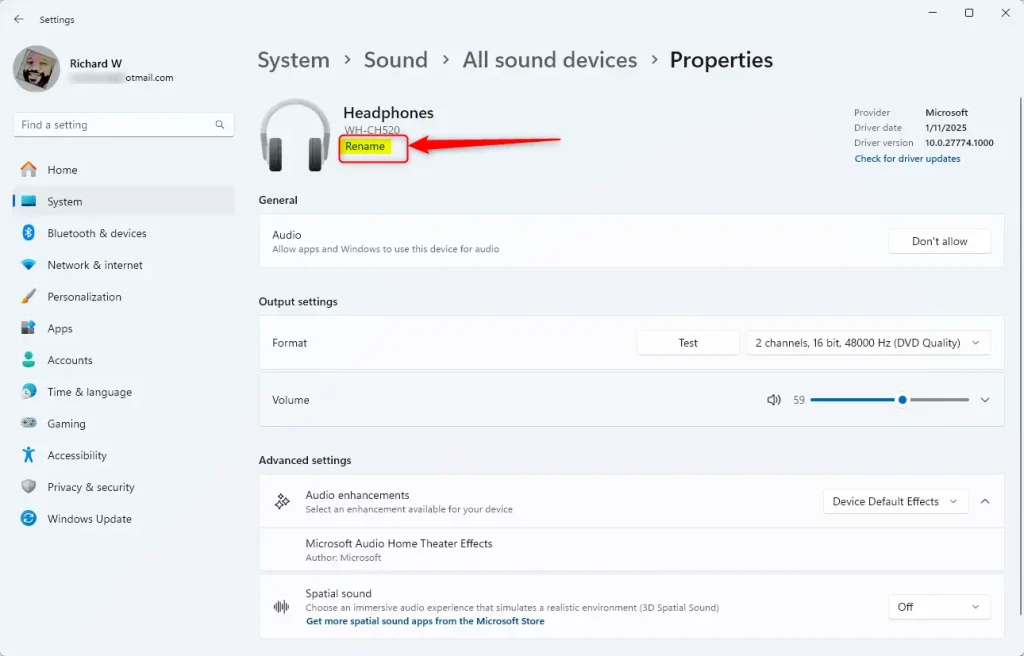
Click “Rename” and type your new name.
Rename Your Microphone Using Control Panel
If you like the older way of doing things, you can rename your microphone in Windows 11 using the Control Panel. This method is just as easy as using Settings and lets you give your mic a custom name to keep things organized.
- Open Control Panel
- Click the Start menu.
- Type Control Panel and press Enter.
- Go to Hardware and Sound > Sound
- In Control Panel, click Hardware and Sound.
- Then click Sound.
- Find Your Microphone
- In the Sound window, click the Recording tab.
- Select Your Microphone
- Click the microphone you want to rename.
- Then click Properties.
- Rename It
- In the Properties window, type the new name in the box at the top.
- Click Apply, then OK.
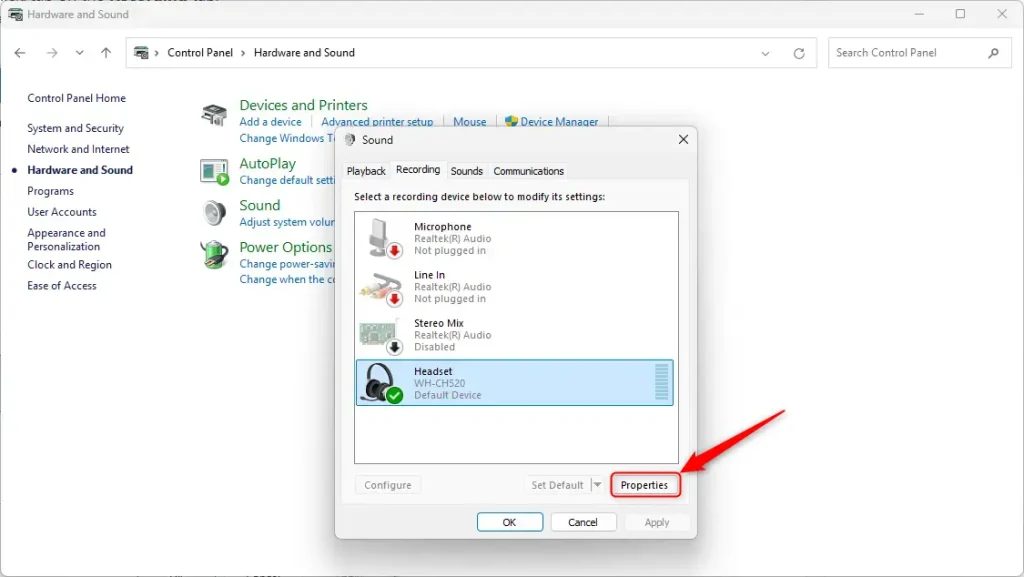
Select your microphone and click “Properties.”

Type a new name and click Apply.
Why Rename Your Microphone?
Renaming your microphone in Windows 11 helps you keep your audio devices tidy by giving them names that make sense to you. If you have more than one mic, this makes it much easier to select the correct one for calls or recordings without confusion.- Personalized Names: Give your microphones names that make sense to you.
- Better Organization: Easily tell one microphone from another if you have several.
- Faster Selection: Pick the right microphone quickly when recording or chatting.
- Easy Access: Rename microphones anytime using either Settings or Control Panel.
- Simple Process: It only takes a few clicks and seconds to rename your device.
Summary
Renaming your microphone in Windows 11 is a simple process that helps keep your audio devices organized, making it easier to pick the right one for calls or recordings.
How do I change the name of my microphone?
And then I’m going to rename this over here to video call microphone. And that’s renamed. And I go back again. Now you can see I have video call speakers and video call microphone.
How to rename audio Input?
And then click on Sound settings. Now here I scroll down, and you will see this option, More sound settings. Click on it. And now the sound control panel will appear.
Was this guide helpful?

About the Author
Richard
Tech Writer, IT Professional
Richard, a writer for Geek Rewind, is a tech enthusiast who loves breaking down complex IT topics into simple, easy-to-understand ideas. With years of hands-on experience in system administration and enterprise IT operations, he’s developed a knack for offering practical tips and solutions. Richard aims to make technology more accessible and actionable. He's deeply committed to the Geek Rewind community, always ready to answer questions and engage in discussions.


No comments yet — be the first to share your thoughts!