How to Install Windows Subsystem for Linux (WSL) on Windows 11

- 11 steps
- Needs administrator rights
- Includes a restart or sign-out
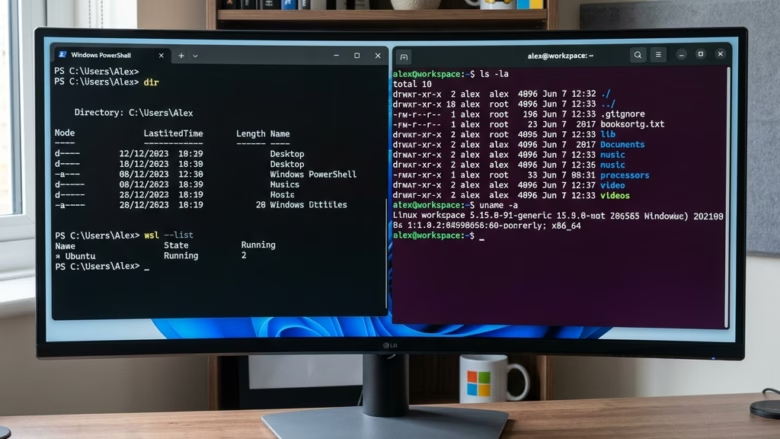
Windows Subsystem for Linux (WSL) lets you run Linux tools and apps directly on Windows 11 without a separate virtual machine. WSL 2 uses a real Linux kernel, so you get fast performance and full compatibility while you work.
You can set up WSL on your PC with a single command in PowerShell. Before you begin, check three things:
- Your PC runs Windows 11. Every release of Windows 11 is newer than the version 2004 requirement, so you meet it already.
- You have administrator rights on the account you are using.
- Virtualization is turned on in your PC’s BIOS/UEFI. WSL 2 needs it. Most modern PCs ship with it enabled, but if the install complains about virtualization, check that setting.
There are two ways to install. The Microsoft Store method is point-and-click. The PowerShell method does everything in one go and is the one I use most.
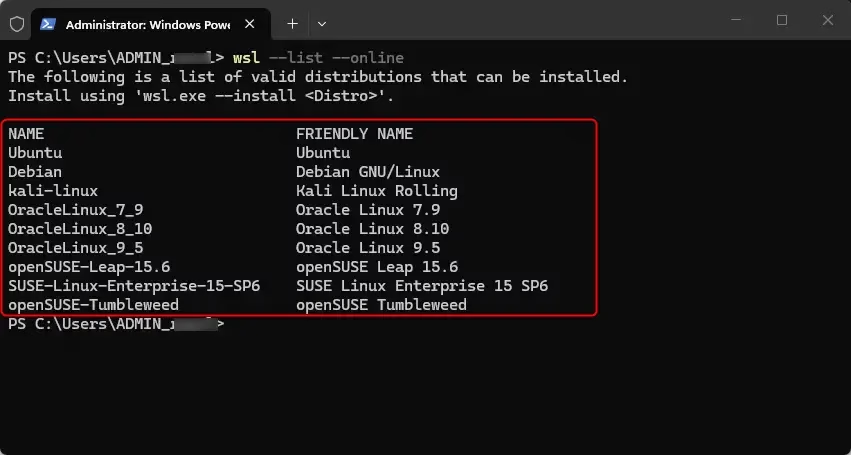
Open PowerShell as administrator and run wsl –install to install WSL on Windows 11. It sets up WSL 2 with Ubuntu by default. Restart your PC when prompted, then open Ubuntu from the Start menu to create a Linux username and password. To pick a different distribution, run wsl –list –online first and use wsl –install -d with the exact name shown.
Option 1Install via Microsoft Store
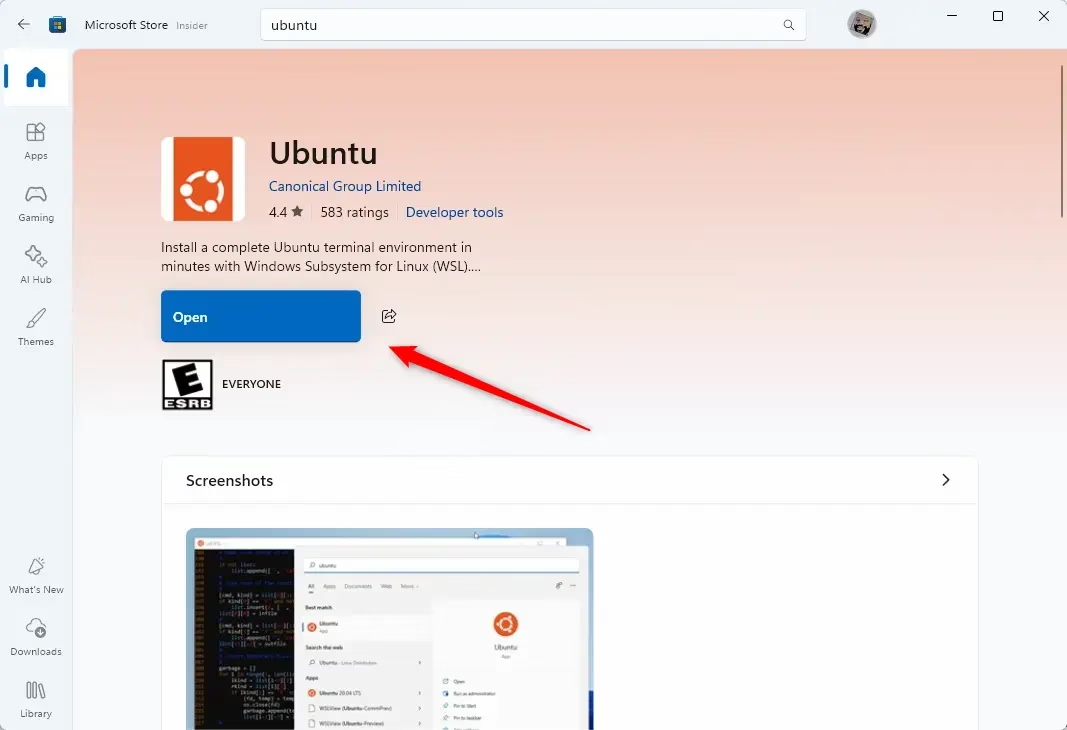
- Open the Microsoft Store in your browser, or open the Microsoft Store app from the Start menu . The Store window should open.
- Search for your preferred Linux distribution, such as Ubuntu, Debian, or Kali Linux. The distribution’s page should appear in the results.
- Click Get or Install. The download starts, and the button changes to Open when it finishes.
In that case, use the PowerShell method below, which sets up WSL and the distribution together. Enabling WSL features can require a restart, so save your work first.
Option 2Install via Command Line
- Click Start and type PowerShell.
- Right-click Windows PowerShell and choose Run as administrator. Click Yes if User Account Control asks for permission. A PowerShell window opens with “Administrator” in the title bar.
- Run
wsl --list --onlineto see the available distributions. PowerShell prints a list of names you can install. - Run
wsl --install -d <DistroName>to install a specific one. Use the name exactly as it appears in the list. PowerShell downloads and installs the components, which can take several minutes. - Restart your PC if you are prompted to. After the restart, the installation may continue on its own and open the Linux window.
If the command is not recognized or fails, you most likely did not open PowerShell as administrator. Close the window and repeat step 2.
WSL 1 vs WSL 2
WSL 1 translates Linux system calls to Windows system calls. WSL 2 uses a real Linux kernel inside a lightweight virtual machine. WSL 2 is faster and supports full system call compatibility. Most users should choose WSL 2 for better performance.
One thing to know: WSL 1 can be quicker when you work with files stored in the Windows file system. WSL 2 is quicker when your project files live inside the Linux file system. For most development work, WSL 2 is the better default.
Post-Installation Setup
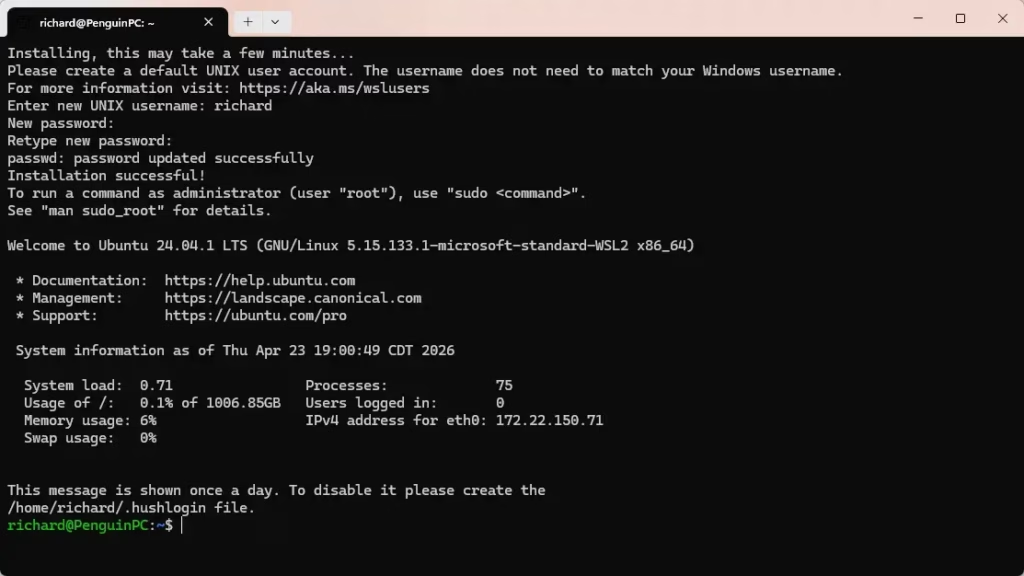
Once installed, launch the Linux app from your Start menu. The first launch takes a minute or two while the distribution finishes setting itself up, so wait for the prompt.
- Wait for the window to ask you for a username, then type a UNIX username and press Enter.
- Type a password and press Enter. Nothing appears on screen as you type. That is normal for Linux.
- Type the password again to confirm. You should land at a command prompt, which means your Linux environment is ready.
This username and password are separate from your Windows account. Remember the password, because Linux asks for it whenever you run a command with administrator privileges.
This deletes the Linux files stored inside it, so copy anything you need first.
Frequently asked questions
How do I install WSL2 on 🪟 Windows 11?
Open Windows Terminal or PowerShell as administrator, type wsl --install, and press Enter. Restart your PC when the install finishes. By default, this sets up WSL 2 with Ubuntu. Then open Ubuntu from the Start menu to create a Linux username and password.
Which is better, VM or WSL?
Neither is better for every job. Choose WSL when you want Linux command-line tools and apps running quickly beside Windows, since it starts fast and uses less memory. Choose a virtual machine (a full computer simulated inside your PC) when you need a complete, separate system, such as testing a different operating system or isolating risky software.
Is it safe to install Linux alongside Windows?
Yes. WSL runs inside Windows and does not touch your Windows files or boot settings. A full Linux install beside Windows, called dual booting, is different. It changes your disk layout, so back up your files first. A mistake while resizing partitions (the sections of your disk) can erase data.
How to reinstall WSL2?
Back up your Linux files first, because removing a distribution (a Linux version such as Ubuntu) deletes everything inside it. Open PowerShell as administrator and run wsl --list to see your distribution names. Run wsl --unregister followed by the name to remove it. Then run wsl --install to set up a fresh copy.
Still have a question?
Answered by AI from this guide. Good questions may be added to this page — please don't include personal details.
Did this guide fix your problem?

About the Author
Richard
Tech Writer, IT Professional
Richard is a writer at Geek Rewind who turns complex IT tasks into clear, step-by-step guides. He draws on years of hands-on experience in system administration and enterprise IT operations, focusing on Windows, Linux and WordPress: the problems people actually run into, and the fixes that work. His server and WordPress guides come from systems he runs himself. Richard builds and maintains the platform behind Geek Rewind, from its Ubuntu servers and Nginx configuration to its custom WordPress plugins. Many new tutorials start with readers' questions, and he's always glad to answer them in the comments.
No comments yet — be the first to share your thoughts!