How to Configure Voice Clarity for Microphone Input in Windows 11

Voice Clarity in Windows 11 is a built-in feature that uses AI to remove background noise, echo and room reverb from your microphone audio in real time. It started on high-end Surface devices with Neural Processing Units (NPUs), which are chips built for AI work. Microsoft now supports the same audio cleanup on standard x86 and x64 processors through regular Windows updates.
This guide shows how to check whether your PC supports the feature and how to turn it on, so your voice sounds clear on calls and meetings. Whether it works depends on your hardware, your audio driver and the app you use. It covers the system settings in Settings System Sound and the app-side controls.
Open Settings System Sound, select your microphone under Input, and switch on Voice Clarity. If the option is missing, install Windows updates and your audio driver first, since Voice Clarity needs a current audio driver and system files. Changes take effect on your next call, with no restart needed.
Checking Your Audio Drivers and Windows Update Status
Start with updates and drivers. Voice Clarity needs a current set of Windows files and an audio driver that exposes the right audio processing. Outdated drivers and missing system updates are the most common reason enhancement options do not appear in Windows 11.
These steps update Windows and your audio drivers so the voice clarity options can show up. First, update Windows itself:
- Press Win+I to open Settings. The Settings window appears with a list of categories on the left.
- Select Windows Update in the left-hand sidebar. The update status page opens on the right.
- Click Check for updates . Windows downloads the latest system patches and any optional hardware drivers it finds.
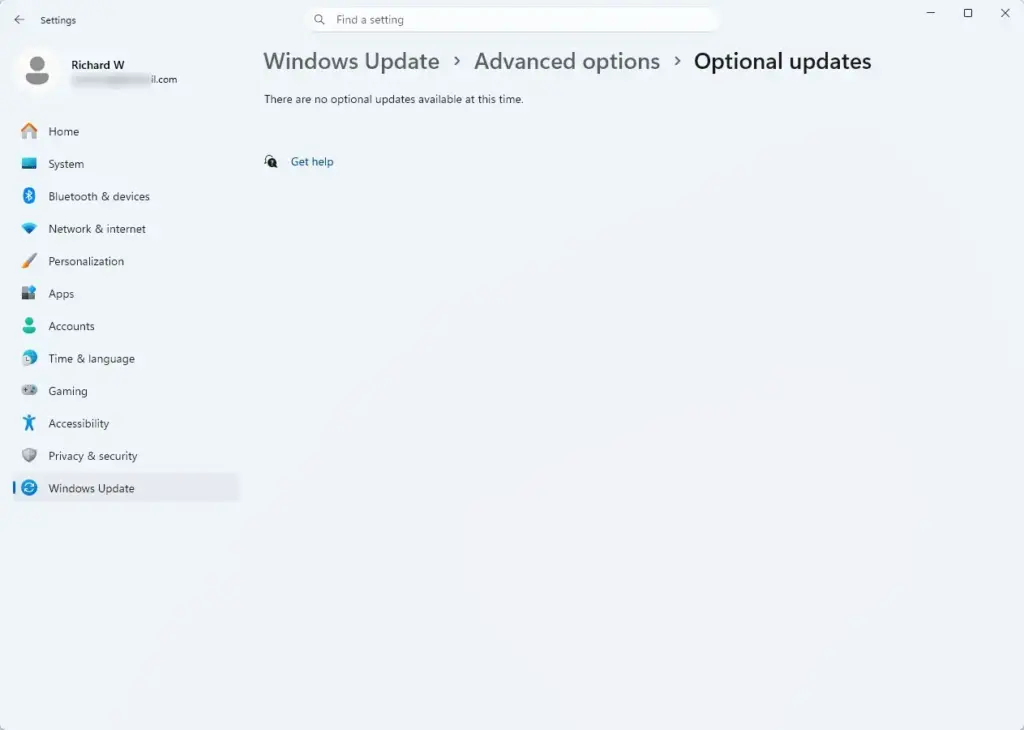
Settings › Windows Update › Advanced options › Optional updates - Restart your computer if Windows asks for it. Some audio components only finish installing after a reboot, so do not skip this.
Administrator privileges are needed for the driver step.
- Right-click the Start button and select Device Manager. A window opens with your hardware grouped into categories.
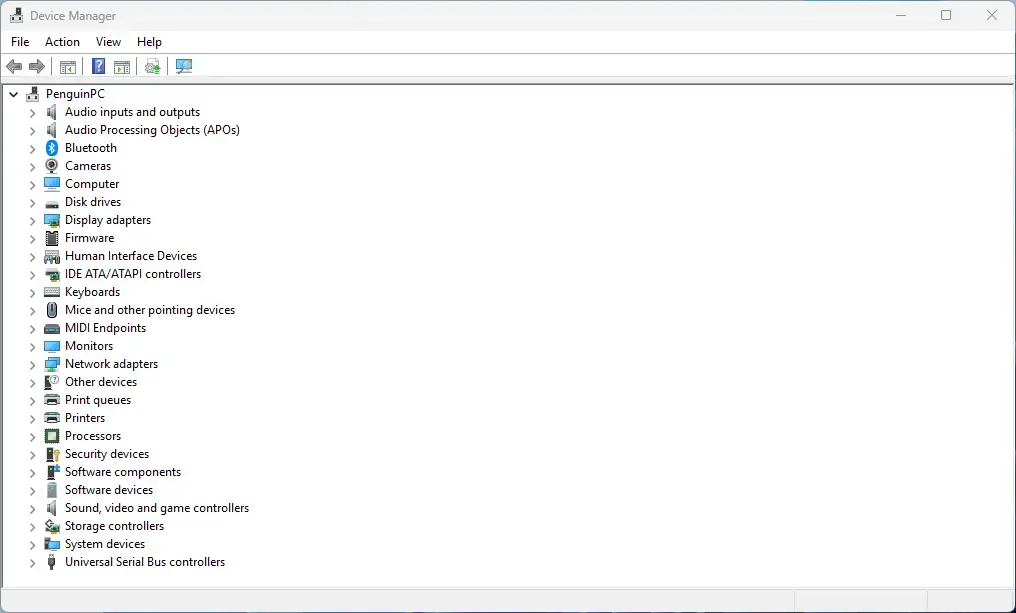
Device Manager - Expand the Audio inputs and outputs category. Your connected microphones and speakers should be listed underneath.
- Expand the Sound, video and game controllers category. Your main audio chipset appears here, such as Realtek Audio or Intel Smart Sound Technology.
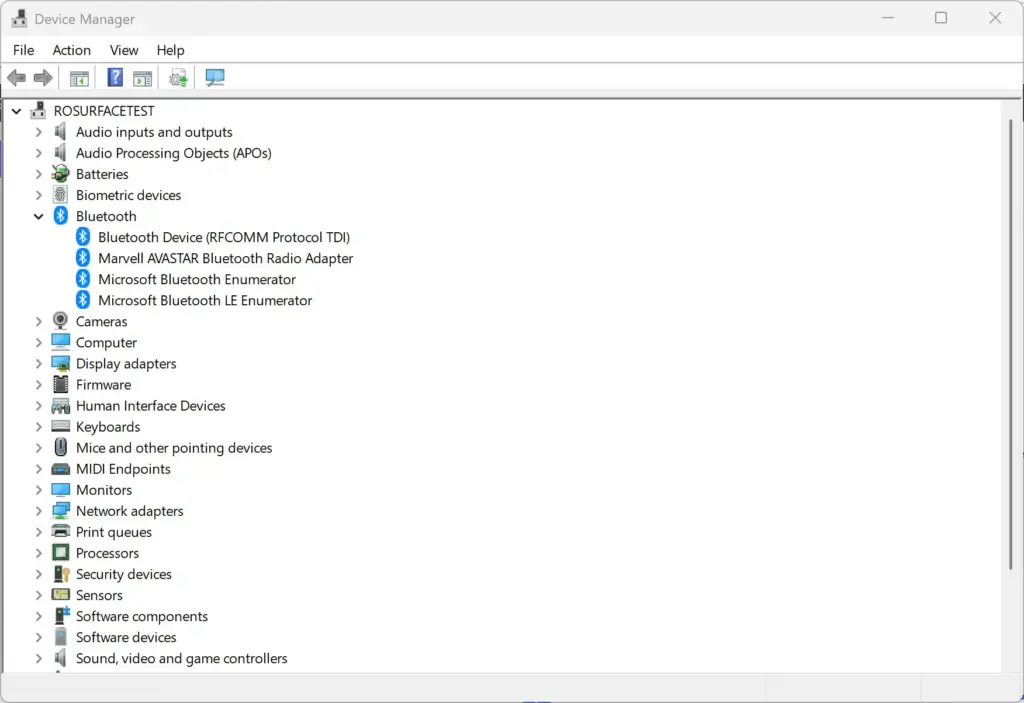
- Right-click your audio device and select Update driver. A window asks how you want to search for drivers.
- Choose Search automatically for drivers. Windows looks for a newer driver and installs it if it finds one.
If Windows says your drivers are up to date, that only means it found nothing newer through its own channels. Check your PC or motherboard manufacturer’s support website, or a tool such as MSI Center, for a newer audio package for your exact hardware. Manufacturer packages are often newer than what Windows Update offers. Restart the PC if the installer asks for it.
How Voice Clarity Works in Communications Apps
Voice Clarity works on its own for apps that use the built-in Windows communications audio path. These apps take the raw audio stream from your microphone and pass it through the system-level AI filter during calls. The filter strips out background noise before your speech is sent. No extra setup is needed in each program.
Some applications skip Windows audio processing entirely. Older programs and dedicated gaming suites are the usual examples. Programs with their own proprietary noise-suppression engine will not trigger Voice Clarity either.
If voice clarity is poor in one specific app, these steps point that app at the Windows communications audio path:
- Open that application’s internal audio or voice settings. The name of this page varies by app, and it is often called Audio, Voice or Input.
- Find the microphone or input device list. It is usually a drop-down menu showing your current microphone.
- Select Default Communications Device in that list. Choose it instead of your physical microphone hardware.
- Make a short test call or recording. Play it back to hear the difference.
If the app has its own noise-suppression switch, turn it off while you test Voice Clarity. That way you know which filter you are hearing.
Managing Microphone Enhancements and Spatial Audio
The traditional microphone enhancement settings sit next to Voice Clarity and give you more control over audio quality. What you see depends on your audio codec and driver package, so some options below may be missing on your PC. That is normal, and it usually points back to the driver (see the troubleshooting section).
These steps turn on the audio enhancements that support voice clarity on your microphone:
- Open Settings. Press Win+I if you want a shortcut.
- Go to System Sound The page lists your output and input devices.
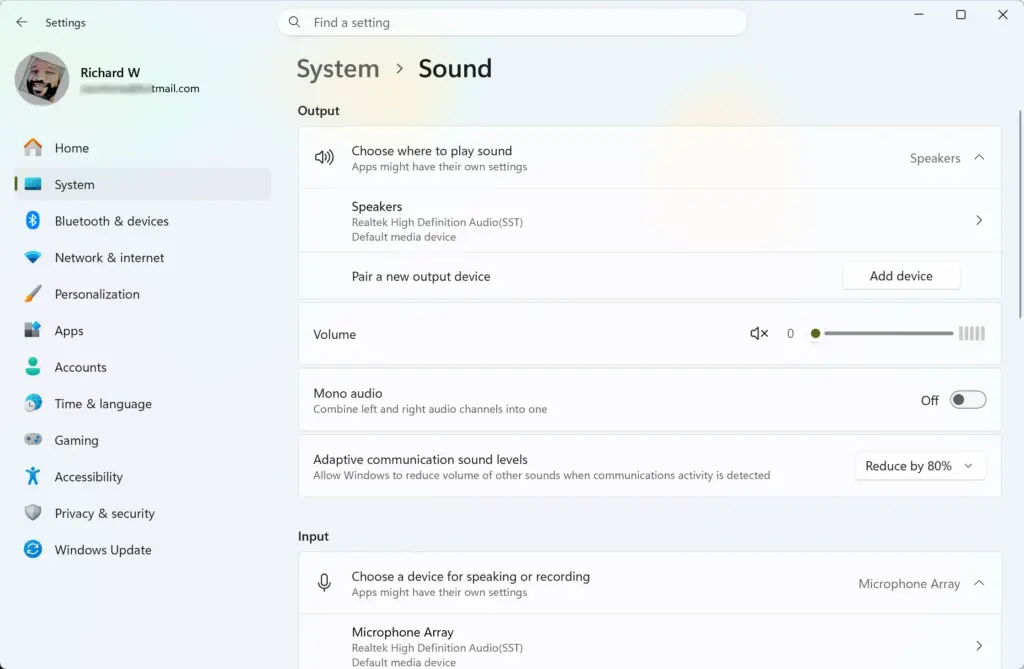
Settings › System › Sound - Scroll down to the Input section. Your microphones are listed there.
- Click your active microphone. Its properties page opens.
- Set Audio enhancements to Device default effects or Enabled. The exact wording depends on your driver.
- Check the Echo cancellation and Noise suppression settings on the same page. These appear only if your driver offers them.
To undo the change, return to the same page and switch Audio enhancements back to its previous setting. No restart is needed.
Do not run third-party noise cancellation software at the same time as Windows audio enhancements. Stacking several background filters on the same microphone stream causes audio gating, robotic distortion, or complete voice dropouts during a conversation. Pick one filter and turn the others off.
Troubleshooting Missing Voice Clarity Options
If the Voice Clarity options are missing, the cause is usually a hardware limit or an unsupported audio driver. The same goes for background noise that is still not filtered during calls. Your PC probably uses the generic Microsoft audio driver instead of manufacturer software from Realtek, Conexant, or Intel.
Voice Clarity needs specific audio signal processing paths that your audio driver must support. With the generic Microsoft driver, advanced processing features can stay hidden. Reinstalling your manufacturer’s audio driver package normally restores the missing processing objects. Restart the PC afterwards and check the Input page again.
Application compatibility is another common cause. If an application opens your microphone in exclusive mode, it blocks Windows from applying system-level filters. These steps stop apps from taking exclusive control, so voice clarity filtering can reach your microphone:
- Open Settings. Press Windows Key + I if you prefer the keyboard.
- Go to System Sound Input Your microphones are listed on this page.
- Click your microphone. Its properties page opens.
- Scroll to the bottom and select More sound settings. The classic Sound control panel opens.
- Right-click your microphone and select Properties. A properties window opens with several tabs.
- Click the Advanced tab. The format and exclusive mode options are on this tab.
- Uncheck Allow applications to take exclusive control of this device. It sits under the Exclusive Mode section.
- Click Apply and then OK. This saves the change and closes the window.
Close and reopen any app that was already using the microphone so it picks up the new setting. To undo the change, tick the same box again.
What to do next
Once your microphone filters background noise properly, you can move on to setting up Windows Studio Effects. It adds camera framing and eye contact correction for video calls.
Frequently asked questions
Why can I hear myself through my mic in 🪟 Windows 11?
You're hearing mic feedback, usually from your speakers playing back what your microphone picks up. Check your audio settings to make sure your microphone isn't set to play through speakers. In Settings System Sound, scroll down and turn off any mic monitoring or listen to this device options.
Does 🪟 Windows 11 have a voice assistant?
Yes. Windows 11 includes Cortana, a voice assistant you can activate by saying "Hey Cortana" or searching for it in Start. You can also use voice typing by pressing Windows Key + H to dictate text in most apps without needing a third-party assistant.
Why does my audio sound weird in 🪟 Windows 11?
Weird audio usually means outdated drivers or wrong audio settings. Update your audio drivers through Settings System Windows Update Check for updates. Also check Settings System Sound to verify your input and output devices are correct and volumes are balanced.
Does 🪟 Windows 11 have a built-in microphone?
Most Windows 11 laptops have built-in microphones, but desktops don't. Check your device manual or Settings System Sound Input devices to see what's available. If you don't have one or need better quality, you'll need to buy an external USB microphone.
Still have a question?
Answered by AI from this guide. Good questions may be added to this page — please don't include personal details.
Did this guide fix your problem?

About the Author
Richard
Tech Writer, IT Professional
Richard is a writer at Geek Rewind who turns complex IT tasks into clear, step-by-step guides. He draws on years of hands-on experience in system administration and enterprise IT operations, focusing on Windows, Linux and WordPress: the problems people actually run into, and the fixes that work. His server and WordPress guides come from systems he runs himself. Richard builds and maintains the platform behind Geek Rewind, from its Ubuntu servers and Nginx configuration to its custom WordPress plugins. Many new tutorials start with readers' questions, and he's always glad to answer them in the comments.
No comments yet — be the first to share your thoughts!