How to Change Default Audio Devices per Application in Windows 11

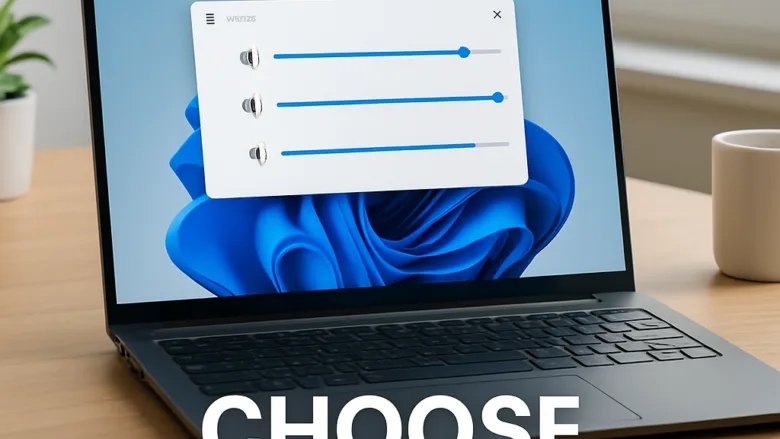
Sound routing in Windows 11 lets you send audio from different apps to separate speakers, headphones, or headsets at the same time. Windows does not have to send every sound to one default device. You can play a game through your desktop speakers while a browser video plays through Bluetooth headphones.
Windows 11 manages per-app output and volume inside the Settings app, so you do not need to install extra software. The only exception is the optional PowerShell method near the end, which uses a community module and is for switching your default device, not for per-app routing.
Open Settings System Sound, find the Output section, and click the device you want as default. To route individual apps to different devices, scroll down to Volume mixer, click an app, and select its output device from the dropdown. Each app remembers its choice independently.
Understanding Audio Basics in 🪟 Windows 11
Windows 11 splits your sound hardware into output devices, which you listen to, and input devices, which record. Knowing which is which makes troubleshooting easier. Most “no sound” and “nobody can hear me” problems come from the wrong device being selected in one of these two groups.
- Output Devices: These make sound for you to hear. Examples include built-in laptop speakers, monitors with speakers, wired headphones, and Bluetooth headsets.
- Input Devices: These pick up your voice or other sounds. Examples include built-in laptop microphones, headset microphones, and standalone USB microphones.
By default, Windows uses one main output device and one main input device for everything. When you change that main device, every app that has no override of its own follows the change. The Volume Mixer in Windows 11 lets you break away from that default and tell individual apps where to send their sound. An app-specific choice always wins over the system default.
Bluetooth and USB devices only show up in the lists below while they are connected and powered on. If a device is missing, check that it is paired or plugged in before you look anywhere else.
Method 1Change the Main Sound Device Using the Quick Settings Panel
The Quick Settings panel is the fastest way to change your main sound device in Windows 11. You do not have to open any menus. It changes the system-wide default, not the setting for a single app.
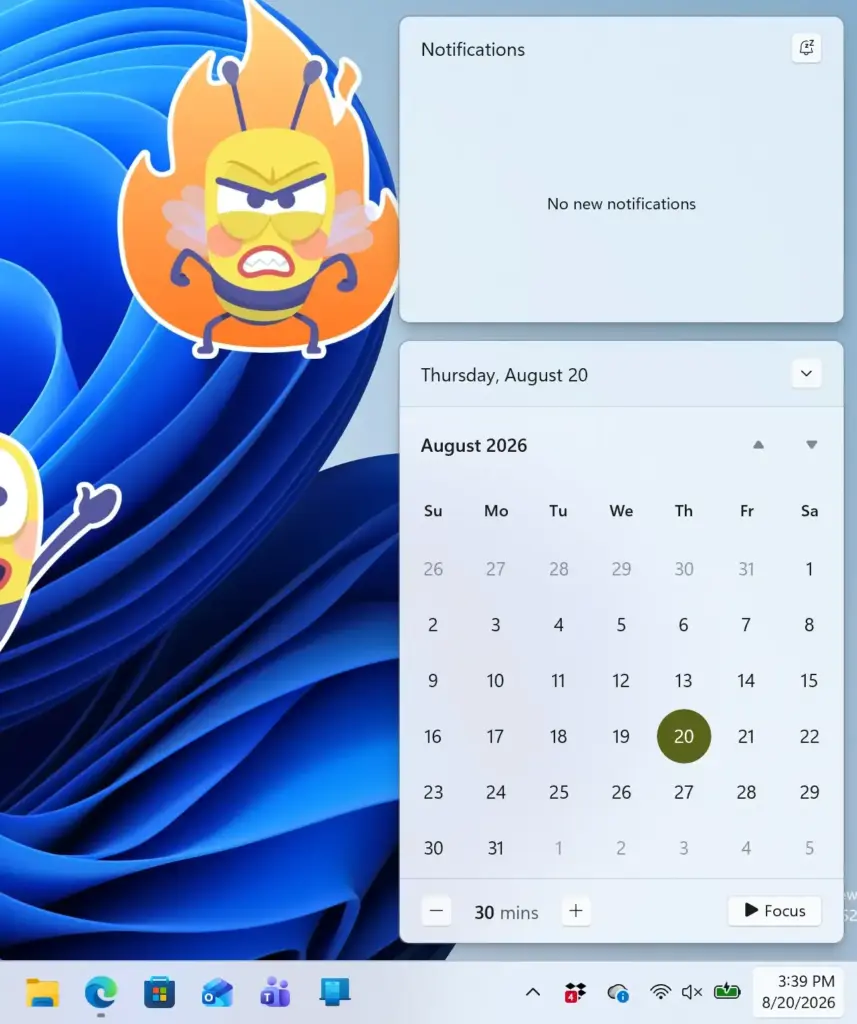
- Look at the bottom right corner of the taskbar and find the group of icons next to the clock (Wi-Fi, speaker, battery). You can also press the Windows key + A to open the panel from the keyboard.
- Click the speaker icon. The Quick Settings panel opens with tiles for Wi-Fi, Bluetooth, and other options, plus a volume slider at the bottom.
- Click the small icon to the right of the volume slider. It looks like a speaker with an arrow. Its tooltip reads Select a sound output. A list of your connected playback devices opens.
- Click the device you want to use. Windows switches general sound to it right away, and a check mark or highlight appears beside the device you picked.
If the slider has no arrow icon, the panel may be in a trimmed-down layout. Click the pencil (Edit quick settings) icon to check which controls are pinned. To undo the change, open the list again and pick the previous device.
Method 2Set the Default Sound Device via 🪟 Windows 11 Settings
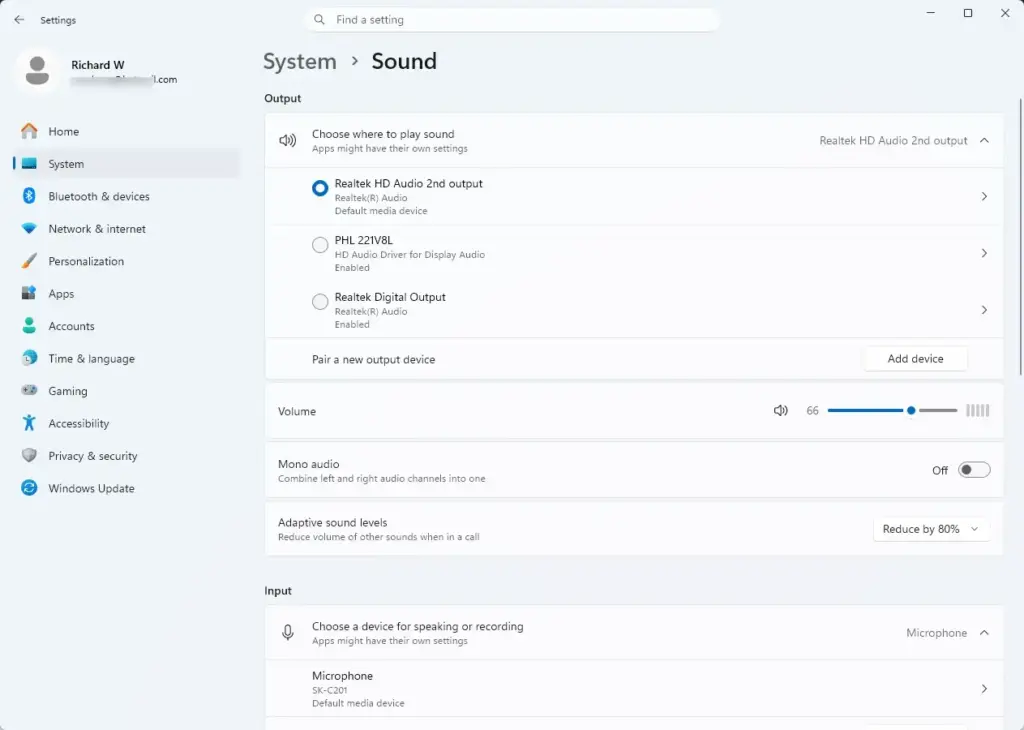
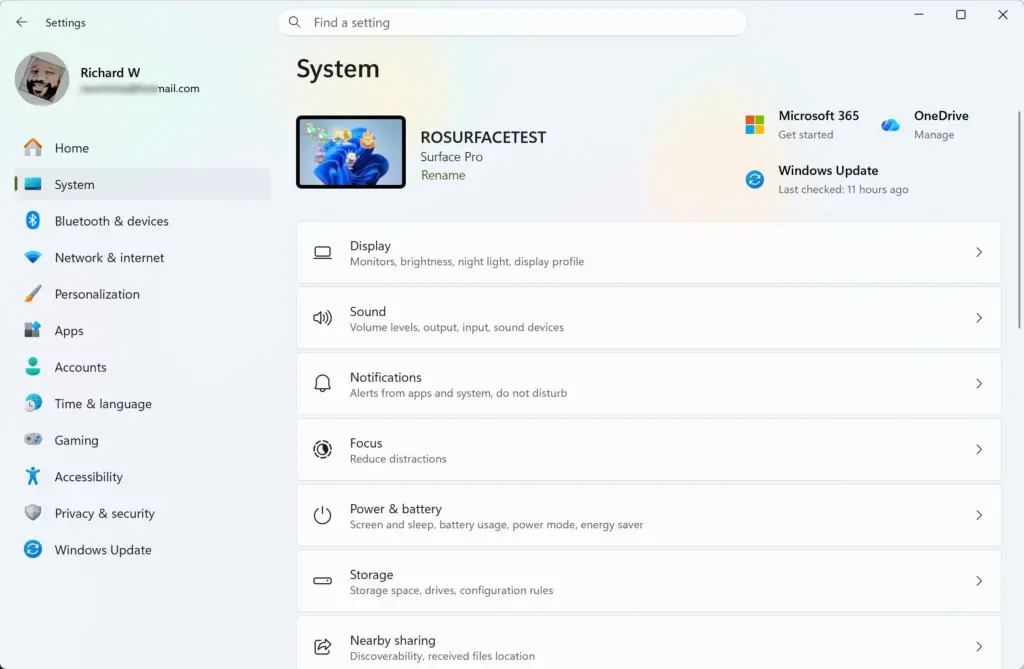
The Settings app gives you a more deliberate way to set the default sound device. It also shows both output and input devices on one page. Open it from the Start menu, then go to System Sound
- Click the Start button, type settings, and press Enter. You can also press the Windows key + I. The Settings window opens.

Taskbar - Click System on the left side.
- Click Sound in the main panel on the right. The page lists your output and input devices.
- Find the Output section. On some Windows 11 versions it shows the words Choose where to play sound. On newer builds, the connected devices are listed directly under Output.
- Select the speaker or headset you want as your main device. Older builds use a dropdown. Newer builds use a radio button next to the device name.
- To change your microphone, scroll down to the Input section and select your preferred microphone under Choose a device for speaking or recording. On newer builds, select it directly in the Input list.
You can click a device name to open its properties. There you can test it, adjust volume, and see whether it is allowed to be used. A disabled device will not appear in the main list. No restart is needed for any of these changes.
Method 3Configure Using the Legacy Sound Control Panel
The classic Sound Control Panel is still in Windows 11. It is useful because it can show devices that the Settings app hides, including disabled and disconnected ones. Open it by typing mmsys.cpl in the Start menu and pressing Enter.

- Click the Start button, type mmsys.cpl, and press Enter. The Sound window opens.
- Make sure you are on the Playback tab. Your speakers and headphones are listed there. The Recording tab does the same for microphones.
- If a device you expect is missing, right-click an empty area of the list and tick Show Disabled Devices and Show Disconnected Devices. A device that is disabled can be re-enabled by right-clicking it and choosing Enable.
- Right-click the device you want as your primary output.
- Click Set as Default Device. A green check mark appears on that device's icon.
- If you want the same device to handle calls and video meetings, right-click it again and choose Set as Default Communication Device. A green phone icon appears on it.
- Click OK to save your changes and close the window.
You can set a different device as the Default Communication Device. For example, you can use speakers for music and a headset for calls. Some apps follow the communication default, and others ignore it.
Method 4How to Change Default Audio Devices Per Application in 🪟 Windows 11
This is the feature the article is about. Windows 11 can send each app's sound to a different output device, and it can also pick a different input device for each app. You do this in the Volume mixer. Right-click the speaker icon in the taskbar to open it directly.
- Open the app or game whose sound you want to change. Start playing something in it. Windows only lists apps it can see making sound, so an app that has not played anything yet may be missing.
- Right-click the speaker icon at the bottom right of the taskbar and select Open Volume Mixer. Settings opens at System Sound Volume mixer
- Find the Apps list. Each running app has its own volume slider.
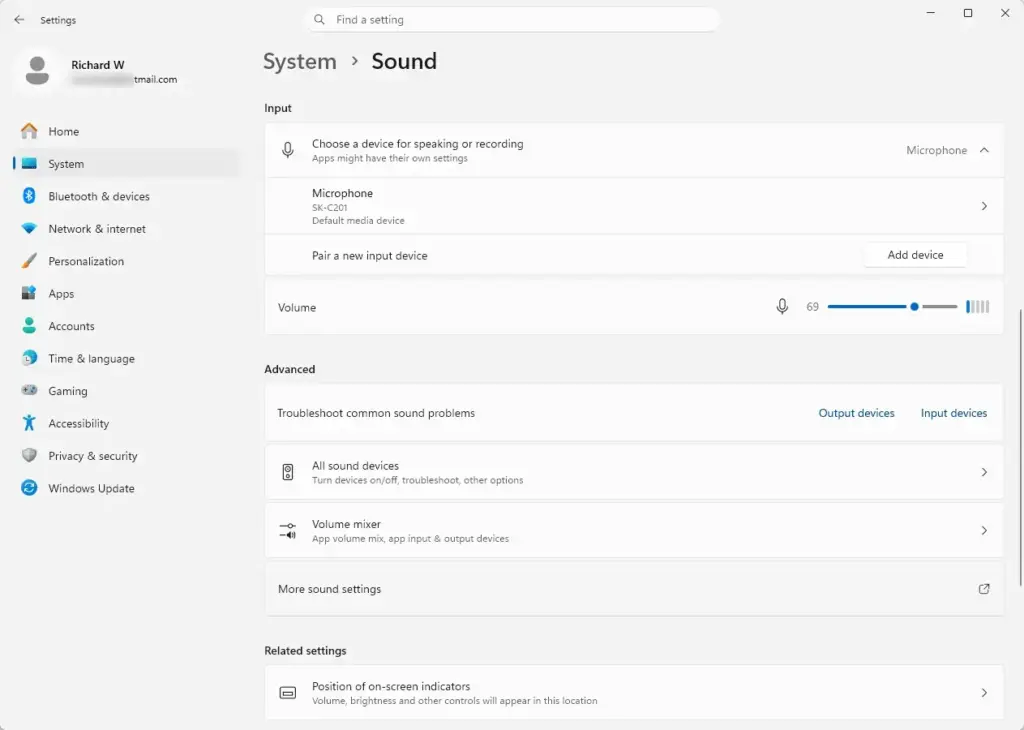
Settings › Sound › Advanced - Click the arrow beside the app name to expand it. On current Windows 11 builds, you then see dropdowns for Output device and Input device. On older builds, the output choice appears in a dropdown beside the app name, on the Advanced sound options page.
- Open the dropdown and select the speaker, headset, or virtual audio cable you want that app to use.
- Repeat for any other app you want to route somewhere else. The change applies at once. You do not need to restart the app, though a few apps keep using the old device until you pause and resume playback.
Windows remembers this as long as those devices stay connected. If a device is unplugged, the app falls back to the system default.
To undo an app's setting, open its dropdown again and choose Default. This works the same on Home and Pro. If an app does not appear in the list or ignores your choice, check its own audio settings, which are covered next.
Method 5Configure Audio in Popular Apps Like Zoom and Microsoft Teams
Communication apps like Zoom and Microsoft Teams have their own sound settings, and these can override what you set in Windows. If people cannot hear you, or you cannot hear them, open the audio settings inside that app and pick the right microphone and speaker.
- Open your communication app, such as Zoom or Microsoft Teams.
- Open the app's settings. In most of these apps, this is a gear icon or a menu under your profile picture.
- Click the Audio or Devices tab, depending on the app.
- Select your preferred speaker and microphone from the dropdowns in the app. If you are having trouble, do not rely on the setting that matches the computer's default (it is often named something like Match computer or Same as System). Choose the device by name instead.
- Use the test option in the app, if it has one, to play a sound or record your voice. Then confirm the correct device reacts.
When in doubt, set the device in one place only and leave the other on its default.
Method 6Leverage PowerShell to Automatically Set the Default Output Device
PowerShell can switch your default audio device from a script, so you do not have to click through menus. This relies on a community-made audio module, such as AudioDeviceCmdlets, because Windows does not ship with cmdlets for this. It is meant for advanced users who want a shortcut or script that changes the default output.
Windows 11 already has per-app routing built in, in the Volume mixer described above, so you do not need PowerShell for that. The community module is mainly for changing the default device for the whole system. Check the module's own documentation before you expect it to do more.
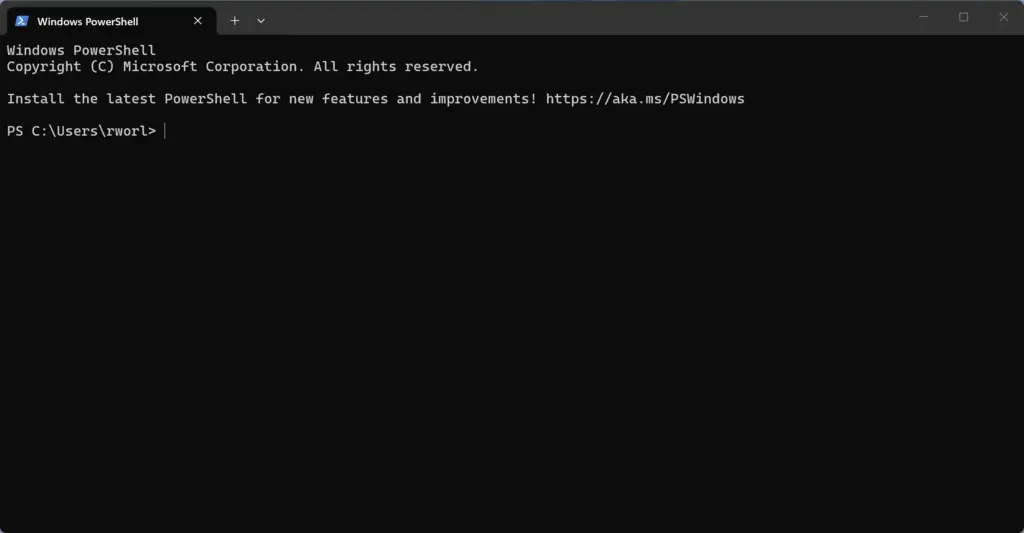
- Click the Start button, type powershell, right-click Windows PowerShell, and select Run as administrator. Click Yes if you see the User Account Control prompt. A blue window opens with an administrator title.
- Install the audio module if you do not have it yet. Use the install command shown on the module's page in the PowerShell Gallery. Only install modules from sources you trust, and answer any prompts about the repository carefully.
- Use the module's list command to show your playback devices. Note the exact name of the speaker or headset you want, and the number or ID it shows.
- Run the module's command to set the default playback device. Type the exact device name in quotes, or use the ID, as the module's documentation shows.
If the command is not recognized, the module is not installed or has not loaded. If it complains about permissions, make sure the window really was opened as administrator. To undo a change, run the same set command with your previous device, or pick it in Settings System Sound
Summary
Changing default audio devices in Windows 11 is simple once you know which tool does what. Use Quick Settings or Settings System Sound for the system-wide default. Use mmsys.cpl for disabled or hidden devices and for the communication default. Use the Volume mixer to send individual apps to their own devices. Check the app's own audio menu when a program still ignores your choice.
Frequently asked questions
How to set apps default audio device?
Open Settings, then go to System Sound Advanced Volume mixer Under App volume and device preferences, find the app and choose a device from its Output dropdown. Apps only appear in this list after they have played sound, so start playback first. Your choice applies to that app only, and the system default stays the same.
Can I set the default audio device in the spotify app in 🪟 Windows 11?
Yes. Spotify appears in the App volume and device preferences list once it plays audio. Open Settings, go to System Sound Advanced Volume mixer, and pick your speakers or headphones from Spotify's Output dropdown. Other apps keep their own devices, so Spotify's choice won't change them.
How to set the number of audio?
The number of audio channels depends on your speakers. To change the volume level, use the slider in Quick Settings or the Volume mixer. To set the channel layout, right-click the speaker icon in the taskbar, open Sound settings, select your device on the Playback tab in More sound settings, and click Configure.
Can I output one app audio to headset and speakers onpc?
Yes. Open Settings System Sound Advanced Volume mixer, then set each app's Output device separately. For example, send Spotify to your speakers and a video call to your headset. Both sounds then play at the same time, and each app keeps its own volume.
Still have a question?
Answered by AI from this guide. Good questions may be added to this page — please don't include personal details.
Did this guide fix your problem?

About the Author
Richard
Tech Writer, IT Professional
Richard is a writer at Geek Rewind who turns complex IT tasks into clear, step-by-step guides. He draws on years of hands-on experience in system administration and enterprise IT operations, focusing on Windows, Linux and WordPress: the problems people actually run into, and the fixes that work. His server and WordPress guides come from systems he runs himself. Richard builds and maintains the platform behind Geek Rewind, from its Ubuntu servers and Nginx configuration to its custom WordPress plugins. Many new tutorials start with readers' questions, and he's always glad to answer them in the comments.
No comments yet — be the first to share your thoughts!