How to Enable or Disable Exclusive Mode for Audio Device in Windows 11
This guide explains how to turn Exclusive Mode on or off for your audio devices in Windows 11.
Why use this? Exclusive mode lets specific apps take total control of your speakers or microphone. This can improve sound quality for professional audio software by bypassing Windows background processing. However, it stops other apps from playing sound at the same time.
What happens when done? If enabled, your chosen app will have priority. Other applications may stop producing sound until you close the app using the exclusive connection.
Open Settings, go to System > Sound > All sound devices, select your device, and toggle “Exclusive mode” under Advanced settings. Alternatively, open Control Panel, click Sound, select your device, go to Properties > Advanced, and check or uncheck the “Allow applications to take exclusive control” box.
Option One
Enable or Disable Exclusive Mode for Audio Device in Settings
- Open Settings (press ⊞ Win+I).
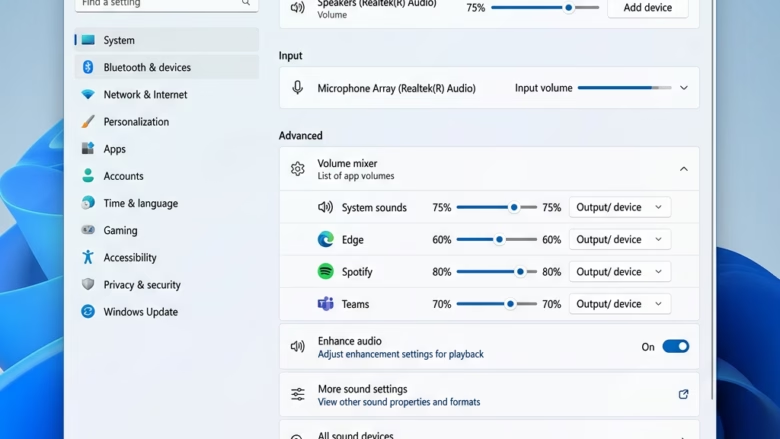
- Click System on the left, then click Sound on the right. Open Sound settings

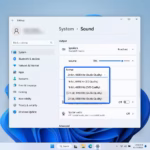
- Click All sound devices. Open All sound devices settings

- Select the output or input device you want to change.

- Under Advanced settings, use the toggle switch to turn Exclusive mode on or off.
- If you turned it on, you can also toggle Allow preemption to decide if those apps get priority.

- Close the Settings window when finished.
Option Two
Enable or Disable Exclusive Mode for Audio Device in Control Panel
- Open the Control Panel and click the Sound icon.
- Select the Playback (output) or Recording (input) tab. Pick your device and click Properties.
- Click the Advanced tab.
- Check or uncheck the box for Allow applications to take exclusive control of this device.
- If checked, you can also check or uncheck Give exclusive mode applications priority.
- Click OK.


- Click OK again to save your changes.
Summary
Exclusive mode gives apps direct access to your audio hardware. You can manage this setting through the modern Settings menu or the classic Control Panel. Turning this on is great for high-quality audio work, but it may silence other apps while it is active.
Was this guide helpful?
100% of readers found this helpful (2 votes)

About the Author
Richard
Tech Writer, IT Professional
Richard, a writer for Geek Rewind, is a tech enthusiast who loves breaking down complex IT topics into simple, easy-to-understand ideas. With years of hands-on experience in system administration and enterprise IT operations, he’s developed a knack for offering practical tips and solutions. Richard aims to make technology more accessible and actionable. He's deeply committed to the Geek Rewind community, always ready to answer questions and engage in discussions.


No comments yet — be the first to share your thoughts!