What Windows 11 Projecting to This PC Actually Requires to Work Wirelessly

Projecting to this PC in Windows 11 lets you mirror a phone, tablet or another PC to your screen wirelessly. It uses Miracast, a built-in screencasting standard. The receiving PC does not need a router or cables. The sending device connects to it directly over Wi-Fi .
Both the Wi-Fi card and the graphics card in the receiving PC must support Miracast, and both need current drivers. Older machines and cheap replacement Wi-Fi cards often lack this support. When they do, the connection fails or the PC never shows up as a display. Check the hardware first, because no setting can fix an adapter that does not support Miracast.
Projecting to this PC on Windows 11 wirelessly requires a Wi-Fi adapter and graphics card that both support Miracast technology, plus the optional Wireless Display feature installed through your system settings. You can check your hardware by opening the DirectX Diagnostic Tool and searching your system report for Miracast.
Checking Your Hardware Compatibility
The PC needs a Wi-Fi adapter that supports Miracast (a technology that lets you share screens wirelessly) and a graphics card with a proper driver. The DirectX Diagnostic Tool, opened with the dxdiag command, can tell you whether the hardware qualifies. Run it on the PC that will receive the screen.
- Click the Start button on your taskbar .
- Type dxdiag and press Enter. The DirectX Diagnostic Tool opens. If it asks whether to check that your drivers are digitally signed, you can click No. It is not needed for this test.
- Click Save All Information at the bottom of the window and save the text file somewhere you can find it, such as the Desktop.
- Open the saved file and search for “Miracast”. A line such as “Miracast: Available” means your graphics and Wi-Fi hardware support it. “Not Supported” means this PC cannot act as a wireless display, usually because of an old driver or an unsupported adapter.
If Miracast shows as unsupported, update the graphics and Wi-Fi drivers first (see the troubleshooting section) and run the test again before you replace any hardware.
- Wait a moment for the tool to load all information. Click the button at the bottom that says Save All Information….
- Save the text file to your desktop where you can easily find it, and open it.
- Look through the text file or press the Ctrl and F keys together to open the find menu, then type Miracast.
- Read the line next to Miracast. It will say either Available or Not Available.
If the Windows diagnostic report says Miracast is available, your computer hardware is ready for wireless projecting. If the diagnostic report says Miracast is not available, your computer Wi-Fi adapter or graphics card does not support the Miracast technology. In that case, you may need to buy a USB Wi-Fi adapter that supports Miracast, or connect your devices using a physical cable instead.
Installing the Missing Wireless Display Feature
Installing the missing Wireless Display feature in Windows 11 is done through the Optional Features menu in your system settings. Microsoft turns this tool off by default to keep the operating system light, so you must add it manually before your computer can act as a wireless receiver for other devices like phones or tablets.
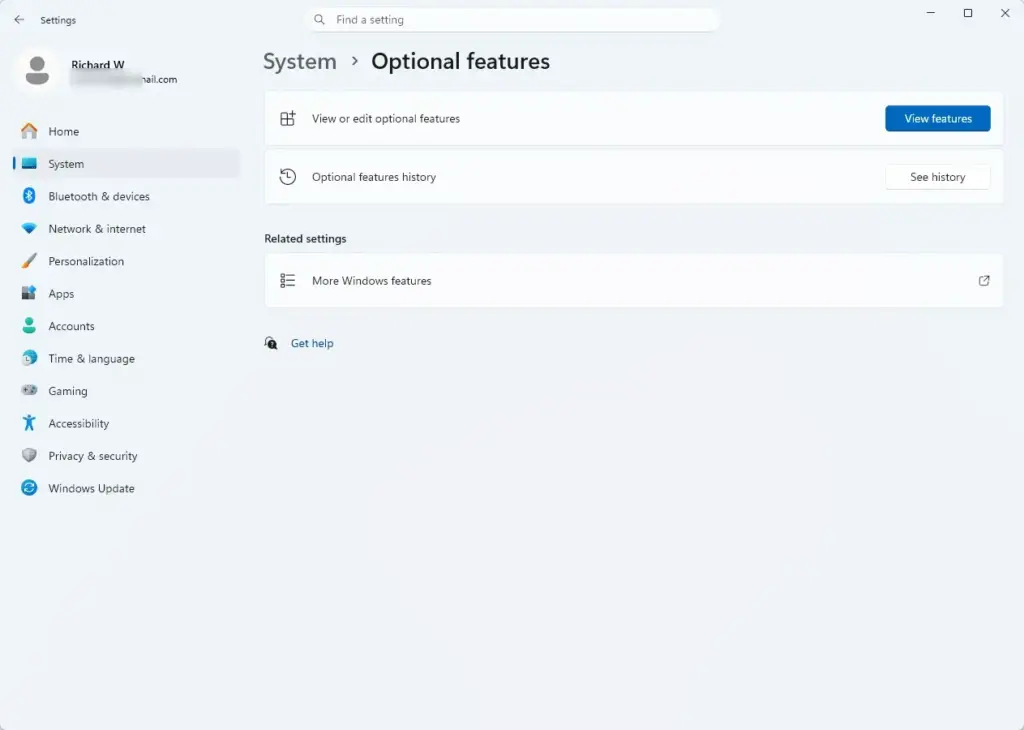
Windows 11 does not always install the receiver component by default. It is an optional feature called Wireless Display. Without it, the Projecting to this PC settings stay greyed out. Installing it works on both Home and Pro editions. Follow these steps:
- Open the Start menu and click Settings (the gear icon). You can also press Windows Key + I.
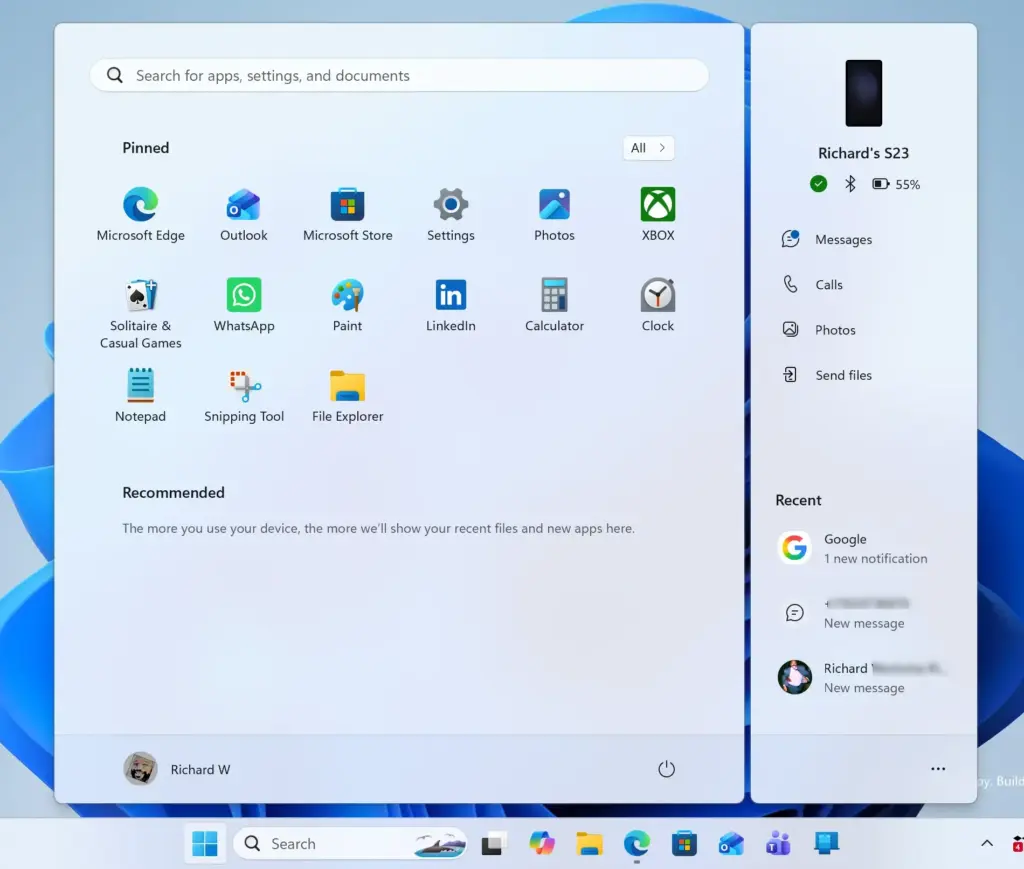
- Click System in the left-hand menu.
- Scroll down and click Optional features. You will see a list of features that are already installed.
- Click the View features button next to Add an optional feature. A window with a search box opens.
- Type Wireless Display into the search box.
- Tick the check box next to Wireless Display when it appears in the results.
- Click Next, then click Install. Windows returns you to the Optional features page, where you can watch the progress.
- Wait a few minutes while Windows downloads and installs the feature. It needs an internet connection. When it finishes, restart your computer so the change takes effect.
If Wireless Display is already in your installed list, you can skip this section. To remove it later, use the same page and select the feature from the installed list.
Configuring Your Projecting Settings in 🪟 Windows 11
Projecting settings live in Settings System Projecting to this PC. The default is "Always off", so other devices cannot see your PC. Change the permissions so your PC is available on secure networks, and other devices can then find it and send their screens.
Follow these steps to change your projecting settings:
- Open the Start menu and click Settings.
- Click System in the left-hand menu.
- Scroll down and click Projecting to this PC. The page shows several drop-down menus.
- If the settings are greyed out and you cannot change them, look at the top of the page for a link or message about optional features. You must install the Wireless Display feature from the previous section first. Once it is installed and you have restarted, the options become active.
- Change the first drop-down menu from Always off to Available everywhere on secure networks or Available everywhere. The first is the safer choice for most people. Use the second only if you trust the networks you connect to.
- Set the second drop-down menu, which controls when Windows asks for permission. Choose First time only if you want to be asked once for each new device. Choose Every time a connection is requested for maximum security.
- Set the PIN requirement to your preference. Requiring a PIN for pairing helps stop nearby devices from connecting to your computer by mistake. Choose the option that asks for a PIN on first pairing or every time, rather than never, if you work in a shared space.
The changes apply immediately, and no restart is needed. To turn the feature off again, set the first drop-down menu back to Always off.
Launching the Receiver App and Connecting Your Devices
The PC receives a screen only while the Wireless Display app is running. Opening it from the Start menu puts your computer in a ready state. A blue waiting screen appears, and your phone, tablet or another PC can then find it and cast its screen.
- Open your Windows 11 Start menu.
- Type Wireless Display into the search bar and click the app with that name. A blue screen appears telling you that your PC is ready for a wireless connection. Leave this window open.
- Pick up the device you want to project from, such as an Android phone, a tablet or another Windows laptop.
- On an Android phone, look in the quick settings panel for Cast, Smart View or Wireless Display. The name varies by manufacturer. On another Windows PC, press Windows Key + K to open the Cast menu.
- Select your computer's name (for example, COMPUTER-NAME) from the list of available wireless displays. If the name does not appear, make sure the Wireless Display app is still open on the receiving PC and that Wi-Fi is on for both devices.
- If prompted, enter the PIN shown on your computer screen into the projecting device.
- Your screen should now appear in a window on your Windows 11 desktop. You can resize the window, minimize it, or click the fullscreen icon in the top right corner.
To stop projecting, disconnect from the sending device or close the Wireless Display window on the PC.
Advanced Troubleshooting: Fixing Greyed-Out Settings and Connection Failures
Greyed-out settings and failed connections usually come down to a few causes. The Wireless Display feature may be missing or damaged, the graphics or Wi-Fi drivers may be out of date, or the network profile may be set to Public instead of Private. Work through the fixes below in order, from quickest to most involved.
If the connection still fails, restart the Wireless Display optional feature. This clears corrupted feature files and often restores stable connections.
- Open Settings System Optional features
- Find Wireless Display in the installed features list and click it to expand it.
- Click Remove and wait for it to finish.
- Restart your computer.
- Reinstall Wireless Display using the steps in the installation section above, then restart once more.
If that does not help, check the common causes below:
- Network Profile Mismatch: Miracast works best when the PC treats your network as trusted. If Windows 11 sees your Wi-Fi network as "Public" instead of "Private", it may block incoming wireless displays for security reasons. Open Settings Network & internet Wi-Fi, click the properties of your connected network, and set the network profile type to Private network. You can switch it back to Public later.
- Graphics Driver Glitches: Wireless projecting relies on your graphics card to encode and decode video, so outdated or corrupted graphics drivers break the feature. Install the latest graphics driver from your computer manufacturer's website or through Windows Update. Do the same for the Wi-Fi driver, since an old one can lack Wi-Fi Direct support. Restart afterwards.
- Firewall and Antivirus Interference: Third-party security software can block the network ports that Miracast uses to communicate. Temporarily disable your third-party antivirus or firewall to test whether it is the cause. If projecting then works, add an exception for the Wireless Display app rather than leaving protection off. Always turn your protection back on after the test.
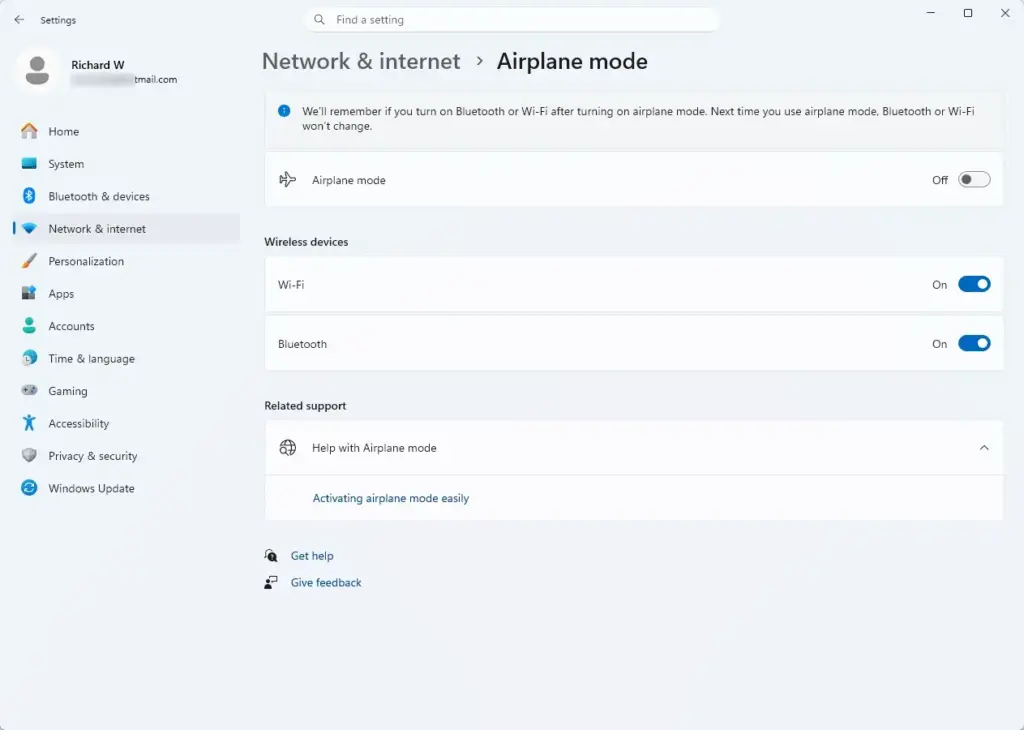
- Airplane Mode Toggle: Turning Airplane Mode on for 10 seconds and then off again often resets a stuck wireless adapter. It forces your Wi-Fi and Bluetooth radios to restart and clears minor glitches. You can find the toggle in Quick Settings on the taskbar.
Summary
Wireless projecting in Windows 11 lets you mirror phones and tablets to your computer screen without cables. It works only if your hardware supports Miracast and the optional Wireless Display feature is installed. Check your hardware with dxdiag, install the feature, set the Projecting to this PC options, and keep the Wireless Display app open on the receiving PC. If something fails, set your network profile to Private and update your drivers.
Have a question about this guide?
Answered by AI from this guide. Good questions may be added to this page — please don't include personal details.
Did this guide fix your problem?

About the Author
Richard
Tech Writer, IT Professional
Richard is a writer at Geek Rewind who turns complex IT tasks into clear, step-by-step guides. He draws on years of hands-on experience in system administration and enterprise IT operations, focusing on Windows, Linux and WordPress: the problems people actually run into, and the fixes that work. His server and WordPress guides come from systems he runs himself. Richard builds and maintains the platform behind Geek Rewind, from its Ubuntu servers and Nginx configuration to its custom WordPress plugins. Many new tutorials start with readers' questions, and he's always glad to answer them in the comments.
No comments yet — be the first to share your thoughts!