What to Do When Windows 11 Pin Login Stops Working After a PIN Change

PIN login failures in Windows 11 happen when changing your sign-in numbers leaves behind broken security data in the Ngc folder, which blocks Windows Hello from checking your new code. This glitch leaves you locked out or staring at an error message on the sign-in screen.
You can fix this issue by deleting the corrupted files inside the 📁C:\
- Something went wrong and your PIN is not available. Click to set up your PIN again.
- Something happened and your PIN is not available. Click to set up your PIN again.
- The login box simply clears itself and shakes when you type your correct PIN.
If clicking the link to set up a new PIN works, great! But often, clicking that link loops you right back to the same error. When that happens, you need to clear out the corrupted files manually. Let us look at how to do that, depending on whether you can still get into your computer.
When Windows 11 pin login stops working after a PIN change, click Sign-in options below the login box, choose the key icon, and enter your Microsoft account password. Once you reach your desktop, open Settings , go to Accounts, select Sign-in options, and create a brand new PIN.
Method 1Use Your Microsoft Account Password to Log In
Bypass a broken Windows 11 PIN after a change without modifying system files by signing in with your Microsoft account password instead. You can switch your login method right from the lock screen by clicking the sign-in options link below the PIN box to access your desktop.
- Turn on your computer or wake it up from the lock screen.
- Look right below the PIN text box. You will see a small link or icon labeled Sign-in options. Click it.
- Look for the key icon. This icon stands for your account password. Click the key icon.
- Type your Microsoft account password into the box.
- Press Enter.
Once you reach your normal desktop screen, you can reset your broken PIN safely through the main settings menu. Follow these steps once you are inside:
- Click the Start button at the bottom of your screen and open the Settings app.
- Click on Accounts on the left side of the window.
- Click on Sign-in options on the right side.
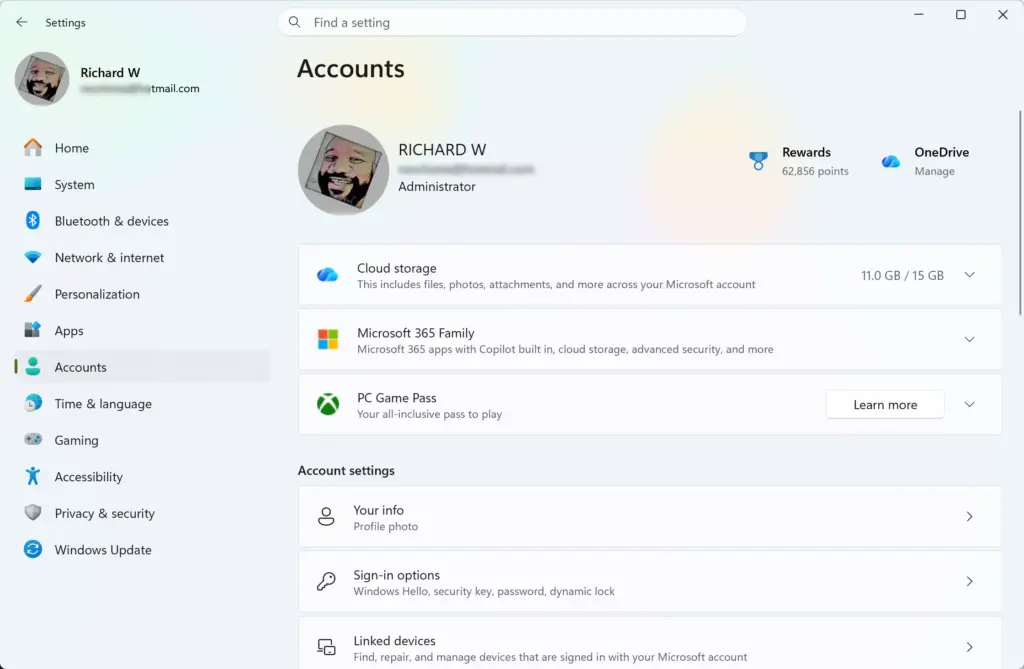
Settings › Accounts - Click on PIN (Windows Hello) to expand the menu.
- Click the button to remove or change your PIN. You may need to type your password again to prove you are the owner.
- Follow the on-screen prompts to create a brand new PIN.
Method 2Reset Your PIN From the Lock Screen
Regain access from the Windows 11 lock screen when your new code fails and you do not know your account password. Clicking the I forgot my PIN link on the login screen starts a quick security check over your internet connection to set up a new working code.
- On the Windows 11 login screen, look at the text box where you type your PIN.
- Click the link that says I forgot my PIN.
- Windows will open a verification window. It will ask you to confirm your identity. It might send a security code to your backup email address or phone number.
- Check your phone or backup email for the security code from Microsoft.
- Type the security code into the box on your computer screen and click Next.
- Windows will ask if you are sure you want to change your PIN. Click Continue.
- Type your new PIN into the first box, and type it again in the confirmation box.
- Click OK. You can now use your new PIN to log into your computer.
Method 3Delete the Corrupted Ngc Folder (If You Can Still Log In)
Deleting the corrupted Ngc folder fixes a broken Windows 11 PIN when you can still reach your desktop using another login method like a password or fingerprint. Clearing out the broken security files inside this protected system directory forces Windows to generate fresh files so your new PIN works properly.
You must be signed into an administrator account on your Windows 11 computer to delete these NGC folder files.
- Click the Start button, type File Explorer, and press Enter.
- In the file explorer window, click on This PC on the left, and then click on your main hard drive.
Settings > Advanced - Open the Windows folder.
- Open the System32 folder.
- Scroll down and find the folder named config. Open it.
- Inside the config folder, find the folder named SystemProfile. Open it.
- Inside SystemProfile, find the folder named AppData. Open it.
- Inside AppData, open the Local folder.
- Look for a folder named Microsoft and open it.
- Inside the Microsoft folder, look for the folder named Ngc.
- Right-click the Ngc folder and select the trash can icon to delete it.
- Restart your computer immediately. Once your computer turns back on, go back to your Settings app, click Accounts, then Sign-in options, and set up a brand new PIN. Because you deleted the old, broken files, the new PIN will save correctly.
Method 4Delete the Ngc Folder Using Safe Mode (If You Are Completely Locked Out)
Deleting the Ngc folder using Safe Mode is the best fix when a broken Windows 11 PIN completely locks you out of your computer and password backups fail. Starting Windows in Safe Mode loads only the basic files you need, letting you bypass normal login blockades and clear out the corrupted security folder.
Note: This method requires administrator privileges.
- Turn on your computer. As soon as the Windows logo appears on your screen, press and hold the physical power button on your computer tower or laptop for 10 seconds to force it to shut down.
- Turn your computer on again. As soon as you see the logo, force it to shut down a second time.
- Turn your computer on a third time. Let it boot up normally. Because you interrupted the startup process twice, Windows will realize something is wrong. It will automatically load the Automatic Repair screen.
- On the Choose an option screen, click on Troubleshoot.
- Click on Advanced options.
- Click on Startup Settings.
- Click the Restart button in the bottom right corner.
- Your computer will restart and show a list of startup choices with numbers next to them. Press the 4 key or the F4 key on your keyboard to select Enable Safe Mode.
- Your computer will turn on, showing a very plain black screen that says Safe Mode in the corners. This is normal.
- Once you are on the Safe Mode desktop, press the Windows Key + E on your keyboard to open File Explorer.
- Navigate to the following exact folder path: C:\Windows\System32\config\SystemProfile\AppData\Local\Microsoft\Ngc
- Right-click the Ngc folder and delete it completely. If Windows warns you that you do not have permission, accept the prompt to take ownership of the folder and proceed with deletion.
- Restart your computer normally by clicking the Start button, clicking the Power icon, and selecting Restart.
- When your computer boots back up to the normal login screen, you can set up a brand new PIN without any errors.
Unique Expert Tip: Check Group Policy Settings for PIN Restrictions
Checking group policy settings helps solve persistent Windows 11 PIN failures caused by strict security rules on work networks or corporate computers. Strict local group policies might block simple PIN numbers after an update, requiring an administrator to adjust the rules so your standard security code is accepted.
If your computer is joined to a work or school network, administrators often enforce rules that require your PIN to include uppercase letters, lowercase letters, symbols, or a specific length. If your new PIN violates these hidden rules, Windows will reject it silently or throw a generic error.
To check if strict PIN rules are causing your lockout issues, you can review your local security settings if you are running Windows 11 Pro or Enterprise:
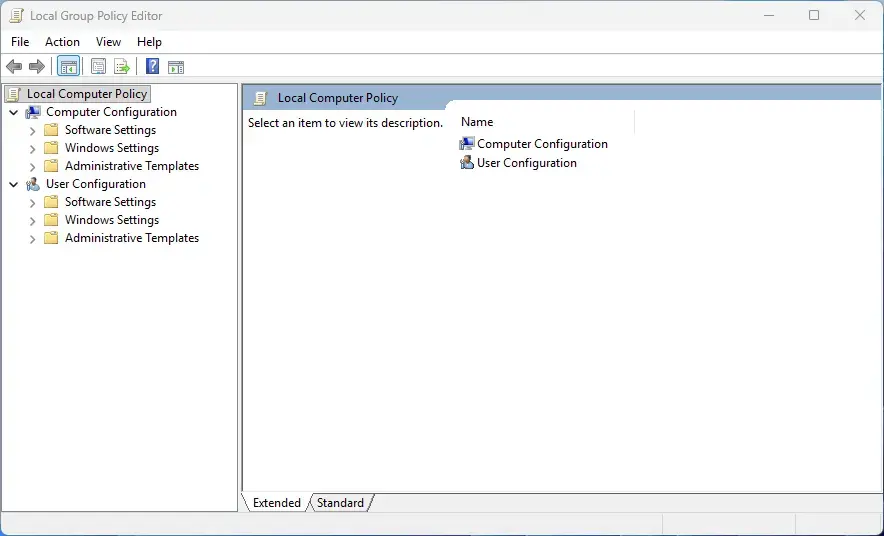
- Click the Start button, type Edit group policy, and press Enter.
- In the window that opens, look at the left side and click to expand Computer Configuration.
- Click to expand Administrative Templates.
- Click to expand System.
- Click to select PIN Complexity.
- Look at the settings on the right side of the screen. Double-click options like Require uppercase letters, Require lowercase letters, or Require special characters to see if they are turned on.
- If these settings are enabled, make sure any future PIN you create matches these strict requirements. If you want to use a simple PIN, you can change these settings to Disabled, click Apply, and click OK.
Unique Expert Tip: Clear Trusted Platform Module (TPM) Data
Clear the Trusted Platform Module (TPM, a dedicated hardware chip that secures encryption keys) to fix a broken Windows 11 PIN when hardware data gets out of sync during an update. Resetting this tiny motherboard chip clears out corrupted security keys and forces Windows Hello to create a fresh PIN database.
Clearing your security chip forces the computer to wipe old security credentials and start fresh. Do not worry. Clearing the chip will not delete your personal files, photos, or apps. It only resets the hardware security module.
- Click the Start button and open the Settings app.
- Click on Privacy & security on the left side.
- Click on Windows security on the right side.
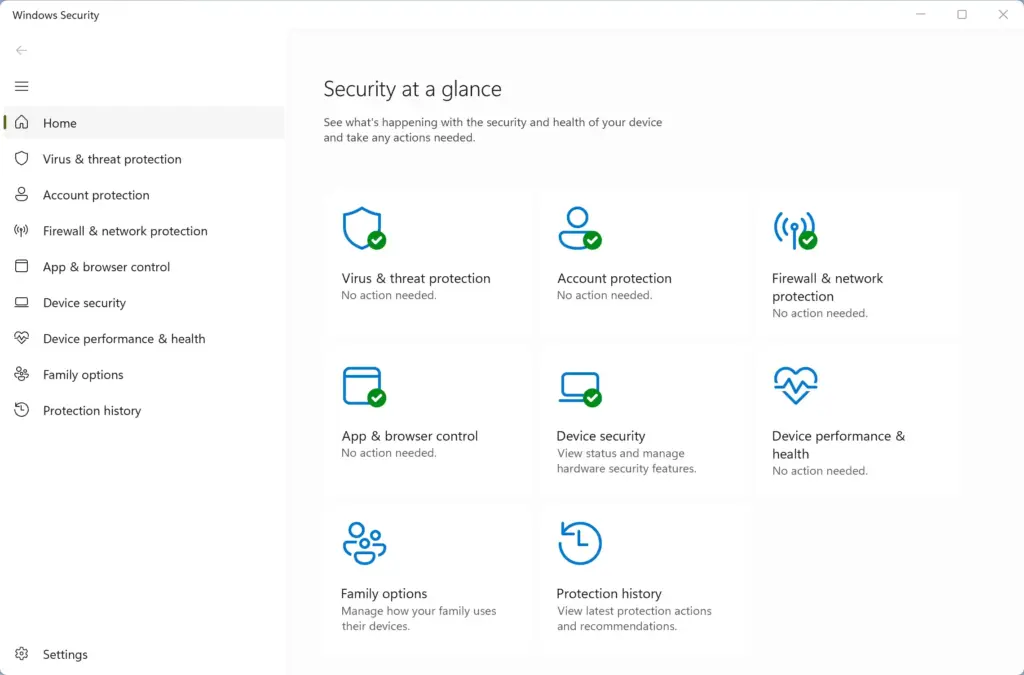
Windows Security - Click on Device security.
- Under the Security processor section, click on Security processor details.
- Click on Security processor troubleshooting.
- Click the button that says Clear TPM.
- Windows will warn you that you will lose encrypted data tied to the chip. Click Clear and restart.
- Your computer will restart. Your screen might prompt you to press a specific key on your keyboard to confirm the chip clear. Follow the prompt on the screen.
- Once your computer boots back up, your security chip is completely clean. You can now go back into your Sign-in options settings and set up a fresh Windows Hello PIN without any interference.
Summary
Fixing a broken Windows 11 PIN after a change involves several reliable methods depending on how locked out you are. You can log in using your Microsoft account password, reset your PIN from the lock screen, delete the corrupted Ngc system folder in Safe Mode, adjust group policy restrictions, or clear the Trusted Platform Module chip.
Was this guide helpful?

About the Author
Richard
Tech Writer, IT Professional
Richard is a writer at Geek Rewind who turns complex IT tasks into clear, step-by-step guides. He draws on years of hands-on experience in system administration and enterprise IT operations, focusing on Windows, Linux and WordPress: the problems people actually run into, and the fixes that work. His server and WordPress guides come from systems he runs himself. Richard builds and maintains the platform behind Geek Rewind, from its Ubuntu servers and Nginx configuration to its custom WordPress plugins. Many new tutorials start with readers' questions, and he's always glad to answer them in the comments.



No comments yet — be the first to share your thoughts!