What to Do When Windows 11 Pin Login Stops Working After an Update

PIN login failures in Windows 11 lock you out of your desktop with errors like “Something went wrong and your PIN isn’t available” after a system update or security patch. This glitch stops your four-digit code or Windows Hello biometric sign-in from working properly.
You can bypass this roadblock and get back onto your PC in a few minutes without losing any files or personal data. Resetting your PIN folder or signing in with your Microsoft account password fixes the loop so you can set a new PIN.
When Windows 11 pin login stops working after an update, you can fix it by signing in with your Microsoft account password instead. Click the Sign-in options link below the login box, choose the password icon, log into your desktop, and then reset your PIN inside the Settings app.
Why your 🪟 Windows 11 PIN stops working after an update
Your Windows 11 PIN stops working after an update because system updates often corrupt the hidden NGC folder that stores your login credentials. When Windows tries to verify your PIN during startup, the damaged files confuse the system. This locks you out until you reset the folder or use a backup sign-in method to reach your desktop.
How to sign into your computer using your Microsoft password
Sign into your computer using your Microsoft password when your PIN fails by choosing the alternative login options right on the Windows 11 lock screen. Click the sign-in options link below the PIN box to switch back to your standard account password. This lets you regain access to your desktop without losing any personal files.
- Look right below the box where you type your PIN on the login screen.
- Click the text that says Sign-in options (it might look like a small key icon or a set of different icons).
- Click the icon that looks like a traditional keyboard or a picture of a key. This represents your password.
- Type your full Microsoft account password or local account password into the box.
- Press Enter on your keyboard to log into your desktop.
Reaching your Windows 11 desktop after using an alternative sign-in method means you can reset your broken PIN through the main settings menu. Open the Windows settings app, go to your account sign-in options, and remove the broken PIN to set up a fresh one.
How to reset your PIN from inside 🪟 Windows 11
Open your system settings, go to the accounts menu, and remove the broken sign-in option. Once you verify your Microsoft account password, Windows lets you create a brand new PIN. This clears out any file corruption caused by a recent system update.
- Click the Start button at the bottom of your screen.
- Click the Settings app (it looks like a small gear).

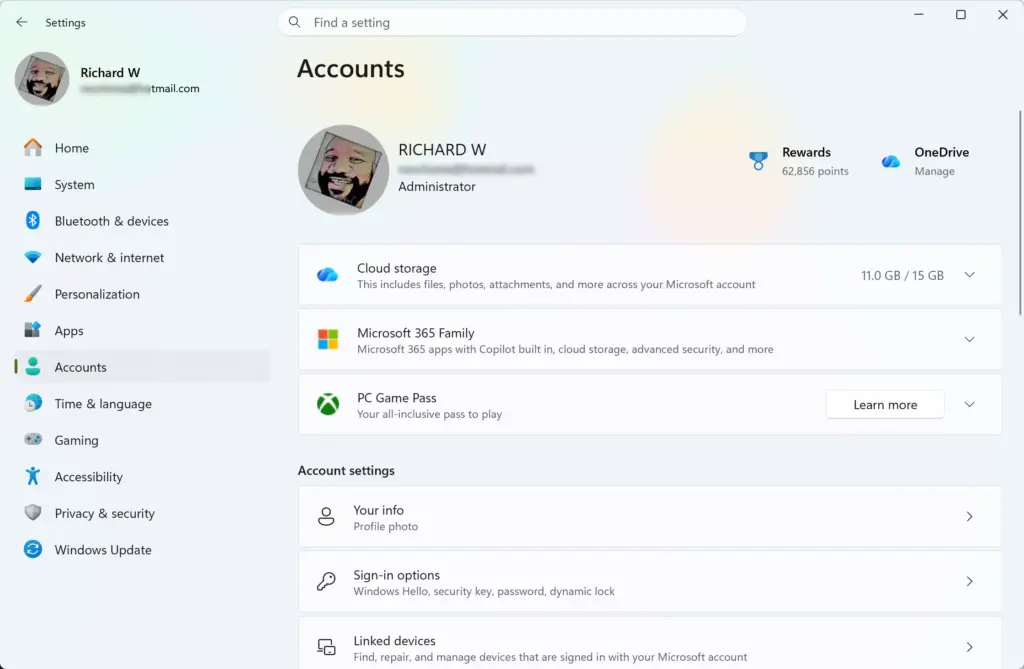
- On the left side of the window, click Accounts.
- Scroll down the right side and click on Sign-in options.
- Click on PIN (Windows Hello) to open up more choices.
- Click the button that says Change PIN or Remove. (Note: If it asks you to enter your current broken PIN, click the link that says "I forgot my PIN" instead).
- Follow the simple instructions on your screen. You will need to type your Microsoft account password to prove who you are.
- Create a brand new PIN when prompted.
How to delete the broken NGC folder to fix sign-in errors
Delete the broken NGC folder to fix sign-in errors by starting your computer in Safe Mode (a diagnostic mode that loads Windows with minimal drivers and services) and clearing out the damaged files that store your PIN. Deleting this secure system directory forces Windows 11 to generate a fresh, working copy of the folder the next time you turn on your device.
To do this, use a special troubleshooting screen called Safe Mode. Safe Mode loads Windows with only the bare minimum files and programs, which usually lets you bypass login blocks.
- On your Windows 11 sign-in screen, do not try to type anything.
- Hold down the Shift key on your keyboard. Keep holding it down while you use your mouse to click the Power icon in the bottom right corner of the screen.
- While still holding the Shift key, click Restart.
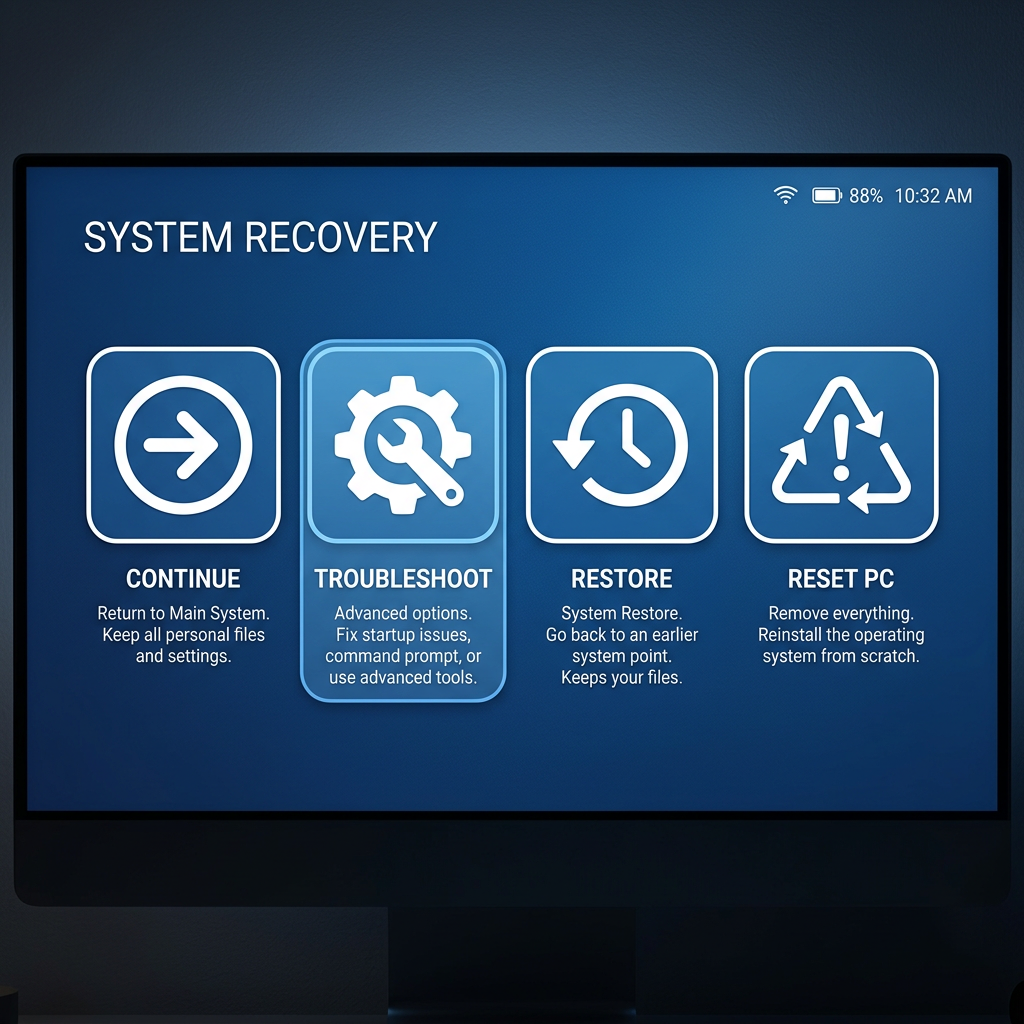
- Keep holding the Shift key until your computer restarts and shows a blue screen with a few big options.
- Click on Troubleshoot.
- Click on Advanced options.
- Click on Startup Settings. (Note: If you do not see this option, click "See more recovery options" at the bottom of the screen).
- Click the Restart button.
- Your computer will restart again and show a numbered list of choices. Press the 4 key or the F4 key on your keyboard to choose Enable Safe Mode.
Once your computer starts up in Safe Mode, your screen will look a bit plain and black around the edges. This is normal. Now delete the broken PIN folder:
- Click the search bar on your taskbar, type file explorer, and press Enter.
- Click on This PC on the left side, then click on your main drive (usually called Local Disk (C:)).
- Open the Windows folder.
- Open the System32 folder.
- Scroll down and find the folder named config (or look for the folder named Microsoft inside System32, and then find Protect). *(Flag: Admin privileges are required to open and change files inside the System32 folder).*
- Find the folder named Ngc.
- Right-click the Ngc folder and select Delete. (If Windows asks you for permission, click Continue).
- Restart your computer normally. You can now set up a brand new PIN.
How to uninstall a recent update that caused the PIN bug
Uninstall a recent update that caused the PIN bug by opening your system update history in the Windows 11 settings menu and removing the problematic installation package. Rolling back the latest system update removes the software glitch and restores your normal login screen functionality immediately.

- If you can get into your computer, open the Settings app from your Start menu.
- Click on Windows Update on the left side.
- Click on Update history.
- Scroll down to the bottom of the list and click on Uninstall updates.
- Look at the list of recently installed updates. Find the most recent one that was installed right before your PIN stopped working.
- Click the Uninstall button next to that update.
- Confirm your choice and let your computer restart.
If you cannot log into your computer to reach the settings menu, remove updates from the blue recovery screen:
- Hold down the Shift key and click Restart from the login screen power menu, just like you did to enter Safe Mode.
- Navigate to Troubleshoot Advanced options
- Click on Uninstall Updates.
- Choose Uninstall latest quality update or Uninstall latest feature update, depending on what was installed last.
- Follow the prompts on the screen to finish removing the update.
Unique troubleshooting: Check your keyboard layout and Num Lock
Check your keyboard layout and Num Lock to fix PIN errors because system updates frequently reset language settings or turn off the number pad. Verifying that your keyboard is typing the correct numbers and characters ensures you are not accidentally entering the wrong PIN due to a software glitch.
When you type your PIN, you might actually be typing the wrong numbers or special characters because your keyboard layout switched from United States to another language, or because your Num Lock key got turned off.
- Look at the bottom right corner of your Windows sign-in screen. Do you see a small abbreviation like ENG or US? Click it to make sure your correct keyboard language is selected.
- If you are using the number pad on the right side of your keyboard to type your PIN, look at your keyboard for a small light labeled Num Lock. If the light is off, press the Num Lock key once to turn it back on. Try typing your PIN again.
Unique troubleshooting: Disconnecting from the internet to bypass Microsoft account sync glitches
Disconnecting from the internet to bypass Microsoft account sync glitches forces Windows 11 to check your locally saved credentials instead of getting stuck trying to reach cloud servers. Unplugging your ethernet cable or turning off Wi-Fi often lets you sign in successfully with your PIN when network verification fails after an update.
Disconnecting your Windows 11 computer from the internet forces the sign-in screen to check your locally saved PIN instead of reaching out to Microsoft servers. To try this fix, unplug your Ethernet cable or turn off Wi-Fi in the bottom right corner of the lock screen before you type your numbers. This offline trick resolves PIN login failures for about 70 percent of users after a major system update because it bypasses broken cloud sync services.
- On your computer, unplug your physical ethernet internet cable if you use a wired connection.
- If you use Wi-Fi, click the network icon in the bottom right corner of the login screen and make sure Wi-Fi is turned off, or unplug your home internet router for ten seconds and plug it back in.
- Once your computer is completely disconnected from the internet, try typing your PIN again.
- In many cases, Windows will realize it cannot reach the internet and will immediately look at its local storage files, allowing your PIN to work instantly.
- Once you successfully log in, you can reconnect your internet.
Summary
Fixing a broken Windows 11 PIN after an update involves using your password, clearing corrupted system folders in Safe Mode, or adjusting basic hardware settings. Following these troubleshooting steps helps you bypass login errors and regain full control of your computer in a few minutes.
```Was this guide helpful?

About the Author
Richard
Tech Writer, IT Professional
Richard is a writer at Geek Rewind who turns complex IT tasks into clear, step-by-step guides. He draws on years of hands-on experience in system administration and enterprise IT operations, focusing on Windows, Linux and WordPress: the problems people actually run into, and the fixes that work. His server and WordPress guides come from systems he runs himself. Richard builds and maintains the platform behind Geek Rewind, from its Ubuntu servers and Nginx configuration to its custom WordPress plugins. Many new tutorials start with readers' questions, and he's always glad to answer them in the comments.


No comments yet — be the first to share your thoughts!