What to Do When Windows 11 Night Light Is Grayed out and Won’t Turn On

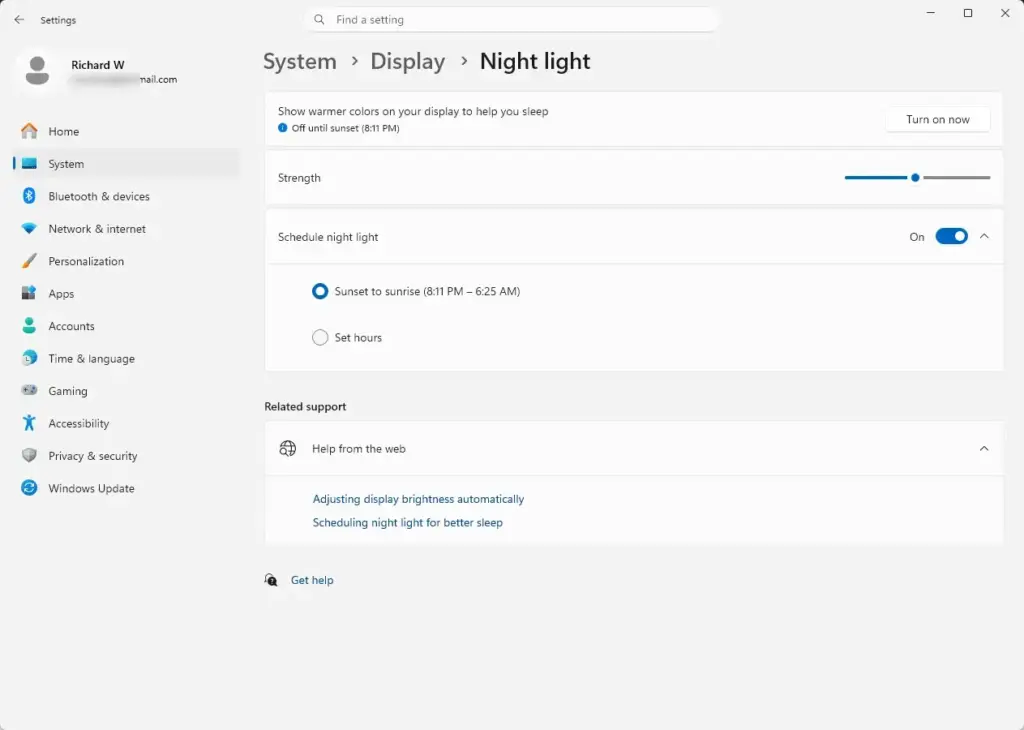
Night Light in Windows 11 reduces harsh blue light by making your screen colors warmer and softer after dark. When this switch becomes grayed out and stops working, your computer is usually running on a basic Microsoft display driver instead of the proper software from Intel, AMD, or NVIDIA.
Updating your graphics driver or adjusting color settings in the Registry Editor brings the switch back to life so you can toggle the feature again.
To fix when Windows 11 night light is grayed out and won’t turn on, you usually need to update your graphics driver. Right-click the Start button , select Device Manager, expand Display adapters, right-click your graphics card, and choose Update driver. Restart your computer after the update finishes.
Method 1Update Your Graphics Card Drivers
Updating your graphics card drivers fixes a grayed-out Night Light button by replacing old software that blocks Windows from controlling screen colors. Update these drivers through the Device Manager in Windows 11 to get the color-changing feature working again.
- Right-click the Start button on your taskbar and select Device Manager from the menu.
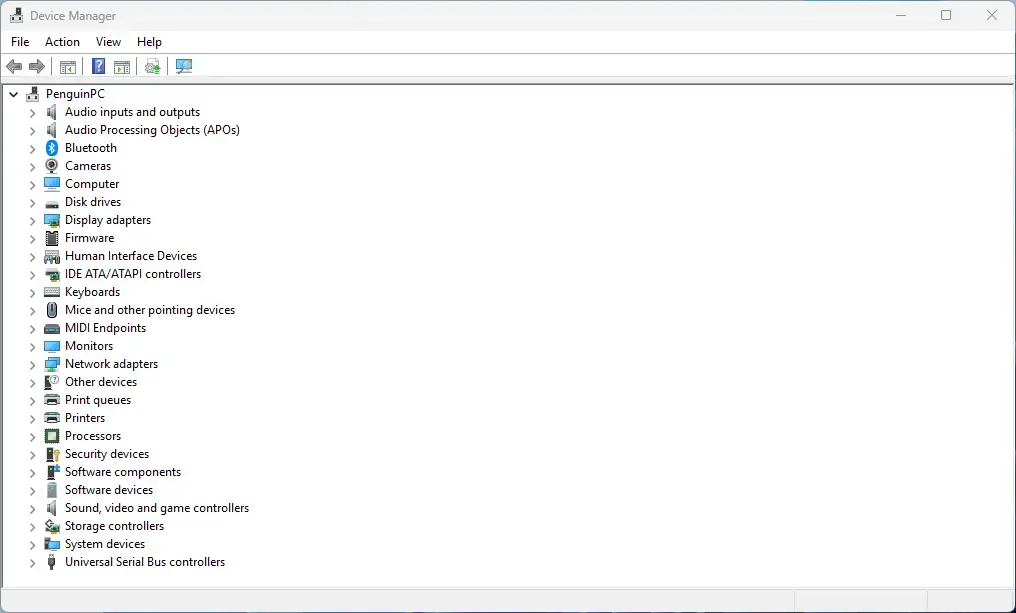
Device Manager - Look down the list of hardware devices and click the arrow next to Display adapters to open the list.
- Find your graphics card (for example, Intel HD Graphics, NVIDIA, or AMD).
- Right-click your graphics card name and select Update driver.
- Choose the option that says Search automatically for drivers.
- Follow any instructions on your screen to let Windows find and install the newest software.
- Restart your computer when the installation finishes, and check if your Night Light is available.
Method 2Check Your Display Settings and Multiple Monitors
Checking your display settings and multiple monitors ensures Windows is applying the Night Light feature to your main screen rather than a secondary display or generic driver. You can verify this by opening the display menu in your Windows 11 settings to select the correct active monitor.
- Click the Start button and open the Settings app (the gear icon).

Settings - Click on System on the left side, then click on Display on the right.
- Make sure your main monitor is selected and active.
- Scroll down and check if the Night Light section is still grayed out.
- If you use more than one monitor, try disconnecting your extra screens to see if the main screen unlocks the Night Light switch.
Method 3Sign Out and Sign Back In
Signing out and signing back into your Windows user account clears out temporary profile glitches that freeze display settings like the Night Light switch. This quick process forces Windows to reload your personal settings and background services without needing to restart your whole computer.
- Save your work and close open programs.
- Press the Ctrl + Alt + Delete keys on your keyboard at the same time.
- Click on Sign out from the options screen.
- Once you reach the login screen, click your profile name and type your password to sign back in.
- Open your display settings and check if the Night Light switch works now.
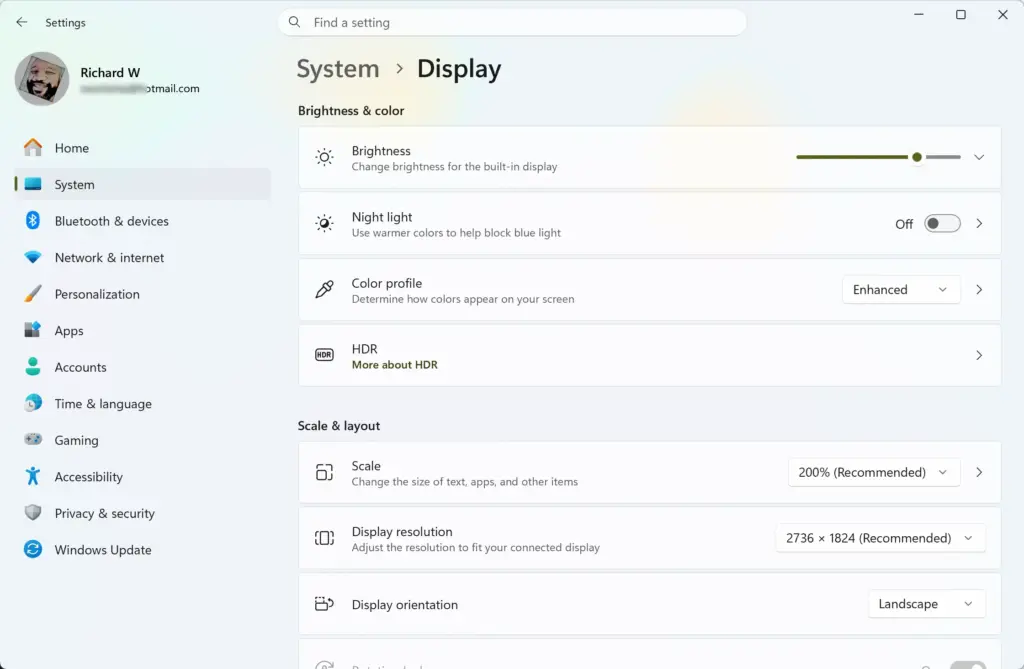
Settings › System › Display
Method 4Fix Registry Values for Display Settings
Resetting your scaling and resolution forces Windows to refresh the display profile and clear temporary glitches.
- Click the Start button and type Settings, then open the app.
- Go to System and then click Display.
- Ensure your scaling and resolution settings are set to their recommended defaults. Changing these settings forces Windows to refresh the display profile and clear out temporary glitches.
- Restart your computer to apply the refreshed display settings.
Method 5Check for Windows Updates
Checking for Windows updates installs the latest patches from Microsoft that fix known bugs causing the Night Light feature to gray out. Running a quick system update ensures your computer has all the necessary software fixes to keep display settings working correctly.
Note: You need administrator permissions to install Windows updates.
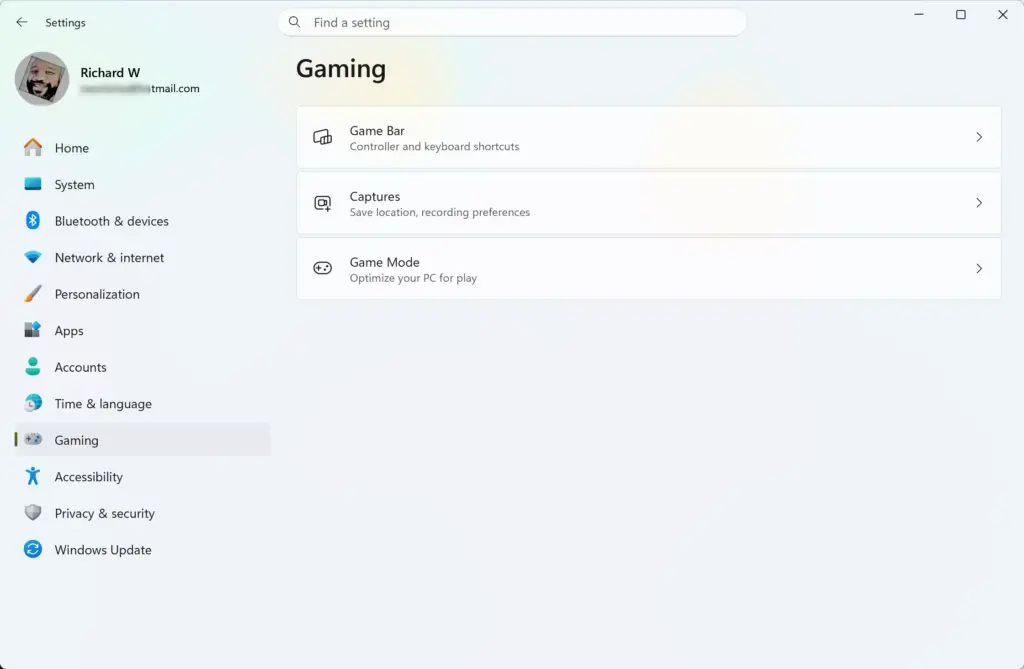
- Open the Start menu and click on Settings.
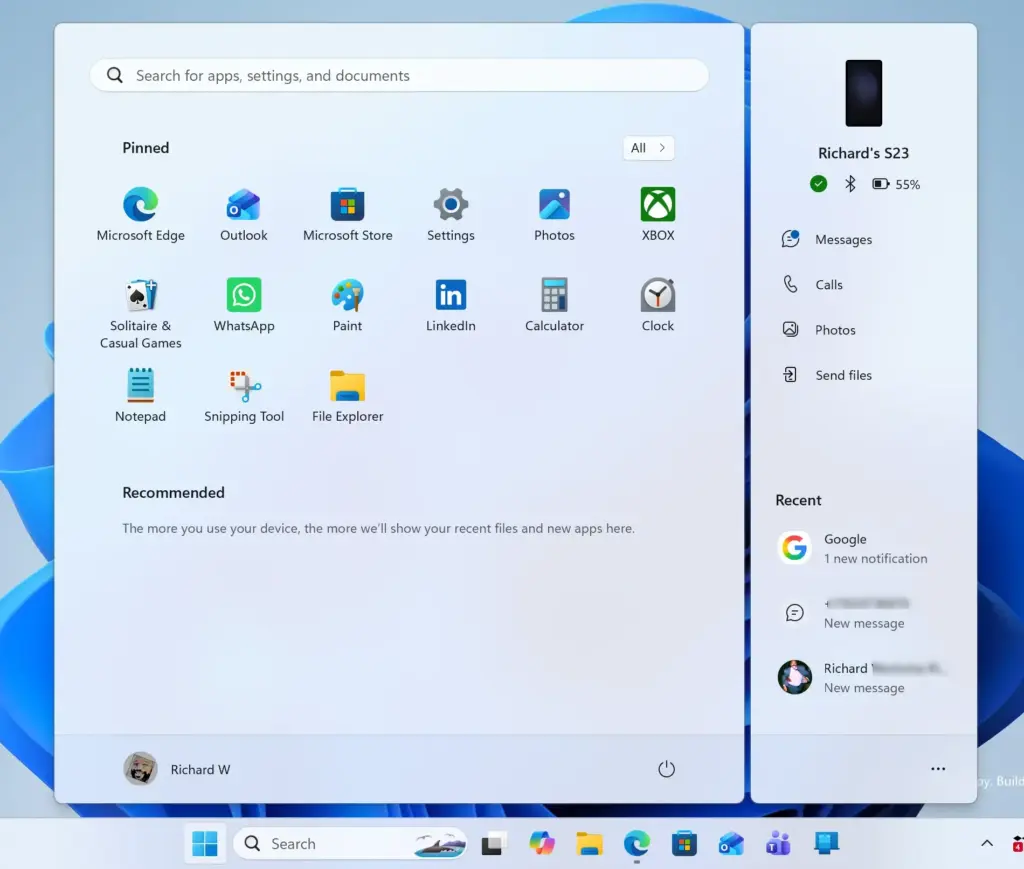
Start Menu - Click on Windows Update on the left side of the window.

Settings › Windows Update - Click the button that says Check for updates.
- If Windows finds any available updates, let them download and install completely.
- Restart your computer when prompted to finish the installation process.
Unique Expert Tip 1: Reset the Windows Graphics Subsystem
Resetting the Windows graphics subsystem clears out hidden display glitches that cause the Night Light button to stay grayed out. You can use a special keyboard shortcut to restart this graphics service instantly without rebooting your computer.
Note: This troubleshooting step requires an administrator account.
- Press the Windows Key + Ctrl + Shift + B keys all at the same time on your keyboard.
- Your screen will flicker black for a brief second, and you will hear a short beep sound.
- This shortcut tells Windows to restart the graphics driver instantly.
- Wait a few seconds for your screen to return to normal, then open your settings to see if the Night Light switch is active.
Unique Expert Tip 2: Disable Third-Party Color Management Software
Disabling third-party color management software stops external apps like f.lux or custom gaming tools from conflicting with native Windows 11 display settings. When external apps take over your screen colors, Windows disables the Night Light switch to prevent display errors.
- Look at your taskbar in the bottom-right corner near the clock. Check for any running color utility icons.

Taskbar - Open Task Manager by pressing Ctrl + Shift + Esc.
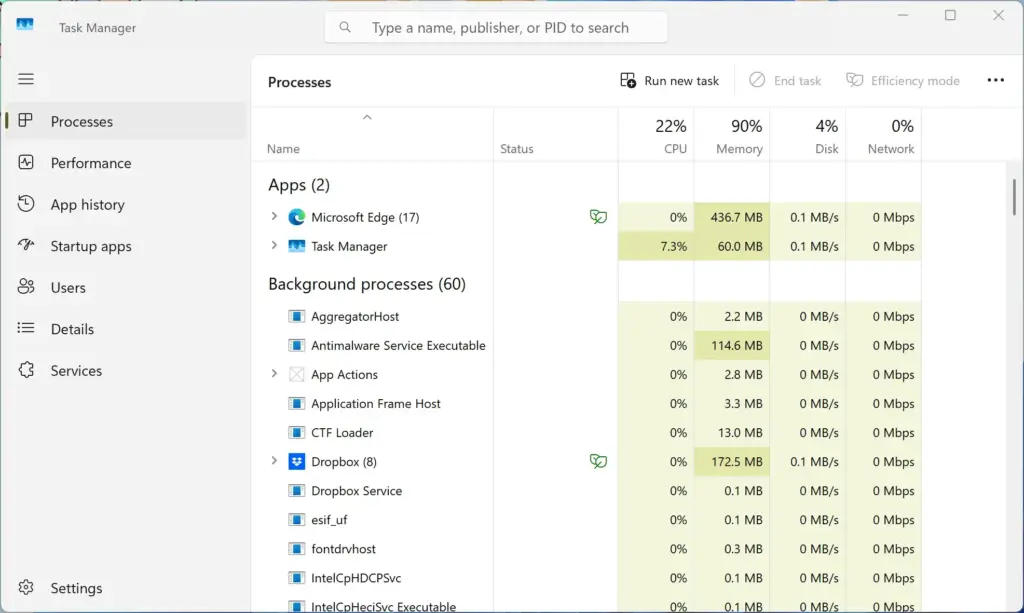
Task Manager - Look through the list of running background processes for any third-party screen or color management programs.
- Click on the conflicting app and click End task.
- Uninstall any software you no longer need via the Apps Installed apps section in your Settings.
- Restart your computer and check your display settings.
Summary
Fixing a grayed-out Night Light switch in Windows 11 usually involves updating your graphics drivers, adjusting monitor settings, restarting your user profile, or removing conflicting display apps. These simple troubleshooting steps quickly restore normal color controls and protect your eyes during late-night computer use.
Was this guide helpful?

About the Author
Richard
Tech Writer, IT Professional
Richard is a writer at Geek Rewind who turns complex IT tasks into clear, step-by-step guides. He draws on years of hands-on experience in system administration and enterprise IT operations, focusing on Windows, Linux and WordPress: the problems people actually run into, and the fixes that work. His server and WordPress guides come from systems he runs himself. Richard builds and maintains the platform behind Geek Rewind, from its Ubuntu servers and Nginx configuration to its custom WordPress plugins. Many new tutorials start with readers' questions, and he's always glad to answer them in the comments.
No comments yet — be the first to share your thoughts!