What Happens When You Uninstall Microsoft OneDrive Completely from Windows 11

Uninstalling Microsoft OneDrive completely from Windows 11 stops the built-in cloud storage tool from running in the background, frees up system resources, and disconnects your computer from Microsoft servers.
Removing the app changes how Windows handles your Desktop, Documents, and Pictures folders by moving these personal folders back from the cloud to local storage on your hard drive.
Your existing files stay safe inside your user folder at 📁C:\
When you uninstall Microsoft OneDrive completely from Windows 11, your files stay safe on your computer hard drive and online cloud storage, but your PC stops syncing them. Your personal desktop, documents, and pictures folders may lose their connection to the cloud directory, requiring you to restore them to standard local paths.
Understanding Microsoft OneDrive and 🪟 Windows 11 Integration
Microsoft OneDrive integrates deeply into Windows 11 by default, going far beyond a standard background app to control your core user folders like Desktop, Documents, and Pictures. When you sign in with your Microsoft account, this system automatically redirects your personal files into cloud storage through known folder redirection, making it act as the primary storage hub for your entire computer.
Folder backup, also known as known folder redirection, moves your personal files from your computer's hard drive into the OneDrive folder. Once folder backup happens, your computer needs an active internet connection and the OneDrive software just to show your files correctly. If the OneDrive app has sync problems or your online storage fills up, you might suddenly find it hard to open your documents. Uninstalling the OneDrive app completely breaks this connection.
What Happens to Your Local Files and Folders?
Local files and folders stay safe on your computer when you uninstall Microsoft OneDrive from Windows 11, provided you unlink your account and restore your default folders first. If you remove the app while it still controls your user directories, your files might stay trapped inside the cloud folder or become hard to find in File Explorer .
Before you remove Microsoft OneDrive, your files live inside a special folder usually located at C:\Users\USERNAME\OneDrive. When you uninstall Microsoft OneDrive, your computer stops syncing the OneDrive files to the internet, but the OneDrive files stay on your hard drive. However, your Windows user folders like your Desktop and Documents folders might still point to the OneDrive cloud folder. This means your computer might look for folders that are no longer managed by Microsoft OneDrive after you remove the application. To stop any confusion or missing data, you must unlink your account and put your folders back to their normal local paths before you take Microsoft OneDrive off your machine.
What Happens to Your Cloud Storage and Online Data?
Cloud storage and online data remain completely safe and untouched on remote servers when you uninstall Microsoft OneDrive from Windows 11. Deleting the app from your computer only removes the local connection, meaning you can still log into the OneDrive website using any web browser to view, download, or share your files at any time.
You can still log into the OneDrive website using any web browser to view, download, or share your files whenever you want. Uninstalling just cuts the digital connection between your computer's hard drive and your online storage space. Once the app is gone, your computer will stop uploading new files, downloading changes made on other devices, or using your computer's memory to run background sync tasks. If you ever change your mind and want to connect to your cloud storage again, you can just download and install the app from the official Microsoft website or the Microsoft Store and sign back in.
Step 1Unlink Your Account and Restore Default Folders
Unlinking your account and restoring default folders before removing Microsoft OneDrive is the most important step to prevent losing access to your documents. You must put your files back into their standard local folders first by opening the OneDrive settings menu, selecting the account tab, and choosing to unlink this PC.
- Look at the right side of your Windows taskbar near the clock and click the white or blue cloud icon representing OneDrive. (If you do not see it, click the small upward-pointing arrow to show hidden icons).

Taskbar - Click the gear icon in the top right corner of the OneDrive pop-up menu to open Settings.
- Select the Sync and backup tab from the menu on the left side of the window.
- Click the button that says Manage backup.
- Turn off the toggles for your Desktop, Documents, and Pictures folders. Confirm your choice when prompted. This action downloads your files back to your local computer hard drive.
- Go back to the main settings window, click the Account tab, and click Unlink this PC. Confirm your choice to disconnect your account.
Step 2How to Uninstall the OneDrive App from 🪟 Windows 11
Uninstalling Microsoft OneDrive from Windows 11 is a straightforward process you can complete directly through your system settings once your account is unlinked. Open the Windows Start menu, go to Settings, select Apps, click on Installed apps, and search for the program to remove it safely from your computer.
- Open the Windows Start menu and click on Settings (the gear-shaped icon).
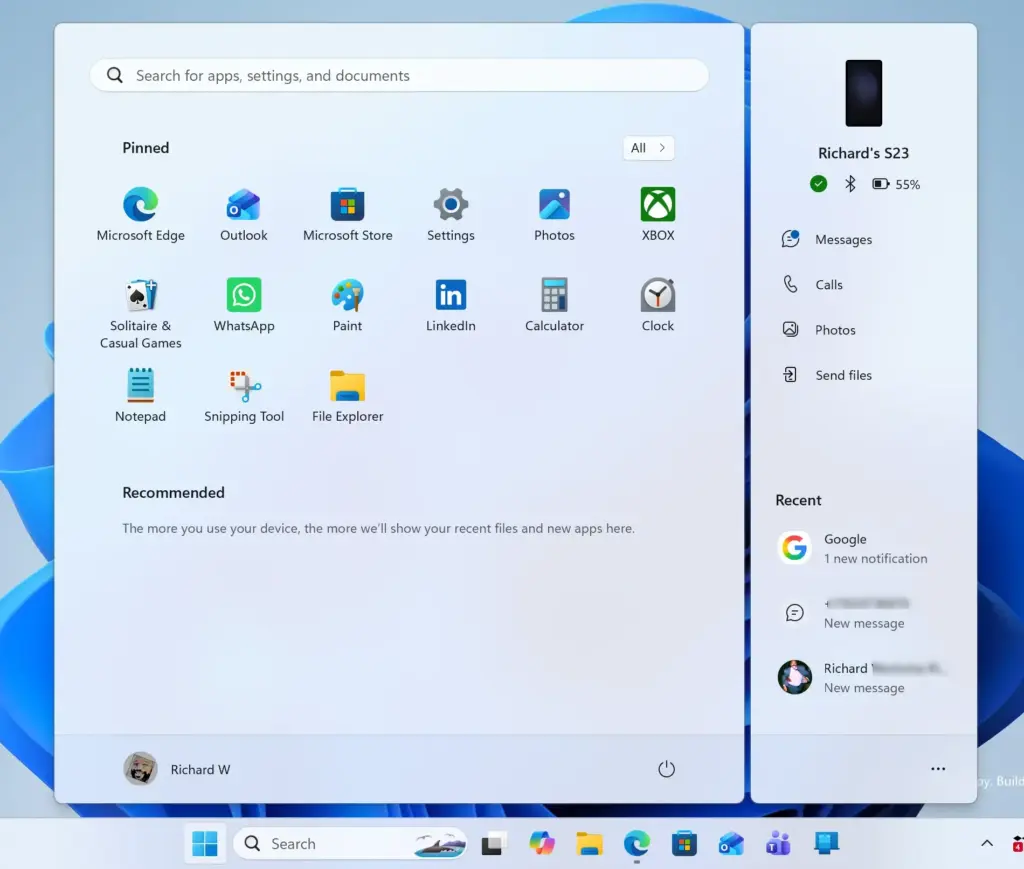
Start Menu - Click on Apps in the left sidebar menu, and then click on Installed apps on the right.
- Type OneDrive into the search bar at the top of the list.
- When Microsoft OneDrive appears in the search results, click the three horizontal dots button next to it.
- Select Uninstall from the menu and follow any remaining prompts on your screen to complete the removal process.
Unique Angle: Clearing Out Deep Registry Leftovers and Residual Files
Clearing out deep registry leftovers and residual files ensures that no hidden cache data or configuration folders remain on your storage drive after removal. You need to manually check your File Explorer and Registry Editor to wipe these leftover traces for a truly clean computer setup.

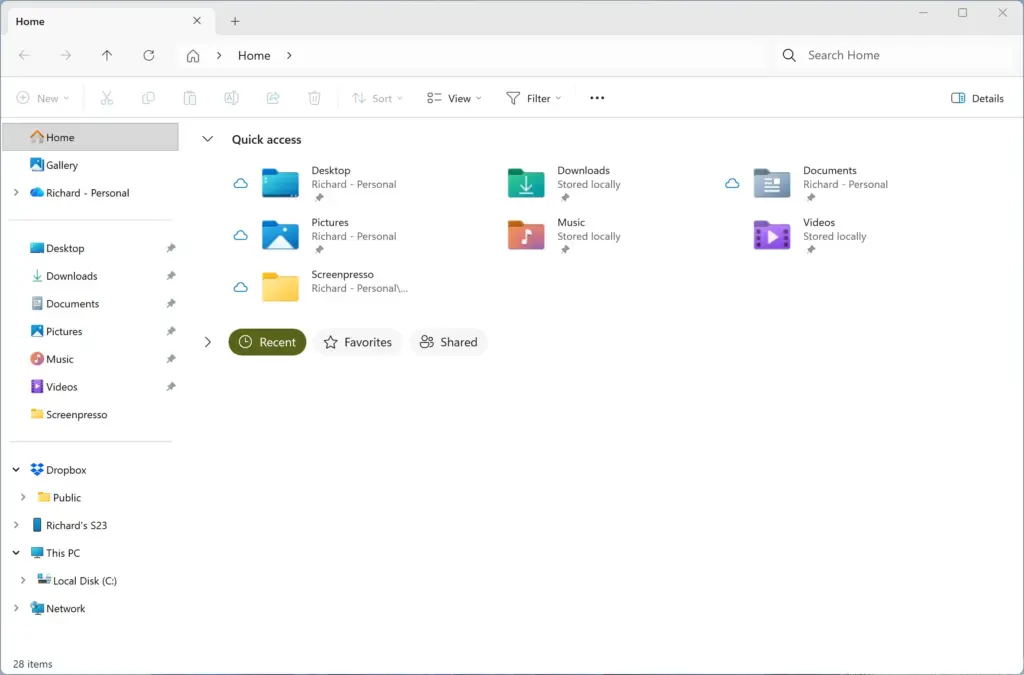
First, open your File Explorer and navigate to C:\Users\USERNAME\AppData\Local\Microsoft\OneDrive to check for any leftover configuration files or folders. You can delete these folders safely if they remain.
Important: Modifying the system registry requires administrator privileges and must be done with extreme care. Making a mistake here can cause system instability.
- Press the Windows Key + R on your keyboard to open the Run dialog box.

Run dialog - Type regedit into the box and press Enter. Click Yes if the User Account Control window asks for administrator permission.
- In the Registry Editor window, use the left sidebar to navigate to the following location: HKEY_CURRENT_USER\Software\Microsoft\Windows\CurrentVersion\Run
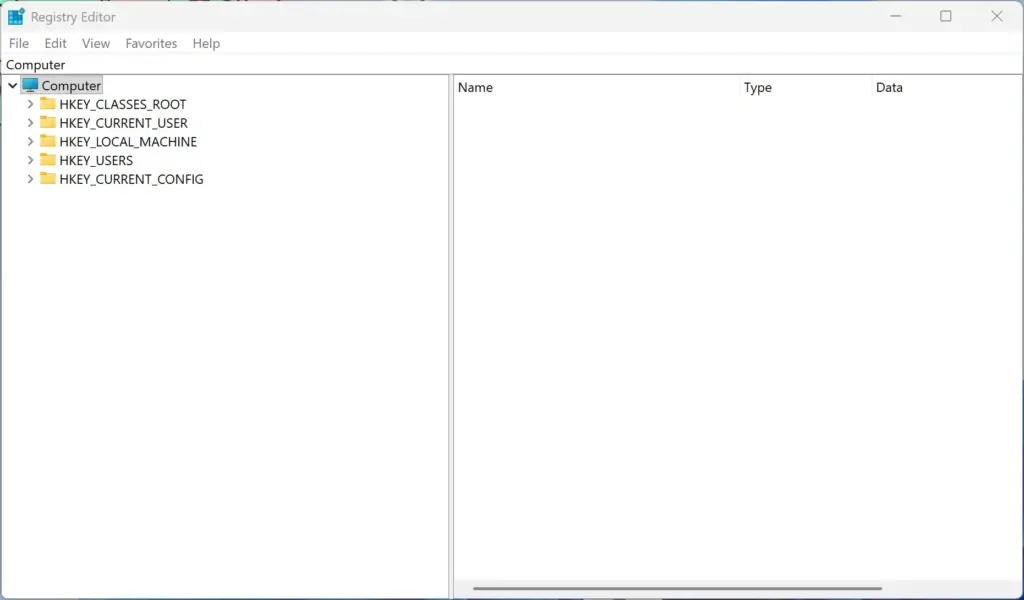
Registry Editor - Look through the list of keys on the right side for any entry named OneDrive.
- If you find an entry, right-click on it and select Delete to permanently remove the startup hook.
- Close the Registry Editor and restart your computer to finalize the cleanup process.
Unique Angle: What Happens to Microsoft Office AutoSave and Shared Links
Microsoft Office AutoSave and shared links stop working automatically for locally saved files once you completely remove Microsoft OneDrive from your computer. Programs like Word, Excel, and PowerPoint rely heavily on this cloud connection for teamwork features, meaning the handy AutoSave switch at the top of your documents will turn off by default.
Once you completely remove the app, the handy AutoSave switch at the top left corner of your Word or Excel documents will turn off by default for files saved locally on your computer. Your files will instead use traditional manual saving (using Ctrl + S). Also, if you usually right-click files on your computer to create instant sharing links for friends or coworkers, that menu option will disappear. You will need to log into the website version of your cloud storage through a browser whenever you want to share a file with someone else.
Conclusion
Completely uninstalling Microsoft OneDrive from Windows 11 gives you full control over your local file storage, stops annoying pop-up messages about full storage space, and frees up computer resources. Taking a little care to unlink your account and clean up leftover files ensures a smooth switch and keeps your personal documents safely on your local drive.
To keep making your system run better, check out our related guides on managing Windows startup applications and cleaning up unnecessary system files to keep your computer running fast and smooth.
Was this guide helpful?

About the Author
Richard
Tech Writer, IT Professional
Richard is a writer at Geek Rewind who turns complex IT tasks into clear, step-by-step guides. He draws on years of hands-on experience in system administration and enterprise IT operations, focusing on Windows, Linux and WordPress: the problems people actually run into, and the fixes that work. His server and WordPress guides come from systems he runs himself. Richard builds and maintains the platform behind Geek Rewind, from its Ubuntu servers and Nginx configuration to its custom WordPress plugins. Many new tutorials start with readers' questions, and he's always glad to answer them in the comments.


No comments yet — be the first to share your thoughts!