How to Move Open Applications Between Desktops on Windows 11

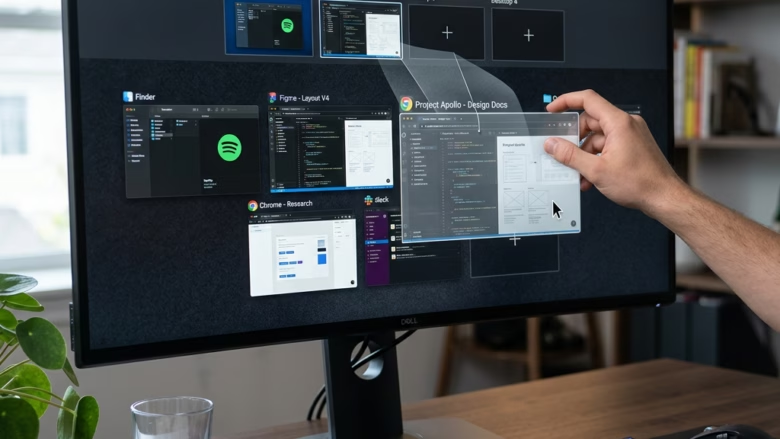
Windows 11 virtual desktops let you move any open window from one workspace to another without installing extra software. You can use Task View, the screen that shows your open windows and desktops, to separate work apps from personal projects in a few seconds.
There are two ways to do it, and both start in Task View. You can drag a window onto a desktop, or you can right-click it and pick a desktop from a menu.
Press Win+Tab to open Task View, find the app window you want to move, then either drag its thumbnail to the destination desktop at the bottom of the screen or right-click it, select Move to, and click the target desktop. The window transfers with no restart needed.
Method 1Drag and Drop in Task View
You need at least two desktops for it to work. If you only have one, you can create a second desktop in Task View first.
The sequence is as follows:
- Press Win+Tab, or click the Task View icon on the taskbar . The screen dims, and thumbnails of your open windows appear for the current desktop. If the icon is not on your taskbar, the keyboard shortcut still works.
- Find the thumbnail of the window you want to move.
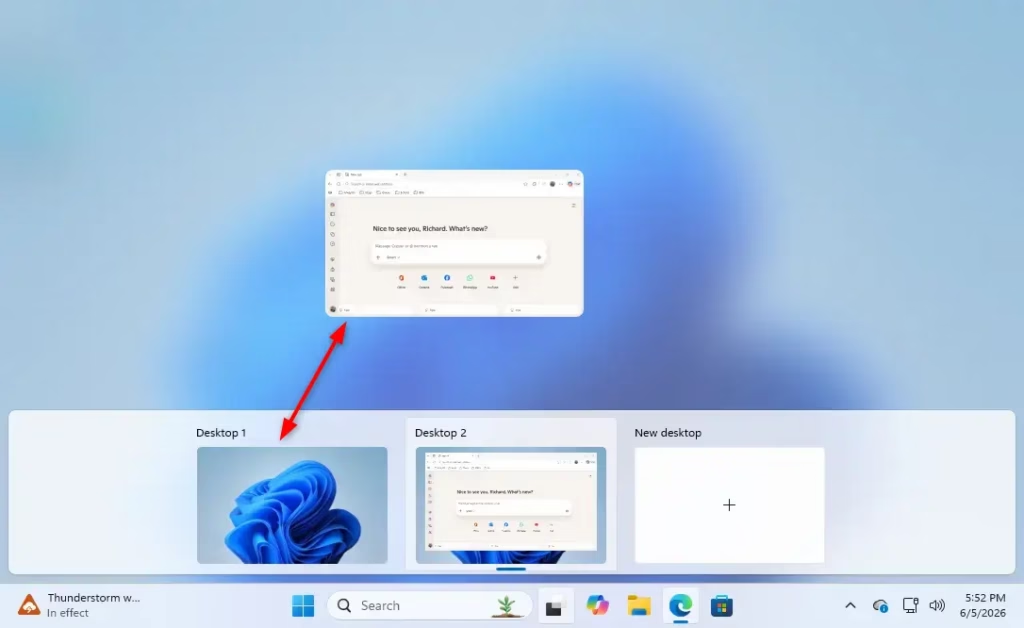
- Click and hold the thumbnail, then drag it down to the desktop thumbnails along the bottom of the screen. Windows 11 puts them at the bottom, while Windows 10 puts them at the top.
- Release the mouse button when the target desktop is highlighted. The window leaves your current desktop and now belongs to the target one.
Dragging a window onto the New desktop tile creates a new desktop and moves the window there in one go. The steps below walk through the same process on screen.
- Open Task View: Press the Win + Tab key together. Or, click the Task View icon on your taskbar .
- Find the App Window: You will see small pictures (thumbnails) of all the apps you have open. Find the one you want to move.
- Click and Drag: Click on the app’s thumbnail and hold down your left mouse button.
- Drag to the Other Desktop: While still holding the mouse button, drag the app’s thumbnail over to the thumbnail of the desktop you want to move it to. You’ll see your different desktops listed at the top of Task View.
- Let Go to Drop: When the app’s thumbnail is over the desktop you want, release the mouse button. That’s it! The app is now on that desktop.
Method 2Using the Right-Click Menu
The right-click method is better when dragging is awkward, for example on a small screen, with a touchpad that keeps dropping the click, or when you have many desktops open.
- Press Windows key + Tab or click the Task View icon on the taskbar to open Task View.
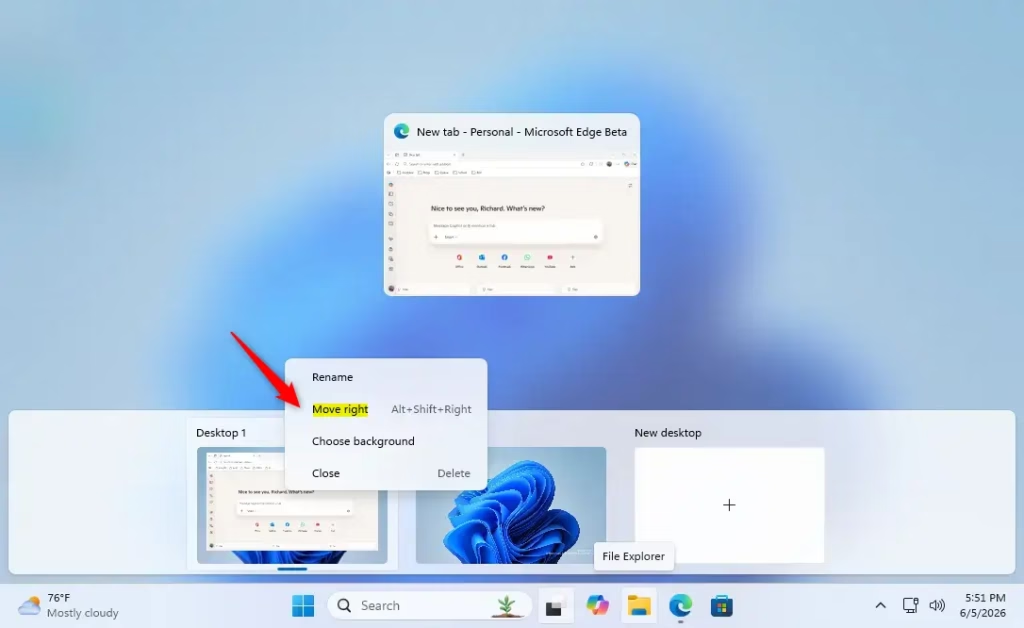
- Right-click the thumbnail of the window you want to move. A context menu appears.
- Select Move to. A list of your available desktops appears.
- Click the destination desktop. The window disappears from the current desktop and is now on the one you chose.
The same right-click menu has options to show a window, or all windows from that app, on every desktop. Use those if you want an app such as a chat client to follow you everywhere instead of living on one desktop. Choosing the same option again turns it off.
- Open Task View: Press Windows key + Tab key or click the Task View icon on your taskbar.
- Find Your App: Look for the thumbnail of the app you want to move.
- Right-Click the App: Instead of dragging, right-click directly on the app's thumbnail.
- Select 'Move to': A small menu will appear. Click on the option that says 'Move to'.
- Choose Where to Move It: Another small menu will show up with all your available desktops. Click on the name or thumbnail of the desktop you want to move the app to.
Why Move Apps Between Desktops?
Moving apps between virtual desktops keeps your screens tidy and organised. A common setup is one desktop for work, one for personal browsing, and one for a single project that needs lots of windows.
What Happens When You Move an App?
Nothing is closed or restarted, so any ongoing work, unsaved text and open sessions stay intact. If you move a window to the wrong desktop, open Task View and move it back the same way. No restart or setting change is needed.
Moving a window affects only that window. If an app has several windows open, such as two File Explorer windows, move each one separately unless you used the option to show the app on all desktops.
Reference:
Summary
Windows 11 virtual desktops accept application transfers by drag-and-drop in Task View or through the Move to right-click menu. Organising your workspaces this way speeds up switching between separate projects.
Was this guide helpful?
0% of readers found this helpful (2 votes)

About the Author
Richard
Tech Writer, IT Professional
Richard is a writer at Geek Rewind who turns complex IT tasks into clear, step-by-step guides. He draws on years of hands-on experience in system administration and enterprise IT operations, focusing on Windows, Linux and WordPress: the problems people actually run into, and the fixes that work. His server and WordPress guides come from systems he runs himself. Richard builds and maintains the platform behind Geek Rewind, from its Ubuntu servers and Nginx configuration to its custom WordPress plugins. Many new tutorials start with readers' questions, and he's always glad to answer them in the comments.
No comments yet — be the first to share your thoughts!