How to Manage Geo-Fencing Permissions in Windows 11 Location Settings

Geo-fencing permissions in Windows 11 control which apps can tell when your computer crosses an invisible border on a map, such as arriving at the office or leaving home. Windows 11 works out where you are using GPS (if the device has it), nearby Wi-Fi networks, and cell towers.
Managing your location settings stops random apps from watching your movements in the real world. You can check and change which apps have access to your location under the privacy settings in the main Settings app . The steps below start with the basic switches and finish with the admin tools.
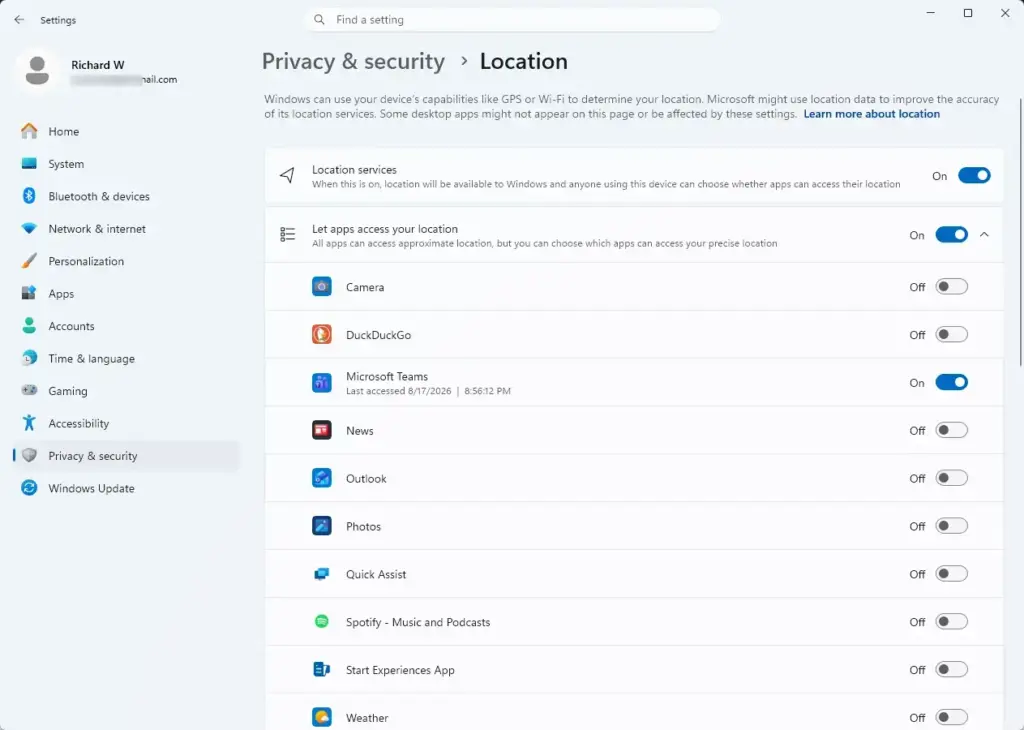
Open Settings , go to Privacy & security, then Location. Toggle the main Location services switch on or off to control all geo-fencing, or scroll down to manage individual app permissions. Changes take effect immediately without restart.
How to Check and Configure Location Services in 🪟 Windows 11
Location services let apps know where you are so they can show local weather, maps, and nearby results. The master switch for all of this is in Settings, under Privacy & security, then Location. Check it first, because every other location setting depends on it.
Here is how to check your main location settings:
- Click the Start button and select Settings, or press the Win+I on your keyboard. The Settings window opens.
- Click Privacy & security in the left-hand menu. The privacy options appear on the right.
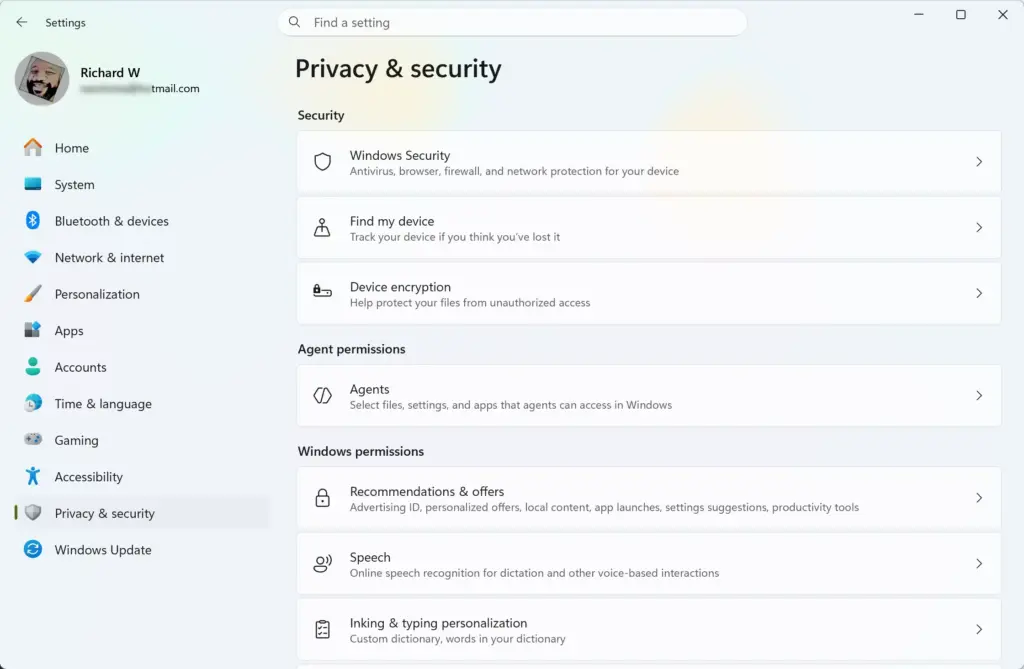
Settings › Privacy & security - Scroll down to the App permissions section and click Location. The location page opens.
- Find the main Location services switch at the top of the page. Toggle it to On or Off depending on your needs. The switch shows its new state straight away, and you do not need to restart.
When the main switch is off, no apps can see your location coordinates. This stops all geo-fencing features on the whole computer. To undo it, come back to the same page and turn the switch on again.
If the switch is greyed out, or you see a message saying some settings are managed by your organization, a policy is controlling it. This is common on work or school PCs. On a PC with several user accounts, you may also need to sign in as an administrator to change the device-wide switch.
Managing Individual App Permissions for Location Data
Individual app permissions let you choose which programs can see where you are. You set them in the same place as the main switch: Privacy & security, then Location. Each app has its own switch.
To control location access for individual apps, follow these steps:
- Open the Settings app by pressing the Windows Key + I.

Settings - Go to Privacy & security and select Location.
- Scroll down past the main switches until you see the list of apps. It sits under the Let apps access your location setting.
- Make sure the Let apps access your location switch is turned On. If it is off, the individual app switches below it are greyed out and cannot be changed.
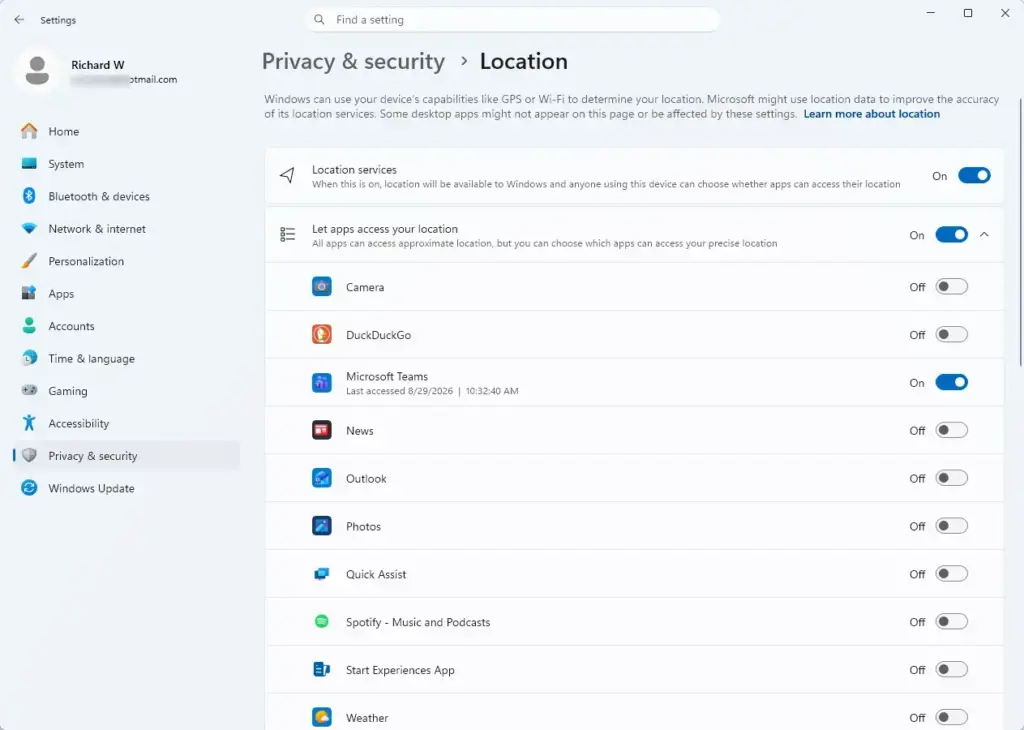
Settings › Privacy & security › Location - Find the app you want in the list, such as a map or weather tool, and toggle its individual switch to On or Off. The change applies immediately.
To stop all apps from using your location at once, turn off the Let apps access your location switch. This does not turn off the global Location services switch, so Windows itself can still use your location. Your individual app choices are usually kept, so turning the switch back on restores them.
An app only appears in the list after it has asked for your location at least once. If you cannot find an app, it has probably never requested access.
Clearing Location History on Your Device
Windows keeps a short record of places your device has recently been. Clearing it removes that saved list from the computer. You do this on the Location page, in the Location history section.
Clearing stored location data takes just a few clicks:
- Open the Settings app.
- Go to Privacy & security and click Location.
- Scroll down to the Location history section.
- Click the Clear button next to the text that says "Clear location history on this device."
Once you click the button, Windows deletes the saved location records from this computer. You cannot undo this, so only do it when you are sure. This clears the history stored on the device only. Apps that keep their own copies, or location data tied to an online account, are not affected.
Setting a Default Location for Your Computer
A default location gives Windows a fallback position when it cannot work out where you are, for example on a desktop PC with no GPS sensor or Wi-Fi card. You set it by hand through the Maps app, starting from the location settings.
To set a default location manually:
- Open the Settings app and select Privacy & security.
- Click Location.
- Scroll down to the Default location section.
Settings › Privacy & security › Location - Click the Set default button. The Windows Maps app opens.
- In the Maps app, set your preferred default address or location. Apps then have a backup position to use when exact tracking fails.
The default location is only a stand-in. It is not live tracking, so it will not move when you do. Update it if you move house or change office.
Using Group Policy for Enterprise Location Control (Admin Privileges Required)
Group Policy lets administrators set location rules on many office computers without visiting each one. This method needs administrator privileges.
The Local Group Policy Editor is only included in Windows 11 Pro, Enterprise, and Education. Windows 11 Home does not have it, so use the Registry Editor method below instead.
To configure location settings via Group Policy:
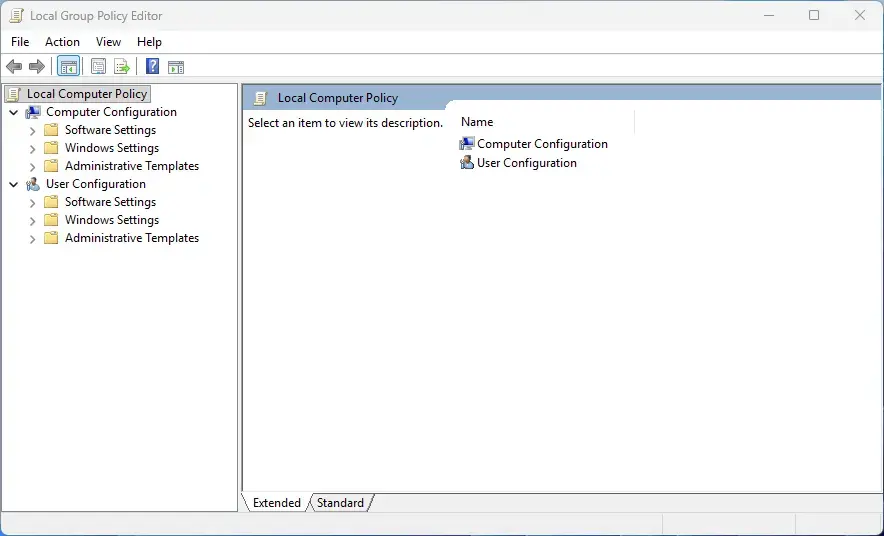
- Press the Windows Key + R on your keyboard to open the Run dialog box.

Run dialog - Type gpedit.msc into the box and press Enter. The Local Group Policy Editor opens.
- In the left-hand panel, expand Computer Configuration, then Administrative Templates, then Windows Components, and click Location and Sensors.
- Look at the settings listed on the right side of the screen. Double-click a policy such as "Turn off location" or "Turn off location scripting" to open it.
- Select Enabled to turn off the feature or Disabled to allow it, then click Apply and OK. Setting a policy back to Not Configured removes your rule.
Policy changes can take a little while to apply. If you do not see the effect, sign out and back in, or restart the PC. Once a policy is enforced, the matching switch in the Settings app is usually greyed out.
Configuring Location Settings via the Registry Editor (Admin Privileges Required)
The Registry Editor gives advanced users and administrators a direct way to manage location permissions, especially on Windows 11 Home where Group Policy is not available. It needs administrator privileges, and a wrong edit can cause problems, so work carefully.
Entering incorrect values in the registry (the Windows system database) can cause instability. Before you change anything, back up the key. In the Registry Editor, right-click the key, choose Export, and save the file somewhere safe. Follow these instructions carefully.
To adjust location permissions using the graphical Registry Editor:
- Press the Windows Key + R to open the Run dialog box.
- Type regedit and press Enter. If a security prompt asks whether you want to allow the app to make changes, click Yes. The Registry Editor opens.
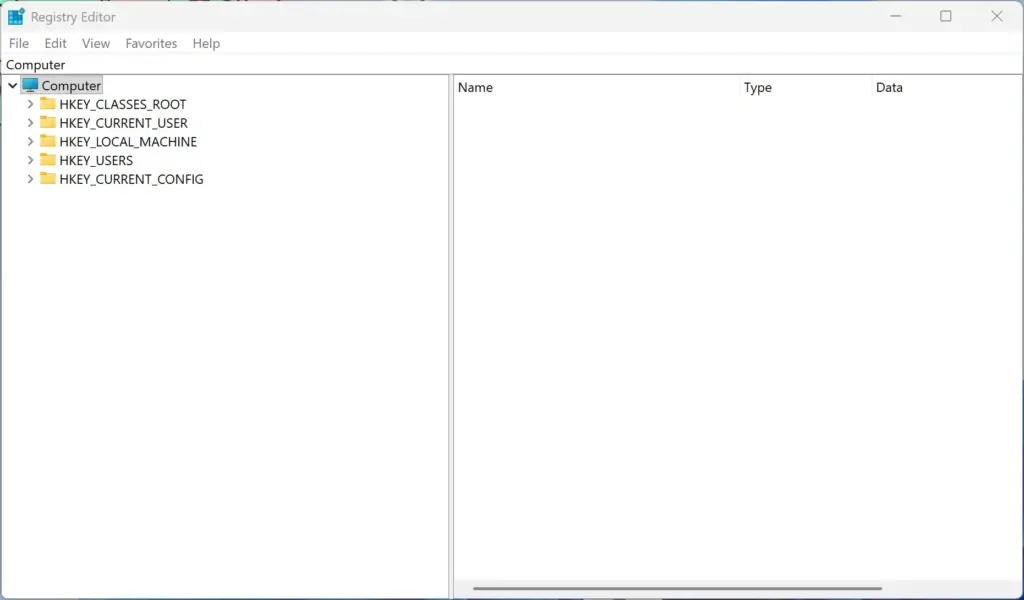
Registry Editor - Use the folders in the left panel to find this path: HKEY_LOCAL_MACHINE\SOFTWARE\Microsoft\Windows\CurrentVersion\CapabilityAccessManager\ConsentStore\location
- To change permissions for a specific app, look inside the subfolders under this path.
- To change a permission, double-click the value name on the right side of the screen. A dialog opens showing its current data.
- Change the value data to Allow or Deny depending on your preference, and click OK.
- Close the Registry Editor window. If the change does not show up in Settings, sign out and back in or restart the PC.
To undo a change, set the value back to what it was, or double-click the exported backup file to restore the key.
Deploying Location Settings Using PowerShell (Admin Privileges Required)
PowerShell lets administrators script location changes and apply them to many computers quickly. The scripts change the same settings you would otherwise set by hand. This method needs administrator privileges.
Note: This step requires administrator privileges.
To run location configuration commands via PowerShell:
- Click the Start button, type PowerShell, right-click Windows PowerShell in the search results, and select Run as administrator.
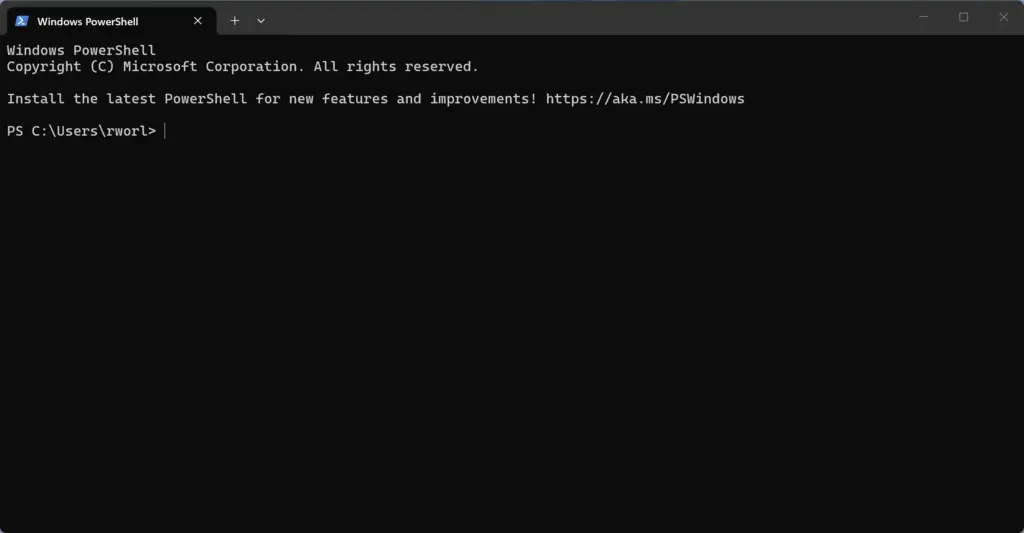
PowerShell - Confirm any security prompts that appear. A PowerShell window opens with administrator rights.
- Enter the commands that modify the registry keys or manage the app capability access store for your environment. These are the same keys covered in the Registry Editor section above.
- Close the PowerShell window once the script finishes running.
Test any script on one computer before you push it across the network. Because it edits the same registry keys, keep an exported backup of them first.
Advanced Geo-Fencing Strategies and Hidden Privacy Pitfalls
Beyond the basic switches, it is worth checking how apps track your location in the background, even when they look closed. These hidden settings affect both battery life and privacy.
When an app creates a geo-fence, it often starts a background task. The app can then watch your location even when its window is closed. If your laptop battery drains quickly, hidden background geo-fences might be the cause. In Windows 11, check background permissions app by app. Open Settings, go to Apps, then Installed apps, click the three dots next to the app, and choose Advanced options. Look for the background app permissions there. Also review the app list on the Location page and switch off anything that does not need your position.
Another trap is the "Find My Device" feature. Windows uses location services to track lost laptops and tablets. If you turn off the global location service to protect your privacy, Find My Device can no longer locate your hardware if it is stolen. Weigh the value of anti-theft tracking against your everyday privacy preferences.
Summary
Managing geo-fencing permissions and location settings in Windows 11 gives you control over the global location service, individual app permissions, and location history. The settings range from simple switches in the Settings app to admin tools such as Group Policy, the Registry Editor, and PowerShell. Start with the basic switches, and use the admin tools only when you need to manage several PCs or when a setting is locked.
Have a question about this guide?
Answered by AI from this guide. Good questions may be added to this page — please don't include personal details.
Did this guide fix your problem?

About the Author
Richard
Tech Writer, IT Professional
Richard is a writer at Geek Rewind who turns complex IT tasks into clear, step-by-step guides. He draws on years of hands-on experience in system administration and enterprise IT operations, focusing on Windows, Linux and WordPress: the problems people actually run into, and the fixes that work. His server and WordPress guides come from systems he runs himself. Richard builds and maintains the platform behind Geek Rewind, from its Ubuntu servers and Nginx configuration to its custom WordPress plugins. Many new tutorials start with readers' questions, and he's always glad to answer them in the comments.
No comments yet — be the first to share your thoughts!