How to Windows 11 Setup Without Internet Connection


Setting up Windows 11 without an internet connection lets you create a local user account straight away instead of signing in with a Microsoft account. The trick works during the Out-of-Box Experience (OOBE), the first-time setup screens on Windows 11 Home and Pro. At the network screen, press Shift+F10 to open a command prompt and run one short command that skips the network requirement.
The whole process takes a few minutes. You need a keyboard attached to the PC and nothing else. No network cable or Wi-Fi is required.
Press Shift+F10 at the network screen to open Command Prompt. Type OOBE\BYPASSNRO and press Enter. Your PC will restart, and you can then select “I don’t have internet” to continue with a local account.
Why perform a 🪟 Windows 11 offline setup?
Bypassing the internet requirement lets you create a local account right away instead of signing in with a Microsoft account. That helps if you care about privacy, if you want a simple account on a shared or single-purpose PC, or if you have no connection when you start.
A local account is stored only on this PC. Nothing is synced to a Microsoft account, so you will not get automatic settings sync or OneDrive backup until you sign in with one later. You can add a Microsoft account any time after setup if you change your mind.
What happens when you bypass the internet requirement?
When you bypass the internet requirement, the installer lets you create a local account right away and does not ask you to connect online first. You still pick your region and keyboard layout as normal. The only screens you skip are the network connection and the Microsoft account sign-in.
If you are on Windows 11 Home, this bypass is the main way to get a local account during setup. Pro offers a few more ways around the sign-in screen, but the steps below work on both editions.
Steps to Install 🪟 Windows 11 Offline
An offline setup is possible with a hidden command prompt that you can open when installation reaches the network connection screen. You open the prompt, run one bypass command, and let the PC restart. After that, the setup offers a way to continue without internet, and you finish with a local account.
If the PC is wired, unplug the network cable first. If Windows already connected to a network, the setup may skip the screen you need. Disconnecting beforehand keeps things predictable.
1. Go through the usual setup steps (language, region and keyboard layout) until you reach the screen that asks you to connect to a network. Stop there. You should see a list of Wi-Fi networks, or a message that you need a connection to continue.
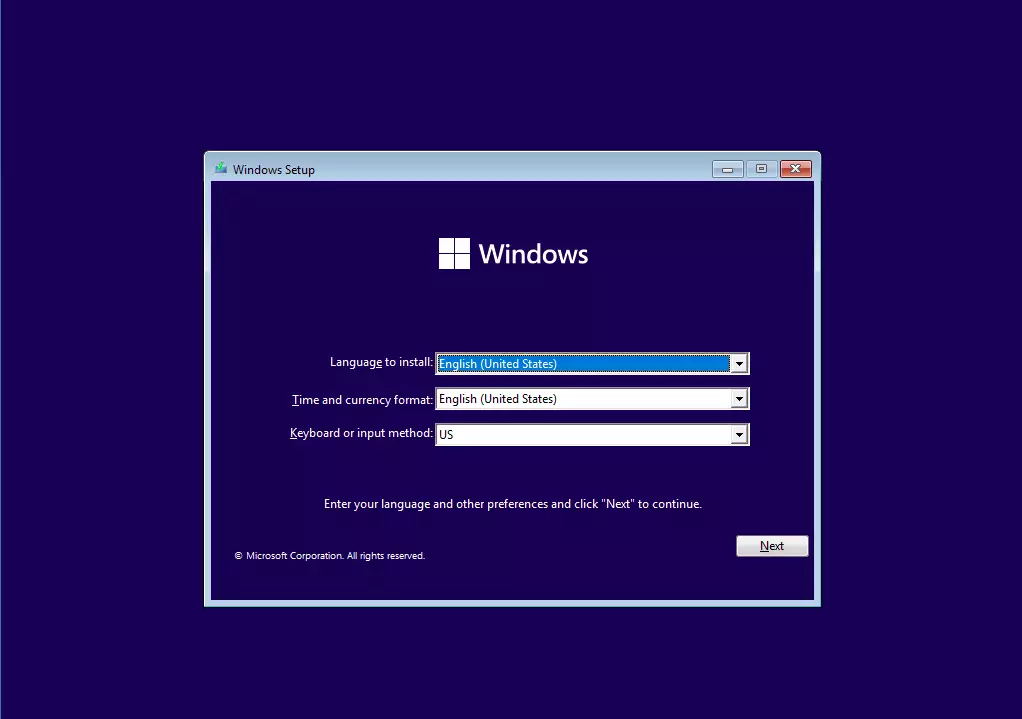
2. At the network screen, press SHIFT + F10 on your keyboard. A black Command Prompt window opens on top of the setup screen. Note: This step requires admin privileges. You do not need to do anything extra here. The command prompt opened during setup already runs with the rights it needs.
If nothing happens, click once on the setup screen to give it focus and try again. On some laptops you must hold the Fn key as well, so press Fn + Shift + F10.
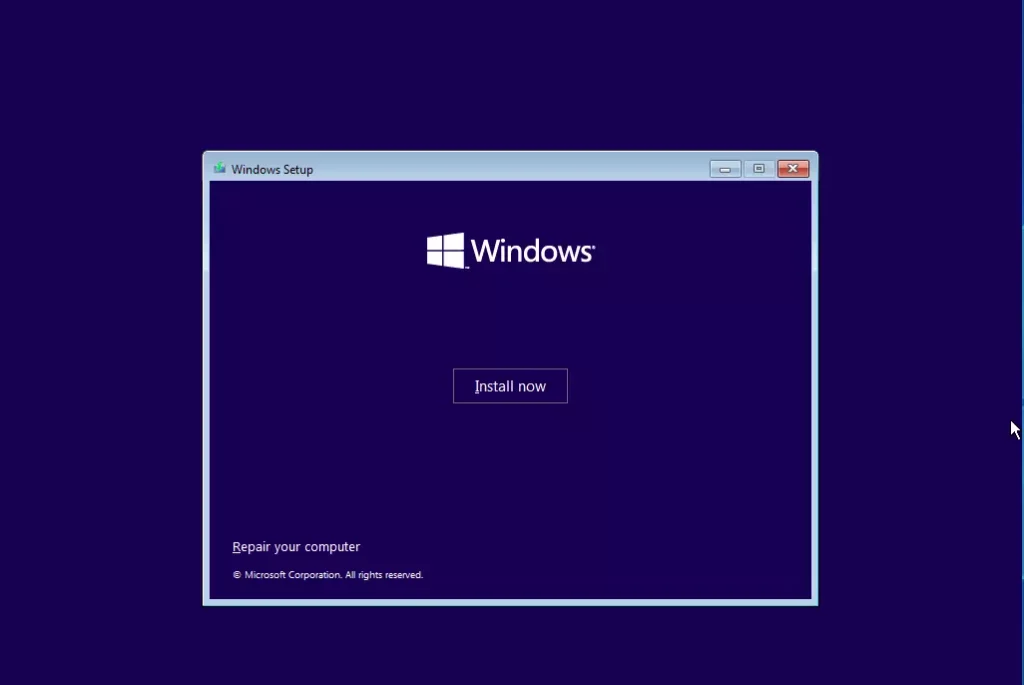
3. In the Command Prompt window, type OOBE\BYPASSNRO and press Enter. Use a backslash, not a forward slash, and do not add spaces. Capital letters are not required, but the spelling must be exact.
start ms-cxh:localonly
4. Wait for the computer to restart. This happens on its own, and the Command Prompt window closes. Once the PC is back at the setup screen, you will notice a new option on the network page: I don't have internet. If you do not see it, the command did not run. Go back to step 2 and check what you typed.

5. Click I don't have internet, then click Continue with the limited setup to proceed without an internet connection. Windows may warn that you will miss some features. That is expected, and you can connect later.

6. Follow the remaining prompts to name your computer and create a local account. Pick a computer name you will recognize on a network. The name can be changed later in Settings.

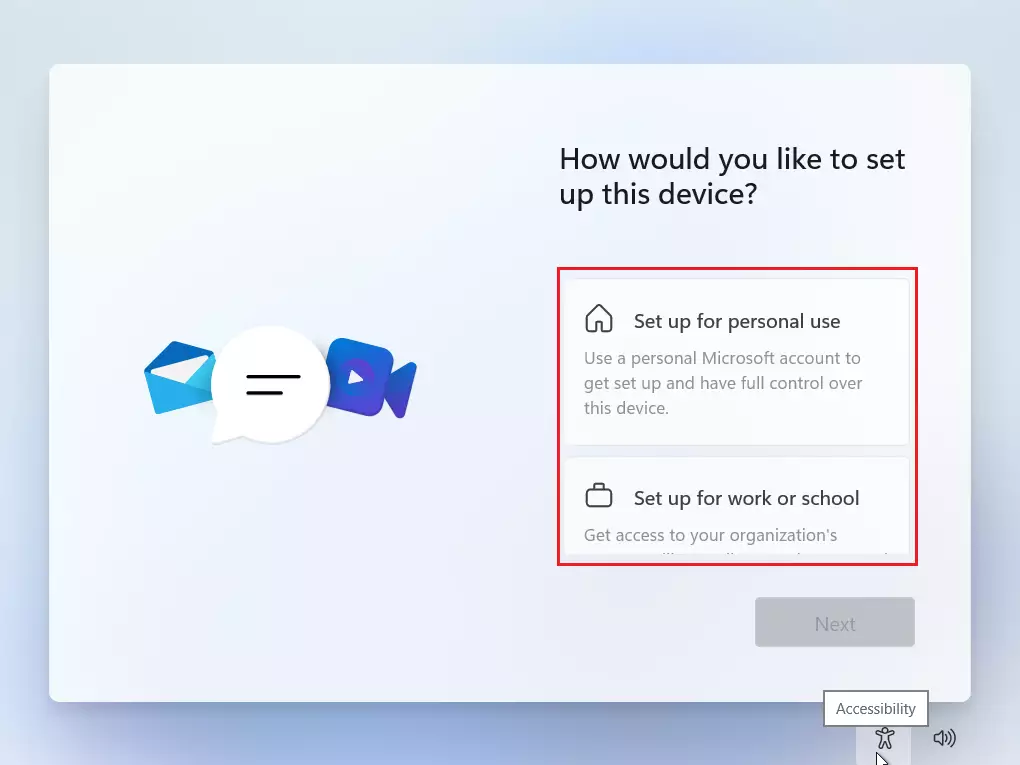
Choose whether you are setting the PC up for personal use or for work or school. For a home PC or a standalone machine, choose the personal option. The work or school option is meant for organization accounts, and it may push you toward signing in online.
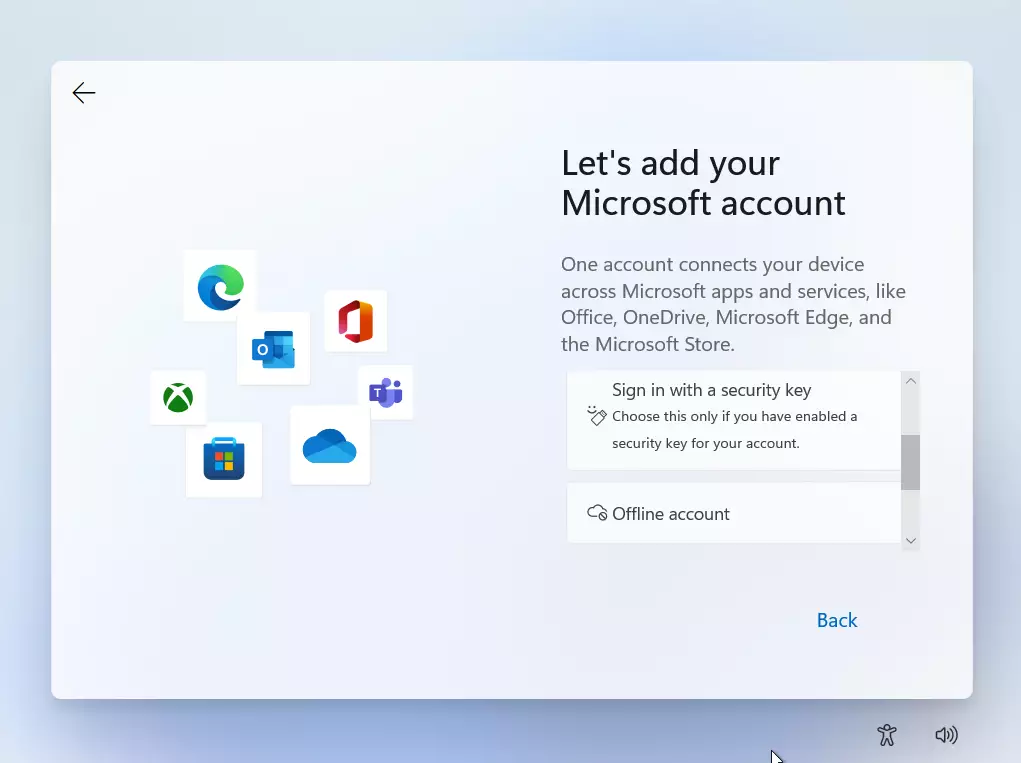
Select Offline account to create a local profile without a Microsoft online account. Type a user name. This is the name that appears on the sign-in screen and on your user folder.
Create your password and set up your security questions. Windows asks you to choose and answer a set of questions, and those answers are the only way to reset a forgotten local password. Choose answers you will remember and that others cannot easily guess. Write the password down somewhere safe, because there is no Microsoft account to recover it.

Windows will finish the setup and restart. This can take several minutes, and the screen may show messages such as "Just a moment". Leave the PC alone until you reach the sign-in screen. You can now log in with your new local account.

Version-Specific Changes: Build 26120 and Beyond
For newer Windows 11 builds like 26120 and later, the network setup is stricter, but the OOBE\BYPASSNRO command is still the best way to do an offline setup. Microsoft changes the setup program from time to time, and it has said it is removing this script from some newer builds. If the command prompt tells you the command is not recognized and you have typed it correctly, your installation media may be one of those builds. In that case, try setup media from an earlier release.
Troubleshooting 'No Internet' Errors
Most problems with a Windows 11 offline setup come down to a mistyped command or missing network drivers. If the bypass command fails, you most likely made a typo. Restart the process and type the exact text without any extra spaces before trying again. The checks below cover the usual causes.
- Check the Command: Ensure you typed
start ms-cxh:localonlywithout spaces. Look for a forward slash where a backslash belongs, or a letter O swapped for a zero. - Task Manager: If the setup hangs, press SHIFT + F10 and type
taskmgrto end non-essential processes. Task Manager lets you see what is running and close anything stuck. - Drivers: If you have no internet after setup, you must download network drivers on another PC and transfer them via USB. Get the Wi-Fi or Ethernet driver from your PC or motherboard maker's support page, copy it to the USB drive, and install it on the new PC.
Summary
Setting up Windows 11 offline is a good way to keep more control over your privacy. The command lets you skip the mandatory Microsoft account requirement and set up a local account instead. It works on most recent builds, including 26120 and later, though Microsoft may remove it from some newer ones. If you later want a Microsoft account, you can add one from Settings Accounts without reinstalling
Have a question about this guide?
Answered by AI from this guide. Good questions may be added to this page — please don't include personal details.
Did this guide fix your problem?

About the Author
Richard
Tech Writer, IT Professional
Richard is a writer at Geek Rewind who turns complex IT tasks into clear, step-by-step guides. He draws on years of hands-on experience in system administration and enterprise IT operations, focusing on Windows, Linux and WordPress: the problems people actually run into, and the fixes that work. His server and WordPress guides come from systems he runs himself. Richard builds and maintains the platform behind Geek Rewind, from its Ubuntu servers and Nginx configuration to its custom WordPress plugins. Many new tutorials start with readers' questions, and he's always glad to answer them in the comments.
No comments yet — be the first to share your thoughts!