How to Install Windows Subsystem for Linux (WSL) on Windows 11
You can install the Windows Subsystem for Linux (WSL) on Windows 11 to run Linux environments directly on your PC without a separate virtual machine.
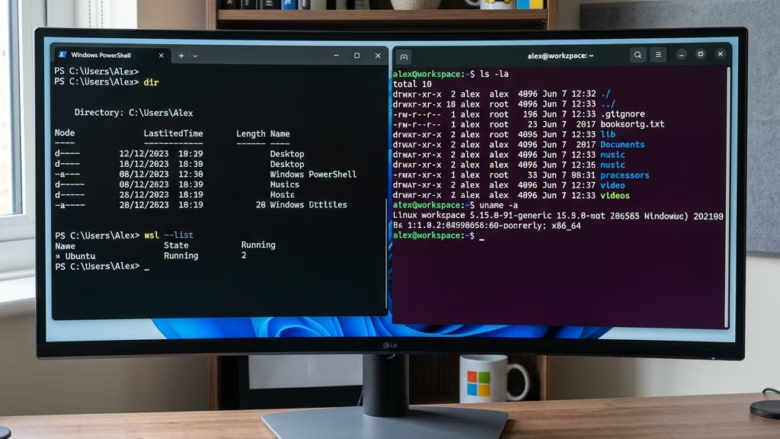
WSL allows you to use Linux command-line tools and applications alongside your Windows programs. This makes it easy for developers and tech enthusiasts to access Linux utilities, with the latest version, WSL 2, offering full system call compatibility and faster performance.
After installation, you will have a functional Linux distribution ready to use within Windows 11. You can then open a Linux terminal to execute commands and run Linux software seamlessly.
Open PowerShell as an administrator and run wsl –install. This command automatically enables necessary features and downloads the default Ubuntu distribution. Alternatively, search for your preferred Linux distribution in the Microsoft Store and click Install.
Prerequisites and Requirements
Before you install WSL on Windows 11, make sure your PC meets the basic requirements, like having enough storage space and being updated.
The easiest way to install WSL is using the command line. Note: This process requires admin privileges.
wsl --install
This command enables the Virtual Machine Platform and Windows Subsystem for Linux features automatically. It also downloads the latest Linux kernel and the default Ubuntu distribution.
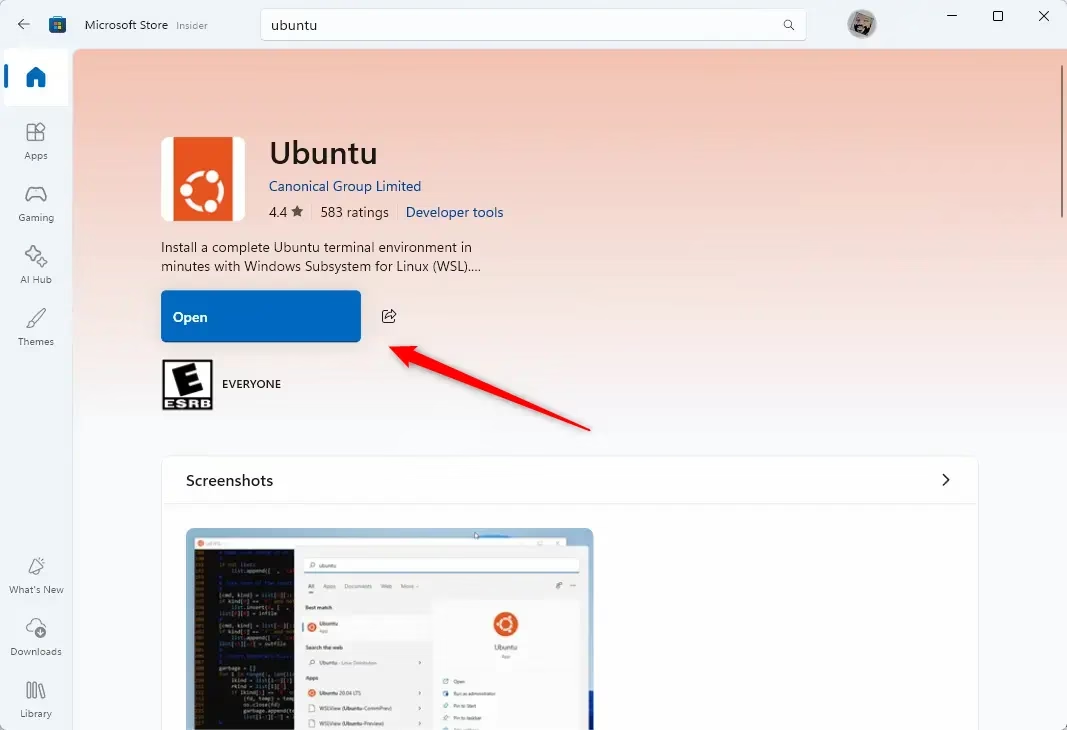
Option 1Install via Microsoft Store
- Visit the Microsoft Store.
- Search for your preferred Linux distribution, such as Ubuntu, Debian, or Kali Linux.
- Click Get or Install.
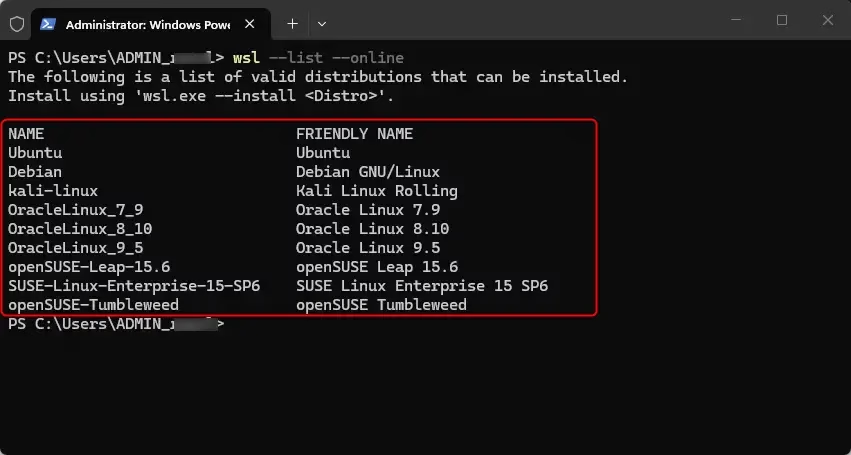
Option 2Install via Command Line
- Open PowerShell as an administrator.
- Run
wsl --list --onlineto see available distributions. - Run
wsl --install -d <DistroName>to install a specific one.
WSL 1 vs WSL 2
WSL 1 translates Linux system calls to Windows system calls. WSL 2 uses a real Linux kernel inside a lightweight virtual machine. WSL 2 is faster and supports full system call compatibility. Most users should choose WSL 2 for better performance.
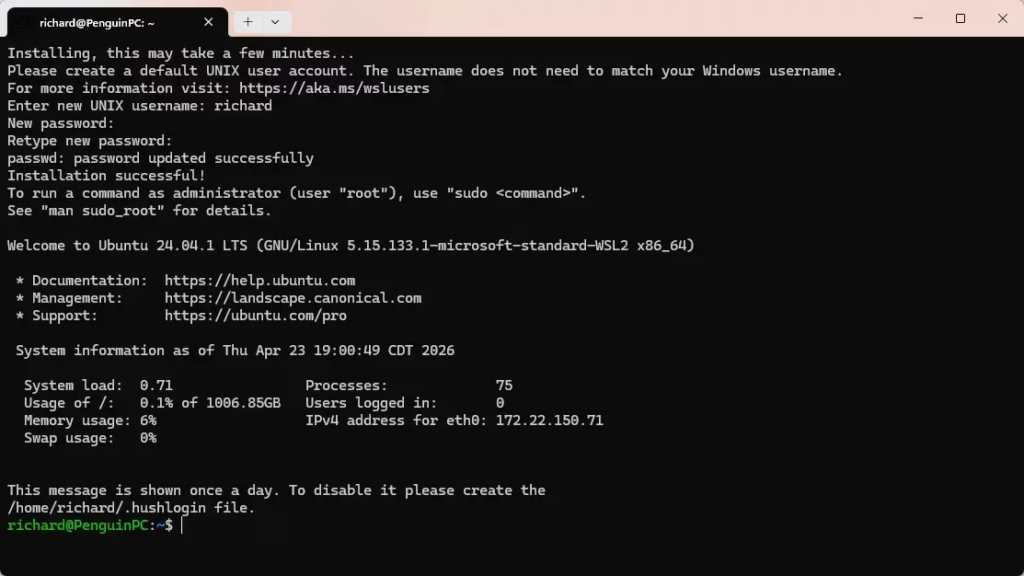
Post-Installation Setup
Once installed, launch the Linux app from your Start menu. You will be prompted to create a UNIX username and password. This is separate from your Windows account.
Was this guide helpful?
0% of readers found this helpful (1 votes)

About the Author
Richard
Tech Writer, IT Professional
Richard, a writer for Geek Rewind, is a tech enthusiast who loves breaking down complex IT topics into simple, easy-to-understand ideas. With years of hands-on experience in system administration and enterprise IT operations, he’s developed a knack for offering practical tips and solutions. Richard aims to make technology more accessible and actionable. He's deeply committed to the Geek Rewind community, always ready to answer questions and engage in discussions.

No comments yet — be the first to share your thoughts!