How to List Installed WSL Distros on Windows 11

You list installed WSL distros on Windows 11 by running the wsl -l -v command. The Windows Subsystem for Linux (WSL) allows you to run Linux environments directly on your Windows 11 PC.
This command is essential for managing your Linux distributions, showing you each one’s name, whether it’s currently Running or Stopped, and its assigned WSL version (typically WSL 1 or WSL 2). Knowing this information helps you keep your system organized and reclaim disk space when needed.
Use the command wsl -l -v in Command Prompt or PowerShell to list installed WSL distros and their status. This command shows the name, state, and WSL version for each distribution. You can also find them by opening the Linux folder in File Explorer.
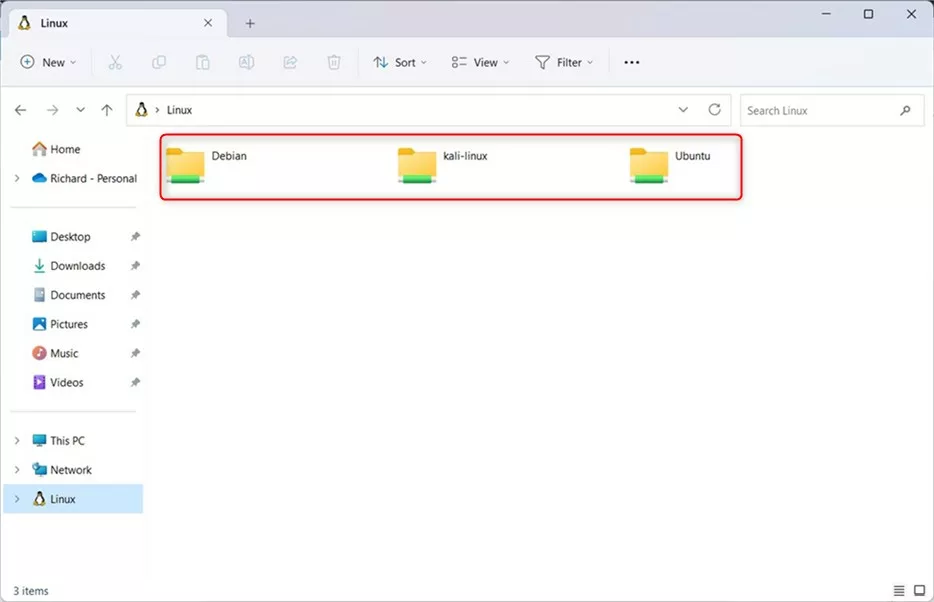
Check via File Explorer
You can see your installed Linux systems using the built-in File Explorer.
- Open File Explorer on your computer.
- Look at the menu on the left side of the window.
- Click on the Linux folder.

You will see a folder for every Linux version installed on your device.
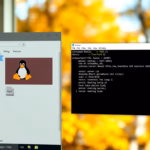
Check via Terminal
Open the Terminal app to access Command Prompt or Windows PowerShell.
Understanding wsl –list vs wsl –list –verbose
wsl --list command shows basic names. The wsl --list --verbose command (or wsl -l -v) provides the status (Stopped/Running) and the WSL version (1 or 2).wsl -l -v
Expected Output:
  NAME            STATE           VERSION
* Ubuntu          Running         2
  Debian          Stopped         2
How to find new distributions
If you want to see what is available to install from the Microsoft Store, use this command:
wsl --online
Identifying the Default Distro
The distro marked with an asterisk (*) in the list is your default. This is the version that opens when you type wsl in your terminal.
Troubleshooting Missing Distros
If a distro does not appear, ensure the WSL feature is enabled. You can check your status by running wsl --status. If you run into issues, make sure your PowerShell execution policy allows scripts to run by opening an admin terminal and running Set-ExecutionPolicy RemoteSigned.
Summary
You can easily list WSL distros on Windows 11 by checking the Linux folder in File Explorer or using the `wsl -l -v` command in your Terminal.
How do I list available distributions that are not yet installed?
How do I list available distributions that are not yet installed?
You can view a list of all Linux distributions available for download from the Microsoft Store by running the command ‘wsl –online’ in your terminal. This command pulls the latest list of supported distributions, so you can pick the best one for your development needs.
Can I list WSL distros from a non-admin terminal?
Yes, you can list installed WSL distributions using a standard, non-admin terminal. Commands like ‘wsl -l’ or ‘wsl -l -v’ do not require elevated permissions to execute, making it safe and accessible for any user to check their current Linux environment status on Windows 11.
Was this guide helpful?

About the Author
Richard
Tech Writer, IT Professional
Richard, a writer for Geek Rewind, is a tech enthusiast who loves breaking down complex IT topics into simple, easy-to-understand ideas. With years of hands-on experience in system administration and enterprise IT operations, he’s developed a knack for offering practical tips and solutions. Richard aims to make technology more accessible and actionable. He's deeply committed to the Geek Rewind community, always ready to answer questions and engage in discussions.


[…] When the Windows Terminal app opens, run the commands below to list the currently installed distros. […]