

This article explains the steps you can take to list all installed Windows Subsystem for Linux (WSL) distributions in Windows 11.
Windows Subsystem for Linux lets developers run a GNU/Linux environment directly in Windows without setting up a virtual machine or dual-boot, including most command-line tools, utilities, and applications.
When you want to quickly see or list all the installed WSL distros on Windows 11, the steps below will show you how. This should be handy when you want to know what distros are installed and what versions are available.
List all installed Windows Subsystem for Linux distros via File Explorer.
As described above, when you want to quickly see a list of installed Linux distros with WSL, the steps below should help you.
The quickest way to know what distros are installed is to use Windows File Explorer.
To do that, open File Explorer or use the keyboard shortcut (Window key + R).
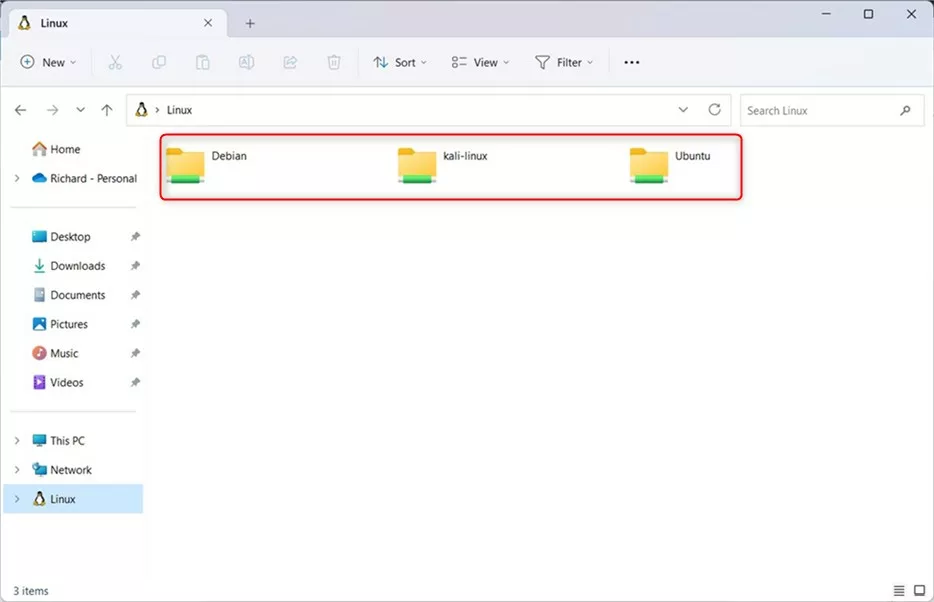
Once File Explorer opens, click the Linux folder on the left navigation pane.

You should then see folders for all the install distros.
List installed WSL distros via Windows commands
Alternatively, the Terminal app can open the Command Prompt or Windows PowerShell.
Then, run the commands below to list all the installed Linux distros.
wsl --list --all
or
wsl -l
To list distros with other details, use the commands below.
wsl --list --verbose
or
wsl -l -v
Optionally, run the commands below to list running distros.
wsl --list --running
or
wsl -l --running

That should do it!
Conclusion:
- Listing installed WSL distros in Windows 11 can be achieved via File Explorer or Windows commands.
- Utilize File Explorer to access the Linux folder and view the installed distros in a user-friendly manner.
- Alternatively, utilize Windows commands such as wsl –list –all to list installed distros and additional details if needed.
- By following these steps, users can conveniently keep track of installed WSL distros and their available versions on Windows 11.


Leave a Reply to How to Change Default Distro in Windows Subsystem for Linux – Geek Rewind Cancel reply