How to Enable Auto Adjust Screen Brightness during Face Recognition in Windows 11

Windows Hello, the face, fingerprint and PIN sign-in system, can brighten your screen for a moment when the room is too dark for it to see your face. This tutorial shows you how to turn that option on or off for your account in Windows 11.
The option works with face sign-in on an infrared (IR) camera, which sees using infrared light. That camera can be built into your PC or plugged in from outside.
Windows adds this option starting with Windows 11 build 26340.9750 (Experimental 26H2) for Windows Insiders, people who test preview versions of Windows before release. If your PC is not on that build, the steps below will not apply.
Open Settings (Win+I), select Accounts, then select Sign-in options. Under Ways to sign in, expand Facial recognition (Windows Hello) and tick or clear “Automatically adjust screen brightness during face recognition” to turn it on or off. The option is on by default and needs Windows 11 build 26340.9750 (Experimental 26H2) or later.
How the feature works
When Windows Hello sees that the room is too dark, it raises your screen brightness. The screen then lights up your face, so the camera can see it. When sign-in completes or the attempt ends, brightness returns to its previous level. You don’t need to reset it yourself.
Windows raises the brightness only when the IR camera can see your face but the regular color camera cannot. The regular camera needs more light to work.
Facial recognition may then fail in dark rooms. If face sign-in still fails after a brightness increase, you can sign in with your PIN or fingerprint instead.
Turn automatic brightness adjustment on or off
- Open Settings (Win+I).
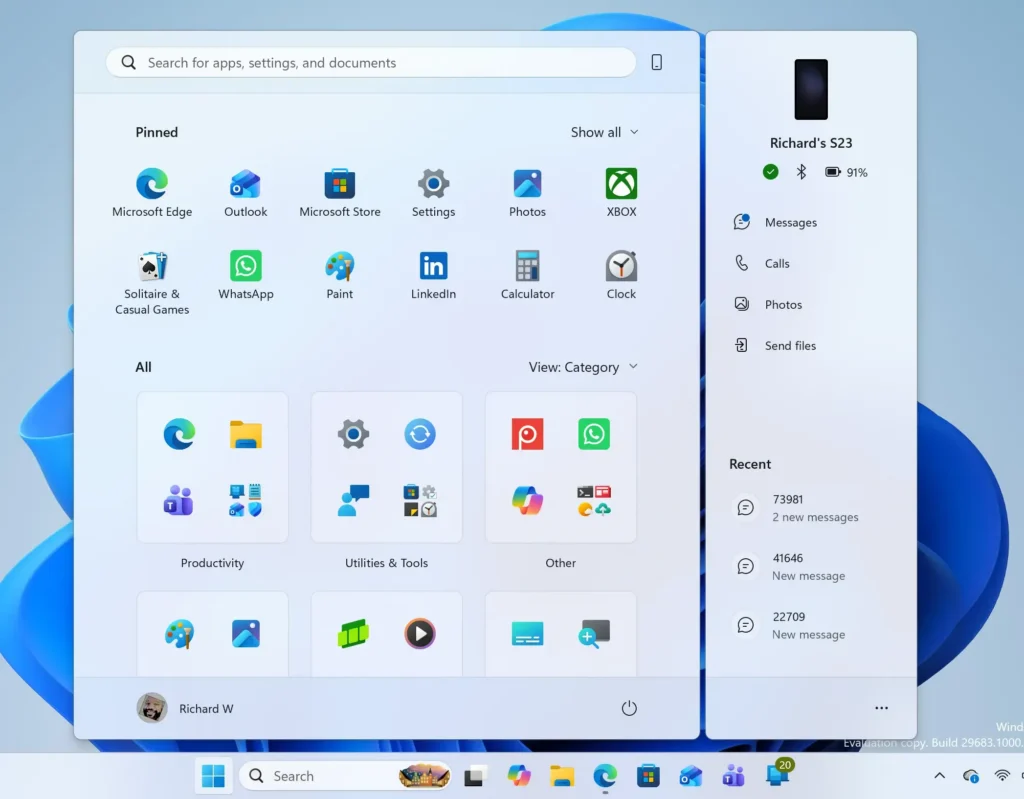
- Select Accounts on the left, then select Sign-in options on the right.
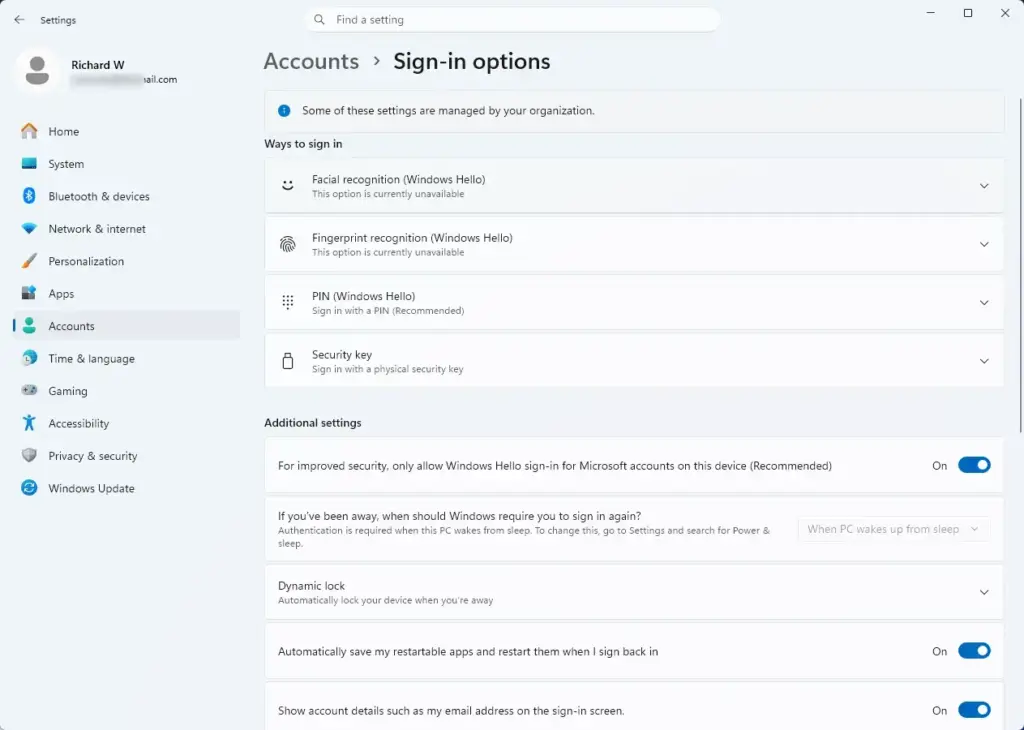
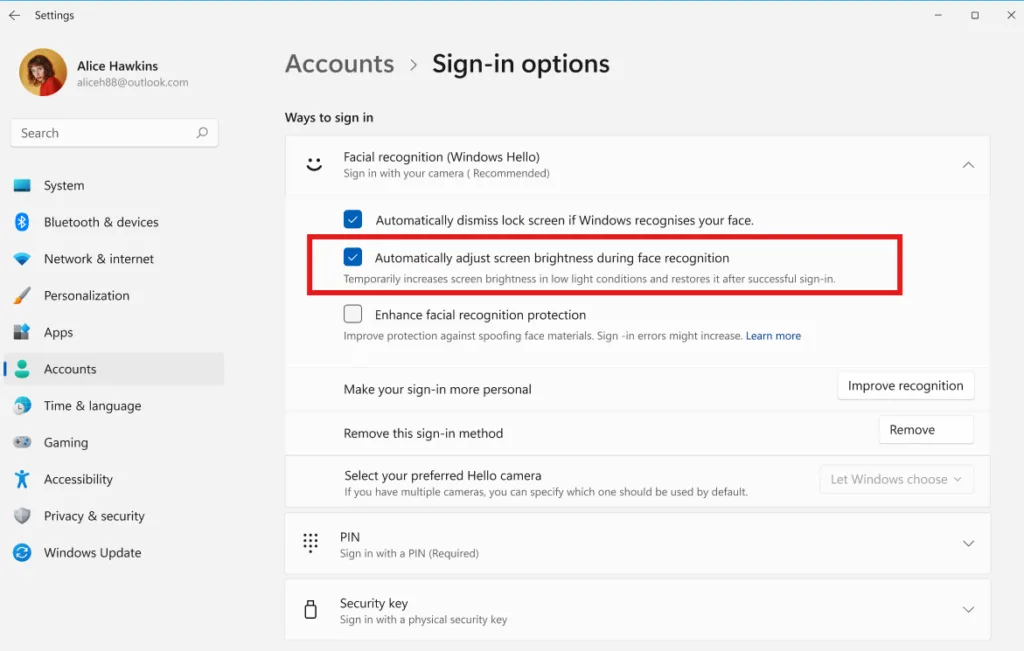
Settings › Accounts › Sign-in options - Under Ways to sign in, select Facial recognition (Windows Hello) to expand it.
- Select the Automatically adjust screen brightness during face recognition checkbox to turn the feature on (the default), or clear it to turn the feature off.
- Close Settings.
Read the build notes in the Windows Insider Blog post from 16 October 2026 for the latest details.
https://blogs.windows.com/windows-insider/2026/10/16/announcing-new-builds-for-16-october-2026
What to do next
To reverse the change, return to Accounts Sign-in options Facial recognition (Windows Hello) and turn the option back on or off using the same Automatically adjust screen brightness during face recognition setting you changed. If face sign-in doesn't work in a dark room, use your PIN or fingerprint to get in.
Have a question about this guide?
Answered by AI from this guide. Good questions may be added to this page — please don't include personal details.
Did this guide fix your problem?

About the Author
Richard
Tech Writer, IT Professional
Richard is a writer at Geek Rewind who turns complex IT tasks into clear, step-by-step guides. He draws on years of hands-on experience in system administration and enterprise IT operations, focusing on Windows, Linux and WordPress: the problems people actually run into, and the fixes that work. His server and WordPress guides come from systems he runs himself. Richard builds and maintains the platform behind Geek Rewind, from its Ubuntu servers and Nginx configuration to its custom WordPress plugins. Many new tutorials start with readers' questions, and he's always glad to answer them in the comments.
No comments yet — be the first to share your thoughts!