How to Allow or Stop a User from Changing Their Password in Windows 11

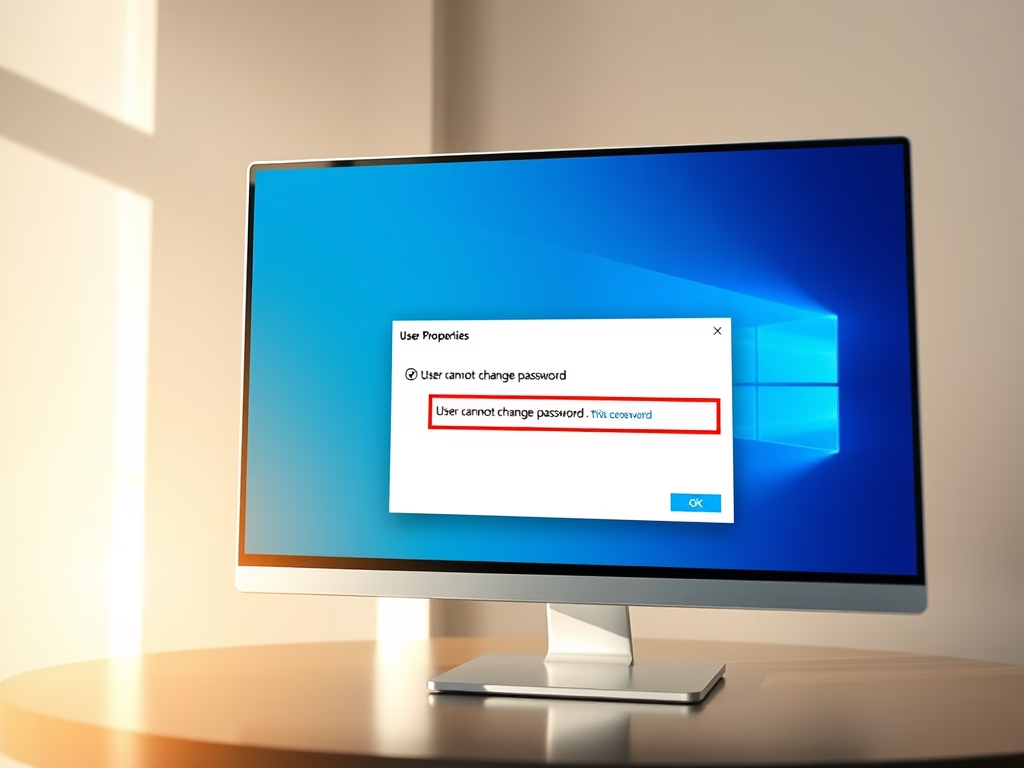
Local user accounts on Windows 11 can change their own passwords by default. On a shared computer you may want to block that. If you do, other people who use the PC can’t change a password and lock you out, and they can’t alter sign-in settings without your say-so.
You need to be signed in with an administrator account to set this up for local accounts. The restriction applies to local accounts only. A Microsoft account has its password reset online through the Microsoft account website, so the setting in this tutorial doesn’t control it.
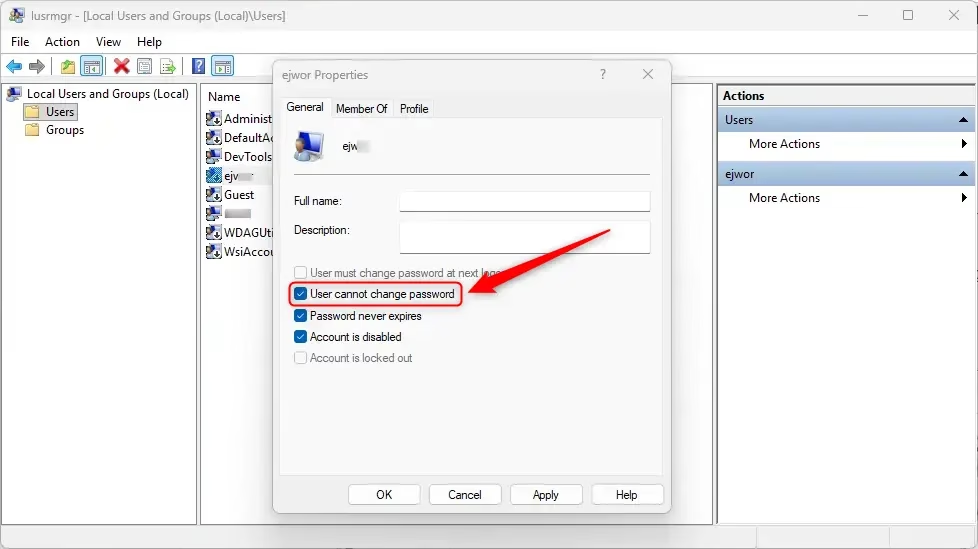
Open Local Users and Groups by pressing Win+R, typing lusrmgr.msc, and pressing Enter. Find the user account, right-click it, select Properties, then tick User cannot change password to block changes. Click OK; the setting takes effect immediately without restarting.
Method 1Use Local Users and Groups (For 🪟 Windows 11 Pro, Enterprise, or Education)
It is available in Windows 11 Pro, Enterprise and Education. It is not included in Windows 11 Home, so if you run Home, skip to the Command Prompt method further down. You don’t need any extra software.
- Press Win+R to open the Run box, type
lusrmgr.msc, and press Enter. The Local Users and Groups window opens. If you see a message that the snap-in can’t be opened, you are most likely on Home edition. - Click the Users folder in the left pane. The middle pane now lists every local account on the PC.
- Find the account you want to change. Right-click it and select Properties, or just double-click the user name. The account’s properties window opens on the General tab.
- On the General tab, tick the box User cannot change password to block password changes. To allow them again later, untick the same box.
- Click OK to save. The change takes effect right away, and you don’t need to restart the PC.
This setting is meant for standard users.
Method 2Use Command Prompt or Windows Terminal
Command Prompt and Windows Terminal can change this setting on any edition of Windows 11, Home included. Use this method when Local Users and Groups isn’t available to you, or when you simply prefer the command line.
- Right-click the Start button and select Terminal (Admin), or search for Command Prompt and choose Run as administrator. Click Yes if User Account Control asks for permission. The command only works from an elevated window.
- Type one of the commands below and press Enter, depending on what you want.
To allow the user to change their password (default):
net user "<username>" /PasswordChg:Yes
To stop the user from changing their password:
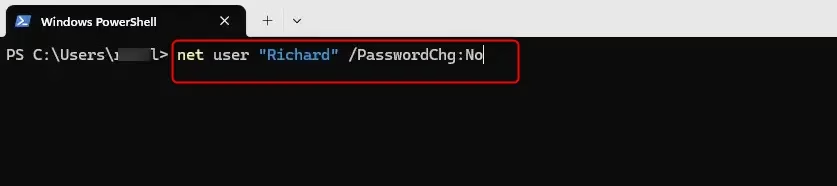
net user "<username>" /PasswordChg:No
Replace 'username' with the actual name of the account. For example, to stop the user "genericuser" from changing their password, type:
net user "genericuser" /PasswordChg:No
If the command worked, the terminal reports that it completed successfully. If the name doesn't match an existing account, you get an error instead, so check the spelling. As with the Local Users and Groups method, you also get an error message if you try this on an administrator account.
When you are finished, close the terminal window. To undo the restriction at any time, run the allow command again for the same account.
Summary
- Why do this? Controlling who can change their password helps keep a shared PC secure and stops other users from locking you out.
- What happens? Users you block can't change their own passwords. This works only for standard users, not administrators.
- Use Local Users and Groups if you have Windows 11 Pro or above. Use the commands in Windows Terminal on any edition, including Home.
- Always be signed in as an administrator when you change these settings.
- Check your user accounts regularly to keep your PC secure.
Controlling password permissions in Windows 11 helps secure your computer by stopping standard users from altering their sign-in details. Administrators can manage the restriction with Local Users and Groups on Pro and higher editions, or with terminal commands on any edition, Home included. The changes take effect immediately and apply only to non-administrator accounts on the device.
Was this guide helpful?

About the Author
Richard
Tech Writer, IT Professional
Richard is a writer at Geek Rewind who turns complex IT tasks into clear, step-by-step guides. He draws on years of hands-on experience in system administration and enterprise IT operations, focusing on Windows, Linux and WordPress: the problems people actually run into, and the fixes that work. His server and WordPress guides come from systems he runs himself. Richard builds and maintains the platform behind Geek Rewind, from its Ubuntu servers and Nginx configuration to its custom WordPress plugins. Many new tutorials start with readers' questions, and he's always glad to answer them in the comments.


No comments yet — be the first to share your thoughts!