How to Upgrade from Windows 11 Home to Pro
You upgrade from Windows 11 Home to Windows 11 Pro to access advanced features like BitLocker encryption and Remote Desktop.
Windows 11 Pro enhances your PC with superior security, management, and productivity capabilities compared to the Home edition.
Upgrading from Windows 11 Home to Windows 11 Pro unlocks important features. These features include Hyper-V for running virtual computers and the ability to join a business network. BitLocker encryption, which protects sensitive computer data on hard drives, also requires the Pro version for its strong security.
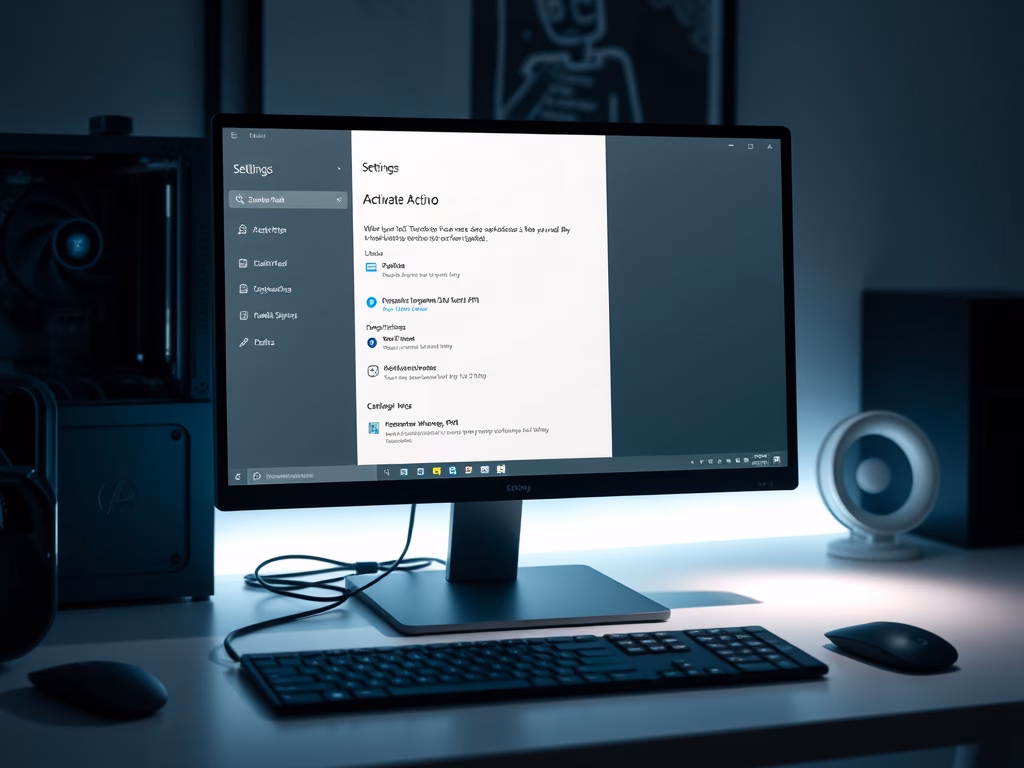
Upgrade Windows 11 Home to Pro by opening Settings, navigating to System > Activation, and either entering a product key or purchasing a license through the Microsoft Store. Your files and apps will remain safe during this process.
What Happens When Done?
Once the upgrade is complete, your computer will restart. Windows will unlock the professional features automatically. You do not need to worry about your files, photos, or apps. Everything stays exactly where you left them. The system switches from the Home edition to the Pro edition in the background.
Prerequisites for the Upgrade
Before you upgrade Windows 11 Home to Pro, make sure your PC meets the basic system requirements and that your current Windows 11 Home is fully activated. You’ll also need an active internet connection and to be signed in with your Microsoft account for an easier license management.
How to Upgrade 🪟 Windows 11 Pro
Upgrading Windows 11 Home to Pro uses the computer's settings. This upgrade process is straightforward and allows access to features like BitLocker encryption and remote desktop connections, which are not available in the Home version.
1. Open the Settings app by pressing Windows key + I on your keyboard.

2. Click on System in the left sidebar, then select Activation.


Troubleshooting and Common Errors
If you hit any snags while trying to upgrade Windows 11 Home to Pro, first check your internet connection because server issues can sometimes cause problems.
Summary
Upgrading your Windows 11 Home to Pro unlocks useful features like BitLocker and Hyper-V, and you can do this through the Activation settings.- Benefits: Gain access to BitLocker, Hyper-V, and Remote Desktop.
- Process: Use the Activation menu in Settings to enter a key or buy one via the Microsoft Store.
- Safety: Your files remain intact during the upgrade process.
- Requirements: Ensure your current Windows 11 Home is activated and you have admin access.
- Support: If the upgrade fails, check your internet or restart your computer to clear temporary errors.
Will I lose my files when upgrading from Home to Pro?
No, you will not lose your files when you upgrade Windows 11 Home to Pro. The upgrade process only adds new features and tools; it doesn’t affect your personal documents, photos, or installed applications, so everything stays just as it was.
How do I check if my PC is compatible with 🪟 Windows 11 Pro?
If your computer is already running Windows 11 Home, it is fully compatible with Windows 11 Pro. Both editions share the same core system requirements. You can verify your hardware status by visiting the Settings app under System and About to ensure your processor and RAM meet the standard Windows 11 requirements.
Was this guide helpful?

About the Author
Richard
Tech Writer, IT Professional
Richard, a writer for Geek Rewind, is a tech enthusiast who loves breaking down complex IT topics into simple, easy-to-understand ideas. With years of hands-on experience in system administration and enterprise IT operations, he’s developed a knack for offering practical tips and solutions. Richard aims to make technology more accessible and actionable. He's deeply committed to the Geek Rewind community, always ready to answer questions and engage in discussions.


No comments yet — be the first to share your thoughts!