Why Does Nearby Sharing Fail to Find Devices in Windows 11

Nearby Sharing in Windows 11 lets you send files and photos between PCs using a mix of Bluetooth and Wi-Fi . When it fails to find another computer, the cause is usually one of a few basic requirements. Both devices must run Windows 10 version 1803 or later, sit within 30 feet of each other, and have Bluetooth and a private network connection turned on.
Bluetooth handles the initial handshake that spots nearby PCs. Your local Wi-Fi network then carries the actual file. If either signal drops, or a setting blocks discovery, the transfer stops. Work through the sections below in order, and test after each one. Fixes that need to be made on both computers are marked as such.
Nearby sharing fails to find devices in Windows 11 because Bluetooth , Wi-Fi , or the sharing feature itself is turned off or set to a public network profile. To fix this, open the Settings app, turn on Nearby sharing and Bluetooth under System, and change your network profile to private.
Check If the Feature Is Turned On
The most common cause is that Nearby sharing is turned off on one or both computers. Both PCs need it on before they can see each other. Check this first, because it takes under a minute.
- Click the Start button and open the Settings app.
- Select System from the left menu.
- Click Nearby sharing on the right side. The Nearby sharing options should now be on screen.
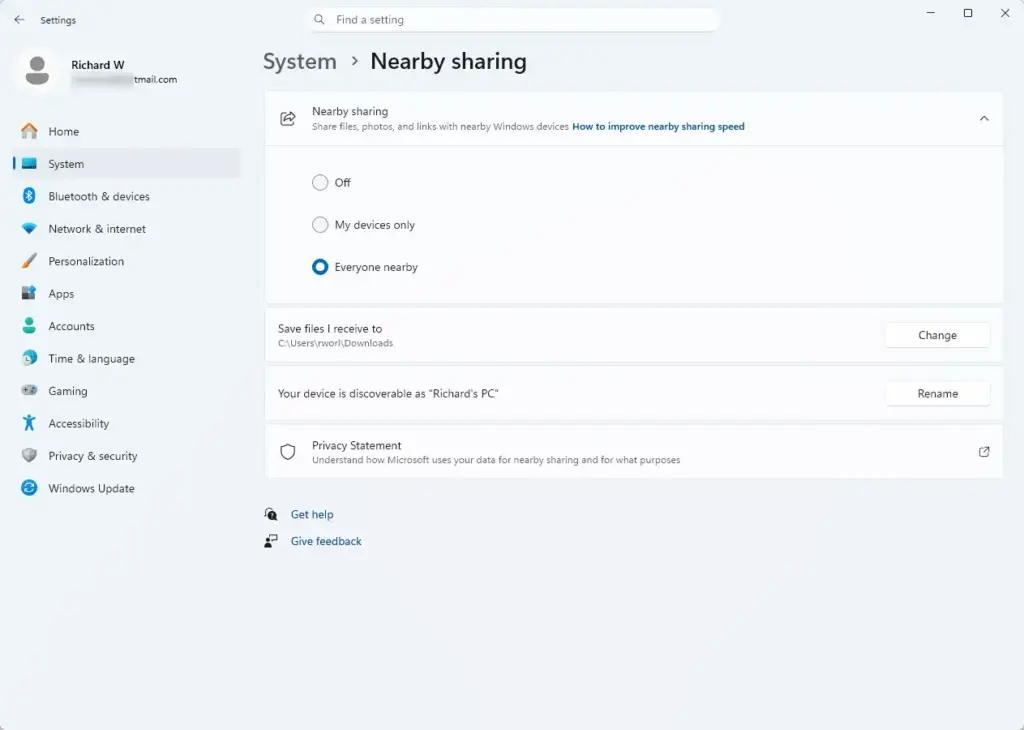
- Turn Nearby sharing on. Depending on your Windows 11 build, this is either a switch or a choice between Off, My devices only and Everyone nearby. Anything other than Off means the feature is active.
- Choose whether to share with Everyone nearby or only your own devices. Everyone nearby is usually best for troubleshooting. My devices only works only when both PCs are signed in with the same Microsoft account.
- Repeat these steps on the second computer you want to share files with.
Once sharing works, you can switch back to My devices only if you prefer a tighter setting.
Verify That Bluetooth Is Active
Bluetooth handles the discovery phase, so it must be on and working on both computers. If Bluetooth is off, your PC cannot send or receive the signals needed to find nearby hardware. Nearby sharing also needs a Bluetooth adapter that supports version 4.0 or later with Low Energy. Very old adapters and some cheap USB dongles do not meet that requirement, and no setting will fix them.
- Open the Settings app.
- Click Bluetooth & devices.
- Make sure the main Bluetooth switch is turned On. If there is no Bluetooth switch at all, the adapter is missing, disabled, or has no driver installed.
- If Bluetooth is already on, turn it off, wait a few seconds, and turn it back on to reset the connection.
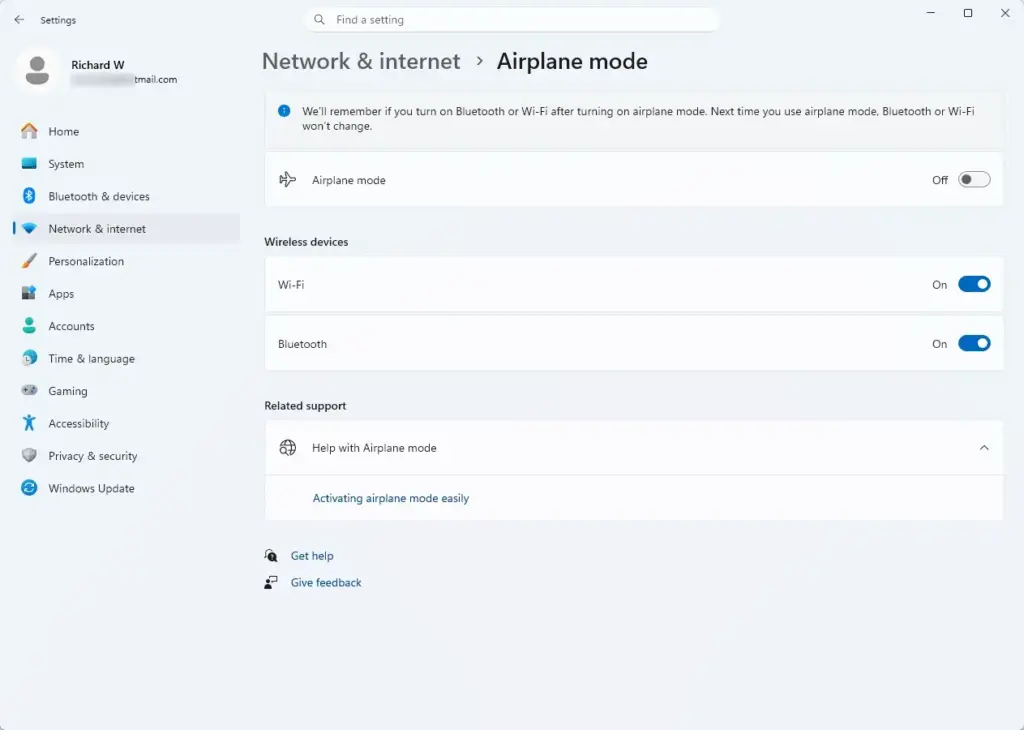
Also check that Airplane mode is off on both PCs. It switches off Bluetooth and Wi-Fi together, and you can easily miss it on a laptop.
Check Your Network Connection Type
Windows uses network profiles to protect your hardware from outside threats. If your network profile is set to Public, the computer hides itself from other devices, and that blocks Nearby sharing. Switch the profile to Private in your Wi-Fi or Ethernet settings to let devices see each other again. Do this on both computers.
- Open the Settings app.
- Click Network & internet.
- Select Wi-Fi or Ethernet, depending on how you connect to the internet.
- Click the name of your current network connection. Its properties page should open.
- Look at the network profile type and make sure it is set to Private network instead of Public network.
The change takes effect right away, and you can switch it back the same way. Note: Do not set the profile to Private on untrusted public Wi-Fi networks, such as those at a coffee shop. Private mode makes your PC visible to everyone else on that network. Use it only on home or office networks you trust.
Check Your Date and Time Settings
Wireless security certificates can fail if your computer clock is even a few minutes off. When these time checks fail, the computers refuse to trust each other and sharing stops working. Set the time and time zone to update automatically on both PCs.
- Open the Settings app.
- Click Time & language.
- Select Date & time.
- Turn on the switches for Set time automatically and Set time zone automatically. If the time zone switch is greyed out or fails, check that Location services are on in your privacy settings.
- Click the Sync now button to force your computer to update its clock immediately. The "Last successful time synchronization" line should show the current time.
Prevent Power Saving Modes from Blocking Devices
Windows saves battery by putting hardware to sleep during inactivity. Sometimes the wireless card sleeps too, and then the computer stops listening for incoming file requests. This matters most on laptops running on battery. Adjust your power and sleep settings so the PC stays awake while you connect the devices.
- Open the Settings app.
- Click System, then select Power & battery.
- Expand Screen and sleep and increase the sleep times, so the computer does not go to sleep while you complete a large file transfer. Set both the on-battery and plugged-in values if you see both.
You can set these back to your usual values after the transfer. Plugging a laptop into power during the transfer also helps.
Unique Expert Tip: Resetting Network Adaptors
If the basic checks do not fix the problem, the network software itself may have a hidden fault. Resetting your network adapters clears old data and gives the computer a fresh start with all its wireless connections. Treat this as a last resort, since it changes more than just sharing settings.
- Open the Settings app.
- Click Network & internet.
- Select Advanced network settings.
- Click Network reset.
- Click the Reset now button and confirm your choice. Windows restarts the computer after a short countdown.
It removes all saved Wi-Fi networks from your computer, so you must type your Wi-Fi password in again after the restart. It also reinstalls your network adapters and may remove VPN settings, so note down anything you need first. After the restart, set your network profile to Private again, because the reset may put it back to Public.
Unique Expert Tip: Checking Windows Firewall Rules
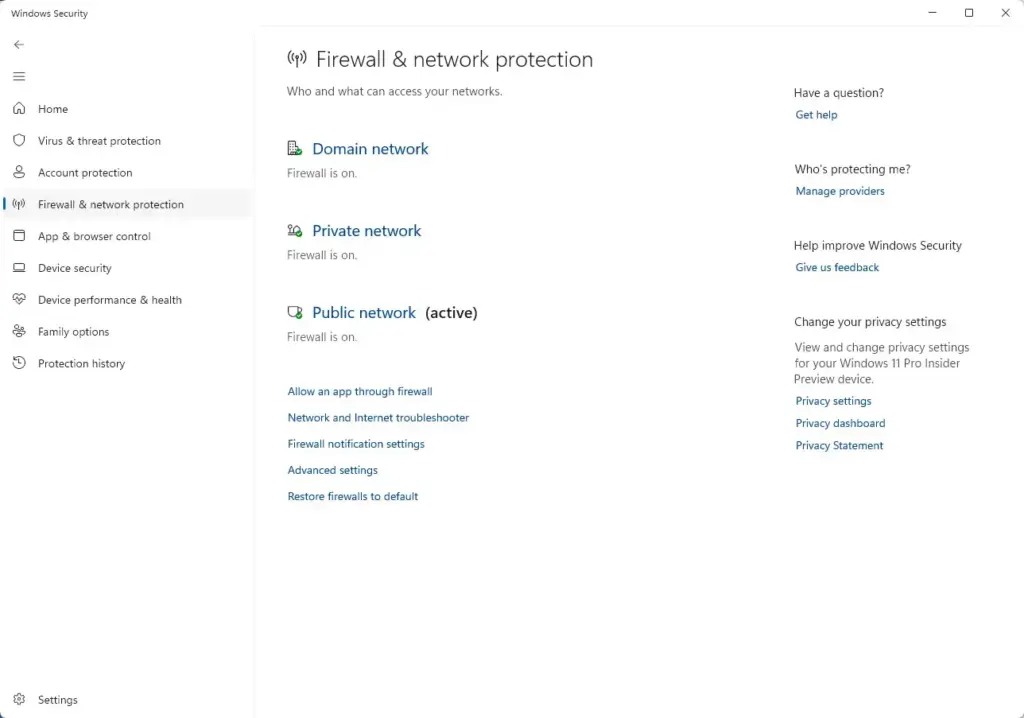
Your firewall can block the network ports that file sharing tools need to communicate. Make sure the sharing feature is allowed through it. If you use a third-party security suite, check its firewall settings too, because it may replace the Windows firewall.
- Click the Start button, type Windows Defender Firewall into the search bar, and open it. The firewall control panel window should appear.
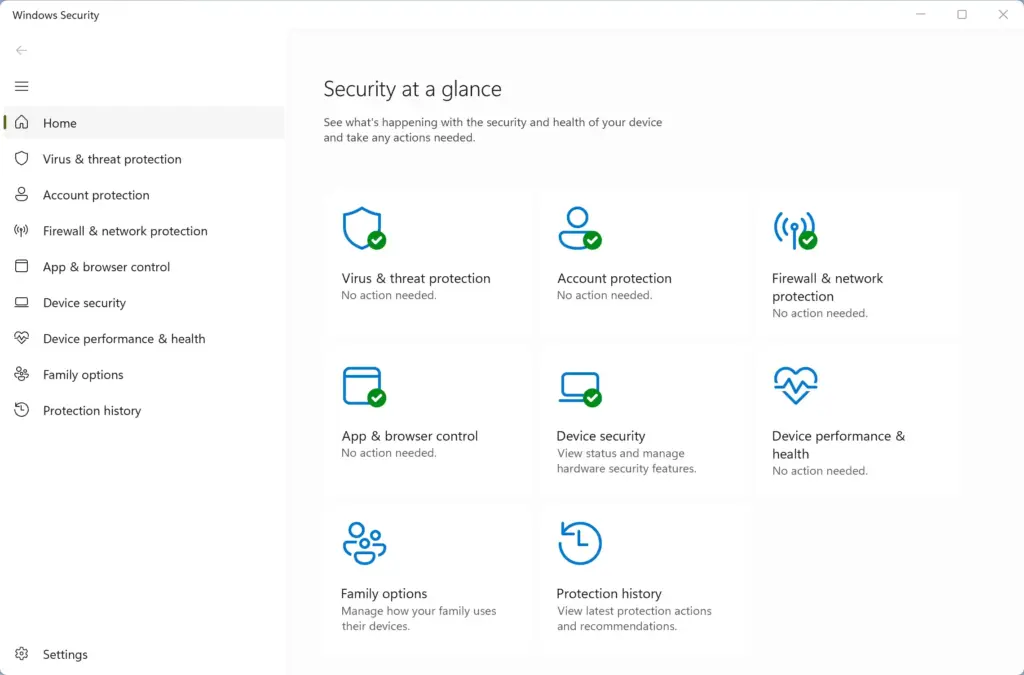
- Click Allow an app or feature through Windows Defender Firewall on the left side.
- Click the Change settings button at the top of the window. (Requires administrator privileges.) The list below should now be editable. If it stays greyed out, you are not signed in as an administrator.
- Scroll down the list and look for file sharing services. Make sure they have checkmarks in both the Private and Public boxes. The Private box matters most for Nearby sharing. Only tick Public if you really need it.
- Click OK to save your changes.
Repeat the check on the second computer if it also fails to see the first one.
Summary
Troubleshooting Nearby sharing in Windows 11 comes down to checking a few vital settings on both PCs. Check that Bluetooth and Nearby sharing are on, your network profile is set to Private, your clock is accurate, and your firewall allows the connection. If it still fails after all of that, restart both computers and try again before you resort to the network reset.
Have a question about this guide?
Answered by AI from this guide. Good questions may be added to this page — please don't include personal details.
Did this guide fix your problem?

About the Author
Richard
Tech Writer, IT Professional
Richard is a writer at Geek Rewind who turns complex IT tasks into clear, step-by-step guides. He draws on years of hands-on experience in system administration and enterprise IT operations, focusing on Windows, Linux and WordPress: the problems people actually run into, and the fixes that work. His server and WordPress guides come from systems he runs himself. Richard builds and maintains the platform behind Geek Rewind, from its Ubuntu servers and Nginx configuration to its custom WordPress plugins. Many new tutorials start with readers' questions, and he's always glad to answer them in the comments.
No comments yet — be the first to share your thoughts!