
This article explains how to enable or disable “Allow this PC to access your mobile devices” in Windows 11.
Starting with Windows 11 build 26016 (Canary), the Phone Link settings page has been renamed to Mobile devices. Settings on this page will allow users to control how their PCs interact with their mobile devices.
A new section will appear as part of this change, allowing a PC to access mobile devices. This section has not introduced anything new yet, but Microsoft promised to add more features soon.
You can quickly use the settings on this page to send and receive text messages, view your photos on your mobile devices, control apps on your mobile devices, and more.
Allow PC to Access your Mobile Devices in Windows 11
As mentioned, a new device setting page for PCs to access your mobile devices has been added to the recent Windows 11 builds.
Here’s how to turn it on or off.
First, open the Windows Settings app.
You can do that by clicking on the Start menu and selecting Settings. Or press the keyboard shortcut (Windows key + I) to launch the Settings app.
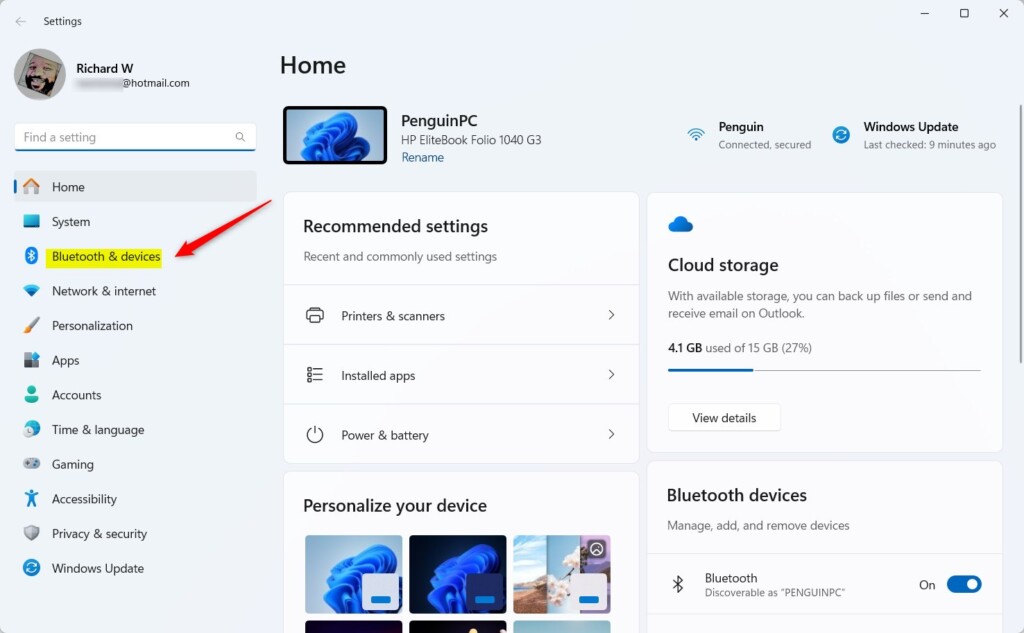
When the Setting app opens, click the Bluetooth & devices button on the left.
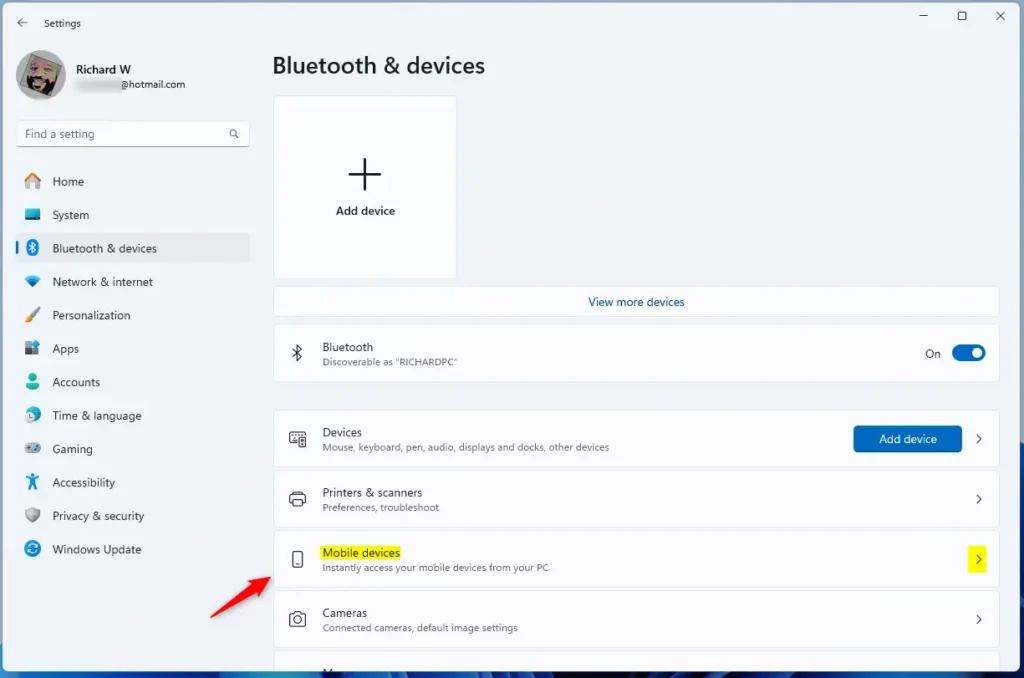
Select the Mobile devices tile under ‘Bluetooth & devices ‘on the right to expand it.
Next, select “Allow this PC to access your mobile devices” on the “Bluetooth & device -> Mobile devices” settings page.
Then, toggle the switch button to the On position to enable it. To disable it, toggle the switch button to the Off position.

The first time you turn this on, Windows will prompt you to install the “Cross Device Experience Host” feature. This is required.
Exit the settings page when done.
Allow access to your mobile device using Windows Registry Editor
Another way to allow your PC to access your mobile devices is to use Windows Registry Editor.
First, open Windows Registry Editor.
Then, navigate to the registry key below.
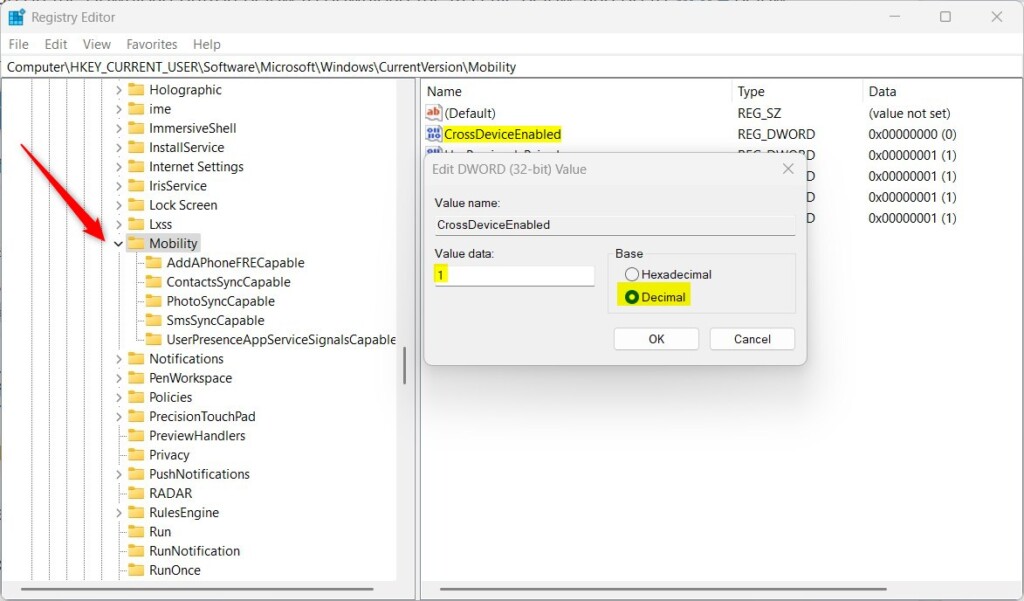
ComputerHKEY_CURRENT_USERSoftwareMicrosoftWindowsCurrentVersionMobility
Next, double-click the CrossDeviceEnabled (REG_DWORD) name on the Explorer key’s right pane to open it. Then, enter a value 1 to allow your PC to access your mobile devices.
To disable it, type 0.
If you do not see the ‘CrossDeviceEnabled’ item, right-click a blank area and create a new DWORD (32-bit) Value. Then, enter the name ‘CrossDeviceEnabled’.
You may have to restart your computer to apply the changes.
That should do it!
Conclusion:
- Enabling or disabling the “Allow this PC to access your mobile devices” feature in Windows 11 is now possible through the settings page, which is now called “Mobile devices” as of build 26016.
- Users can conveniently manage their mobile device interactions through the Windows Settings app, including sending and receiving text messages and viewing photos.
- An alternative method to controlling access involves modifying the Windows Registry Editor, which allows users to choose their preferred approach.
- Users can easily customize their PCs’ access to their mobile devices based on their preferences using the settings page or the Registry Editor.
- If you encounter any issues or have additional insights, feel free to utilize the comments section below for further discussion or assistance.


Leave a Reply to How to Remove Mobile Devices from Microsoft Account on Windows 11 – Geek Rewind Cancel reply