How to Enable or Disable Cellular Use in Windows 11
You enable or disable cellular use in Windows 11 to manage your PC’s connection to mobile networks via a SIM or eSIM.
Cellular data access in Windows 11 allows your PC to use a cellular network, just like your smartphone connects to the internet. This feature uses a built-in modem or a USB cellular modem to provide internet access when Wi-Fi is not available.
It provides a crucial backup internet connection when Wi-Fi is unavailable or unreliable.
For instance, Windows 11 can automatically switch to your cellular connection if your Wi-Fi signal degrades, ensuring you remain online. This is especially helpful if you’re working remotely and your primary connection fails.
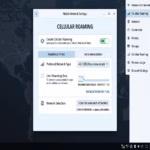
Open Settings, go to Network & internet, then Cellular. Toggle “Use cellular whenever Wi-Fi is poor” to On to enable or Off to disable. You may also need a mobile data plan and SIM or eSIM.
How to Check if Your PC Supports Cellular Data
Enable or Disable Cellular in Settings
You can easily enable or disable cellular use in Windows 11 through the Settings app. This lets you decide if your computer should use a mobile network for internet, helping you manage data usage and avoid unexpected charges.
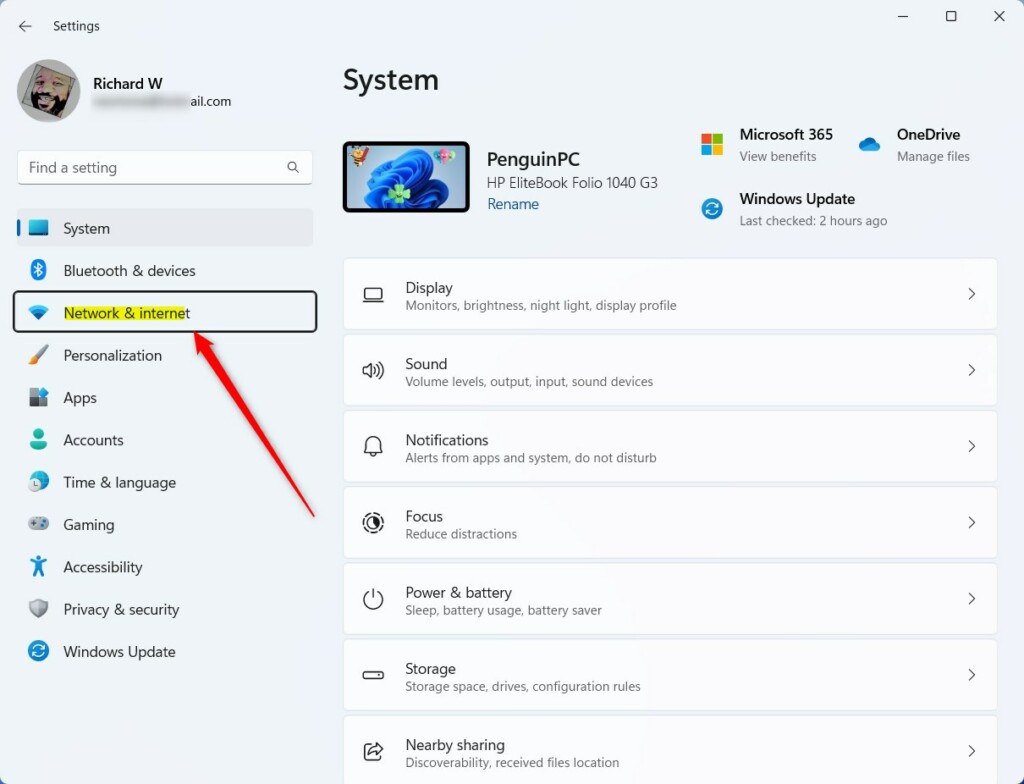
- Open the Windows Settings app by pressing the Windows key + I.
- Click on Network & internet in the left-hand menu.
- Click the Cellular tile on the right side of the screen.
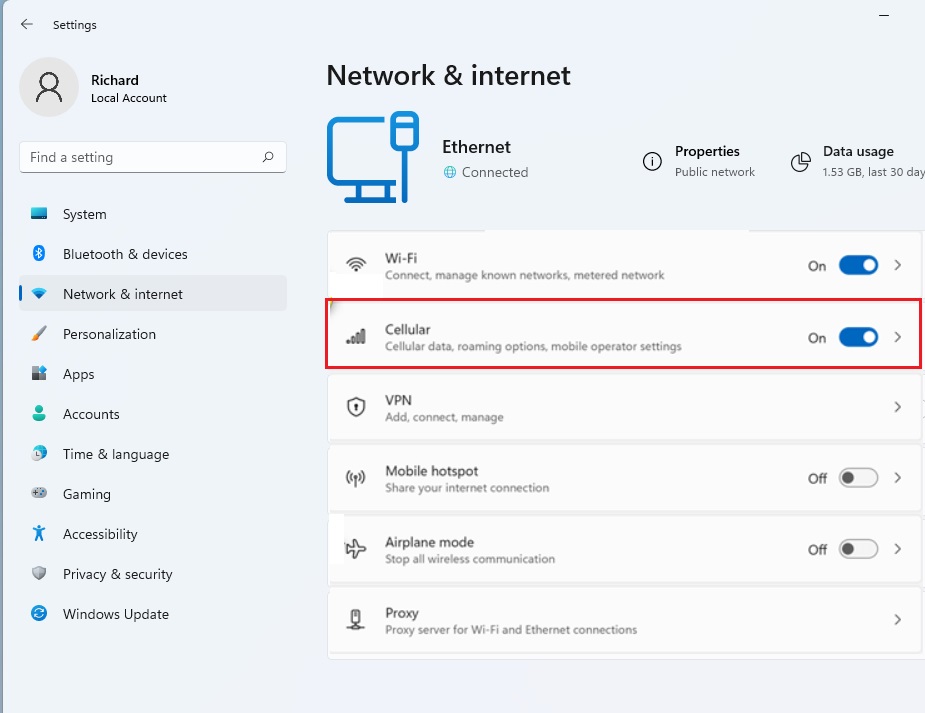
- Find the option labeled Use cellular whenever Wi-Fi is poor.
- Toggle the switch to On to enable it , or Off to disable it .
Setting Up Your Mobile Data Plan
To use cellular data on your Windows 11 PC, you first need to set up a mobile data plan with your carrier. This typically involves using a physical SIM card or an eSIM profile, similar to how you’d set up a phone.
Enable or Disable via Registry Editor
You can disable cellular use in Windows 11 by making a change in the Registry Editor. This is an advanced method that lets you control the setting directly, but you’ll need administrator access to your PC to do it.
- Press the Windows key, type
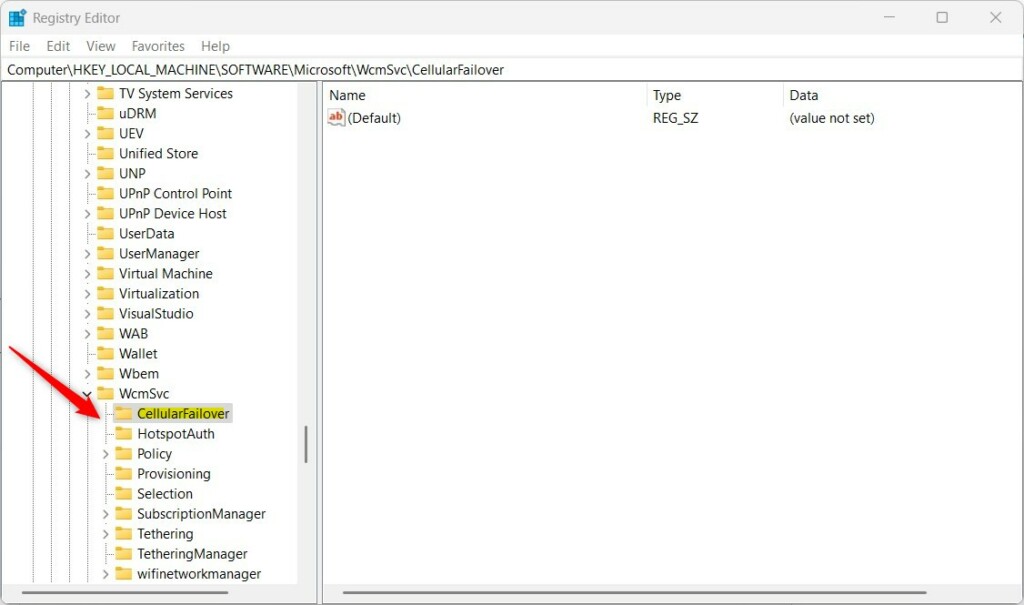
regedit, and press Enter. - Navigate to:
HKEY_LOCAL_MACHINE\SOFTWARE\Microsoft\WcmSvc\CellularFailover - If the folder is missing, right-click
WcmSvc, select New > Key, and name itCellularFailover.
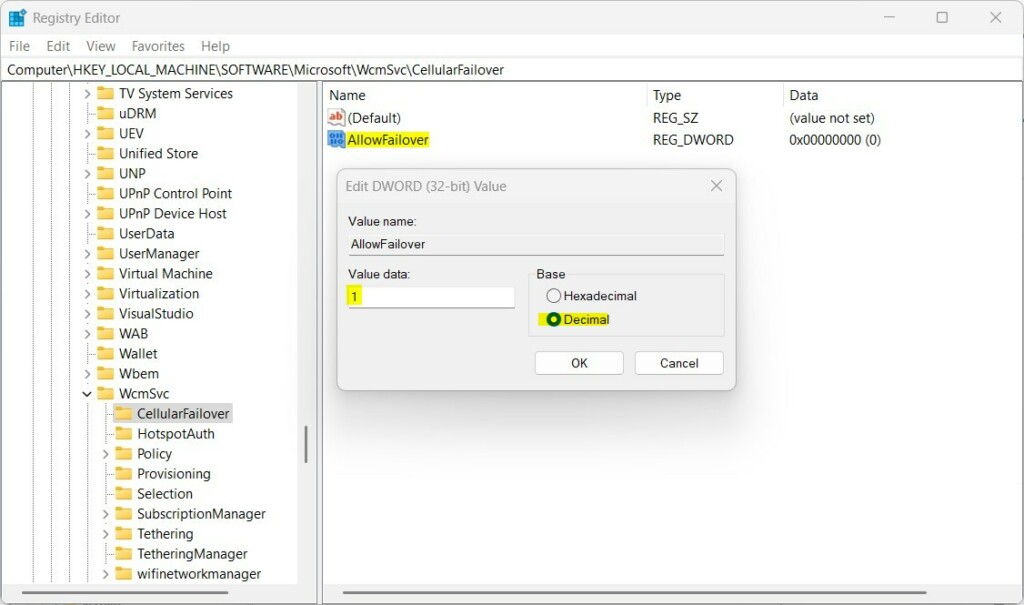
- Right-click in the empty space, select New > String Value, and name it
AllowFailover. - Double-click
AllowFailoverand set the value to2to enable or0to disable.
Troubleshooting Connectivity
If your network isn’t detected, ensure your SIM card is inserted correctly. Check your APN settings under Cellular > Advanced options to confirm they match your carrier’s requirements. You can also find more help on the official Microsoft cellular support page.
Summary
This guide explained how to enable cellular data on Windows 11, including hardware checks, eSIM setup, and registry tweaks. By following these steps, you can ensure your device stays connected even when Wi-Fi is unavailable or unreliable.
Can I use both Wi-Fi and cellular data at the same time?
Yes, Windows 11 can keep both connections active. However, it will prioritize Wi-Fi for data traffic. Cellular data is typically used as a backup failover connection when the Wi-Fi signal becomes weak or disconnected, ensuring you stay online without manual intervention.
Was this guide helpful?

About the Author
Richard
Tech Writer, IT Professional
Richard, a writer for Geek Rewind, is a tech enthusiast who loves breaking down complex IT topics into simple, easy-to-understand ideas. With years of hands-on experience in system administration and enterprise IT operations, he’s developed a knack for offering practical tips and solutions. Richard aims to make technology more accessible and actionable. He's deeply committed to the Geek Rewind community, always ready to answer questions and engage in discussions.


No comments yet — be the first to share your thoughts!