How to Install or Uninstall Built-in Sysmon on Windows 11

Install Sysmon by opening Windows Terminal as administrator, enabling the Sysmon feature, and then running “Sysmon -i”. Uninstall it by disabling the Sysmon feature in Terminal and restarting your PC when prompted. You need administrator rights for both actions.
What is Sysmon?
System Monitor (Sysmon) is a built-in Windows 11 tool that tracks background activity, recording events like program launches and network connections. Detailed logging clarifies what happens on your PC, giving security issues less room to hide.
Why use Sysmon? It offers a detailed view of your system’s activity. This deep visibility helps flag security threats and speeds up troubleshooting.
Turning on the feature starts logging system events automatically. Reviewing these logs shows a clear picture of computer activity over time.
Recent Windows 11 versions include Sysmon by default, eliminating the need for extra downloads.
Administrative privileges are required to install or remove this feature. ⚙️
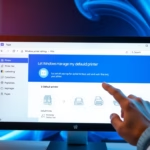
Option 1Install or Uninstall Sysmon Using Windows Settings
- Open Settings by pressing Win+I.
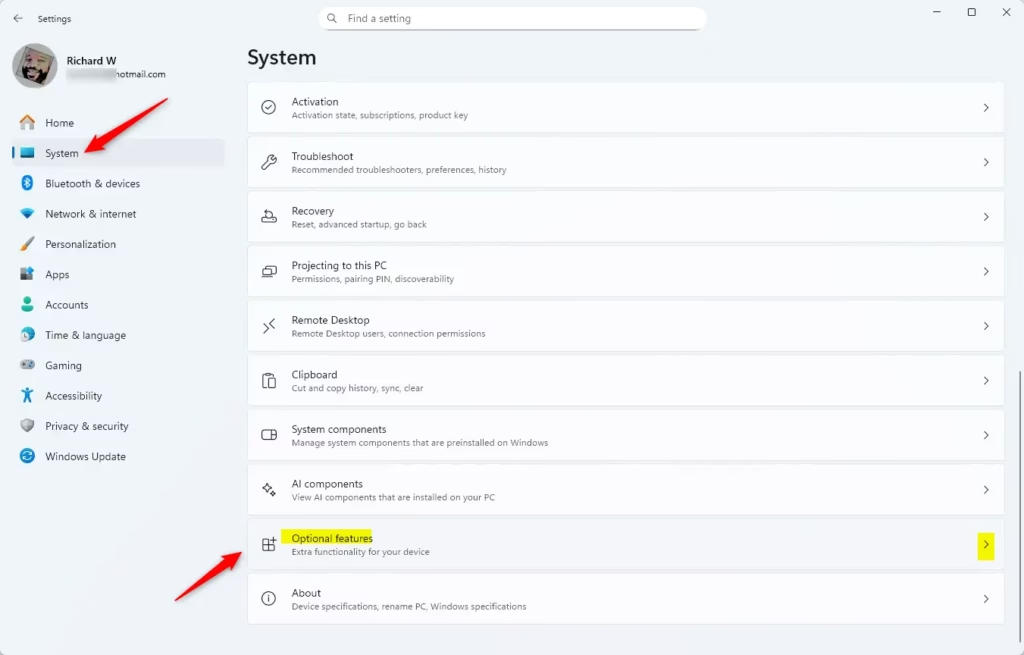
- Click System from the left menu, then select Optional features on the right.
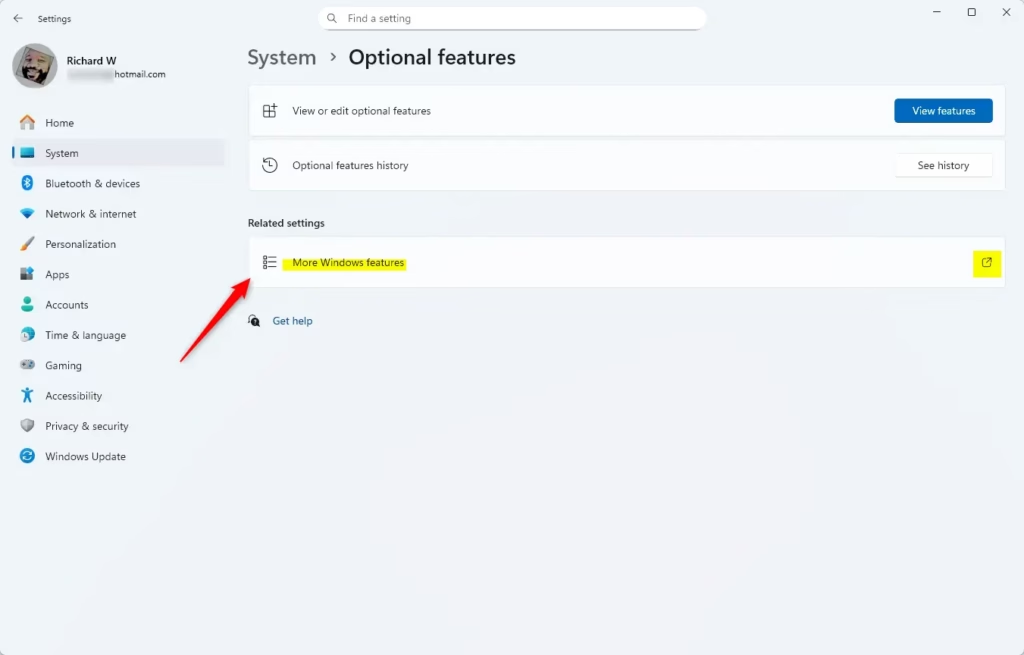
- Click More Windows Features near the top.
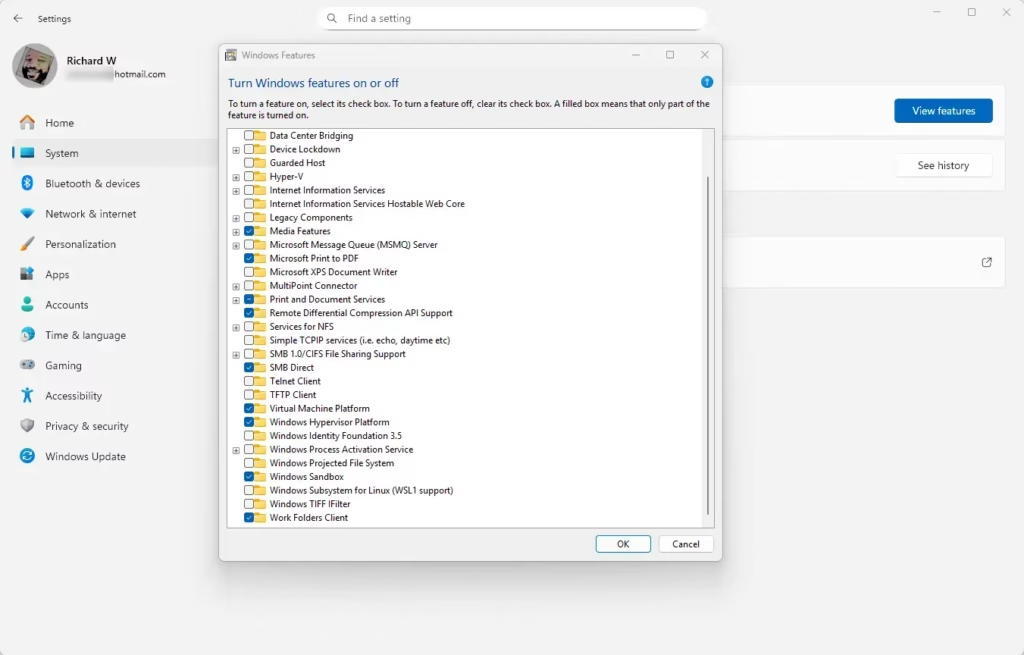
- In the new window, find Sysmon in the list.
- To install, check the box next to Sysmon. To uninstall, uncheck the box.
- Click OK.
- Depending on your choice:
- If installing , click Close.
- If uninstalling, click Restart now to finish the removal.
Press Win+I to open Settings , then go to System Optional features More Windows Features to find Sysmon.
Finish Installing Sysmon via Command Line
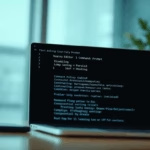
- Open Windows Terminal (Admin) (Admin). ⚙️ Choose either PowerShell or Command Prompt.
- Type or paste the command below, then press Enter:
Sysmon -i - After it finishes, you can close the Terminal and Settings.
Option 2Install Sysmon Using Command Line Only
- Open Windows Terminal (Admin) ⚙️ and pick PowerShell or Command Prompt.
- Run one of these commands to turn on the Sysmon feature:
- PowerShell:
Enable-WindowsOptionalFeature -Online -FeatureName Sysmon - Command Prompt:
DISM /Online /Enable-Feature /FeatureName:"Sysmon"
- PowerShell:
- Next, run this command to install Sysmon itself:
Sysmon -i - Close the Terminal when done.
Option 3Uninstall Sysmon Using Command Line
- Open Windows Terminal (Admin) ⚙️ and pick PowerShell or Command Prompt.
- Run one of these commands to turn off (uninstall) Sysmon:
- PowerShell:
Disable-WindowsOptionalFeature -Online -FeatureName Sysmon - Command Prompt:
DISM /Online /Disable-Feature /FeatureName:"Sysmon"
- PowerShell:
- When asked, type Y and press Enter to restart your PC and finish uninstalling.
Summary
- What Sysmon Does: Tracks and logs important system activities to help spot security problems.
- Admin Rights Needed: You must be signed in as an administrator to add or remove Sysmon. ⚙️
- Easy Installation Options: Use Settings or Command Line tools like Windows Terminal.
- Restart May Be Required: Removing Sysmon usually needs a reboot to complete.
- Built into Windows 11: No need to download anything extra on newer Windows 11 versions.
Tracking background activity helps spot potential threats early. Administrator rights are required for any changes, and removing the feature usually calls for a system restart.
Was this guide helpful?

About the Author
Richard
Tech Writer, IT Professional
Richard is a writer at Geek Rewind who turns complex IT tasks into clear, step-by-step guides. He draws on years of hands-on experience in system administration and enterprise IT operations, focusing on Windows, Linux and WordPress: the problems people actually run into, and the fixes that work. His server and WordPress guides come from systems he runs himself. Richard builds and maintains the platform behind Geek Rewind, from its Ubuntu servers and Nginx configuration to its custom WordPress plugins. Many new tutorials start with readers' questions, and he's always glad to answer them in the comments.


No comments yet — be the first to share your thoughts!