How to Enable Automatic Device Locking Feature in Windows 11 Dynamic Lock

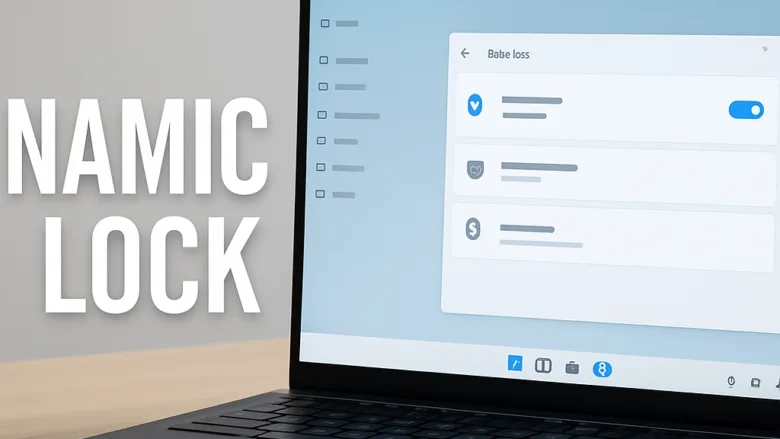
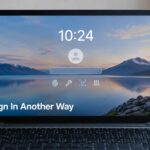
Dynamic Lock is a Windows 11 security feature that locks your PC automatically when you walk away from it. Windows watches the Bluetooth connection to your paired smartphone. When the phone moves out of range, Windows starts a countdown of about 30 seconds and then locks the PC.
This saves you from pressing the Win+L every time you leave your desk. Setup takes less than 2 minutes. The feature only works while the phone’s Bluetooth stays on and connected. It also works on both Home and Pro editions of Windows 11.
Open Settings Accounts Sign-in options, scroll to Dynamic lock, and check the box labeled Allow Windows to automatically lock your device when you’re away. Your paired phone must stay connected via Bluetooth within range for the feature to work.
Requirements Before You Begin
The first is a working Bluetooth adapter in your Windows 11 PC. The second is a smartphone that is turned on and paired with the PC over Bluetooth. Windows uses the Bluetooth signal between the two devices to decide when you have walked away, so both must stay connected while you use the feature.
If your PC has no Bluetooth adapter, the Bluetooth options and the Dynamic lock section will not appear in Settings. A cheap USB Bluetooth adapter fixes that on a desktop. Keep your phone with you when you test the feature later. If you leave it on the desk, Windows will never see it move away.
Step 1Pair Your Phone via Bluetooth
Pairing is the required first step. Windows can only measure signal strength to a device it already knows. Before you start, unlock your phone and open its Bluetooth settings, because you will need to make it discoverable partway through.
- Press the Win+I to open Settings.
- Select Bluetooth & devices from the left-hand navigation menu. You should see a Bluetooth switch at the top of the page.
- Set the main Bluetooth toggle to On if it is currently off. If there is no toggle at all, Windows does not see a Bluetooth adapter. Check Device Manager or plug in an adapter before going further.
- Click the Add device button at the top of the window. The Add a device window opens.
- Choose Bluetooth from the list of device types. Windows starts scanning for nearby devices.
- On your phone, turn on Bluetooth and keep its Bluetooth settings screen open so it is discoverable. Then select your computer’s name in the list of available devices on the phone screen.
- Check that the PIN shown on the computer matches the PIN on the phone. Click Connect on the PC and accept the pairing prompt on the phone.
- Click Done once Windows confirms the device is ready. Your phone should now appear under Devices on the Bluetooth & devices page, marked as connected or paired.
If your PC does not show up on the phone, or the pairing fails, turn Bluetooth off and on again on both devices and retry. If the phone is already listed from an earlier attempt, remove it from both sides first and pair again from scratch.
Step 2Turn on Dynamic Lock in Windows Settings
Once the phone is paired, turning on Dynamic Lock takes a few clicks. This is a per-user setting, so it applies to the account you are signed in with. If several people use the PC, each person turns it on for their own account.
- Press the Windows key + I to open Settings.
- Click Accounts in the left sidebar.
- Select Sign-in options in the main pane. A list of sign-in methods and extra settings appears.
- Scroll down to the Dynamic lock section and click it to expand it.
- Check the box labeled Allow Windows to automatically lock your device when you're away.
- Confirm that your paired phone appears directly beneath the checkbox as the active tracking device.
If the box is greyed out, or Windows says no paired device is available, go back to the pairing steps. Dynamic Lock needs a phone that is paired and currently connected. No restart is needed. To turn the feature off later, return to the same place and clear the checkbox.
Step 3Configure Dynamic Lock via Group Policy Editor
You may see advice to enforce Dynamic Lock through the Local Group Policy Editor. This editor is only available on Windows 11 Pro, Enterprise, and Education. It is not on Home. Be careful here: the Settings method above is what actually switches Dynamic Lock on for a user. The policy route is only relevant if you manage Windows Hello for Business signal rules.
The original version of this guide pointed to Windows Spotlight. That is the wrong place. Windows Spotlight controls lock screen pictures and has nothing to do with locking the PC. The path below is the one to check instead. Policy names and locations can differ between Windows builds, so confirm what you see on your own machine.
- Press the Windows key + R to open the Run dialog box.
- Type gpedit.msc into the Open field and press Enter. The Local Group Policy Editor opens. If you get an error that Windows cannot find the file, you are on Home edition and this method is not available.
- In the left tree, expand Computer Configuration, then Administrative Templates, then Windows Components, and open the Windows Hello for Business folder. Do not use the Windows Spotlight folder.
- Look in the right-hand pane for the policy that covers dynamic lock behavior and double-click it. If you cannot find a matching policy, stop here and use the Settings method instead.
- Select the Enabled radio button.
- Click Apply, then click OK to save your changes and close the policy window.
To undo the change, open the same policy again and select Not Configured, then click Apply and OK.
How Dynamic Lock Works in Practice
Dynamic Lock keeps checking the Bluetooth signal between your PC and your paired phone. When you walk away and the signal drops below a set limit, Windows waits about thirty seconds. It then turns off your display and locks your desktop so your data stays protected.
If you come back within that window and the signal recovers, Windows cancels the lock. The distance that triggers a lock varies with your Bluetooth hardware class, walls, and interference from other devices. Expect it to fall somewhere between five and thirty feet.
First, Dynamic Lock only locks the PC. It never unlocks it, so you still sign in the normal way when you return. Second, switching off Bluetooth on the phone, or letting the phone's battery die, looks the same to Windows as walking away, so the PC will lock.
What to do next
Test the feature before you rely on it.
- Make sure you are signed in and your phone is connected by Bluetooth.
- Put the phone in your pocket and walk away from the desk. Keep going until you are well out of range, ideally through a wall or into another room.
- Wait at least thirty seconds. Your display should turn off and the PC should lock.
If nothing happens, check that the Dynamic lock checkbox is still ticked and that the phone is still paired and connected. Also remember that the range can be generous, so try a greater distance.
Once that works, you can look at other sign-in protections, such as Windows Hello facial recognition or other biometric sign-in options. These need compatible hardware, such as an infrared camera or a fingerprint reader.
Was this guide helpful?

About the Author
Richard
Tech Writer, IT Professional
Richard is a writer at Geek Rewind who turns complex IT tasks into clear, step-by-step guides. He draws on years of hands-on experience in system administration and enterprise IT operations, focusing on Windows, Linux and WordPress: the problems people actually run into, and the fixes that work. His server and WordPress guides come from systems he runs himself. Richard builds and maintains the platform behind Geek Rewind, from its Ubuntu servers and Nginx configuration to its custom WordPress plugins. Many new tutorials start with readers' questions, and he's always glad to answer them in the comments.
No comments yet — be the first to share your thoughts!