How to enable automatic device locking feature in Windows 11
Dynamic Lock in Windows 11 locks your PC automatically when you walk away. It tracks the Bluetooth 🔷 signal of a paired phone. When you step out of range for about one minute, Windows locks the desktop so no one else can see your screen.
Advertisement
Your PC needs a built-in Bluetooth 🔷 adapter or a USB dongle, plus a smartphone that stays with you. Pair your phone in Settings›Bluetooth 🔷 & devices before you turn on this feature. Dynamic Lock works on both Home and Pro editions.
⚡ Quick Answer
Open Settings›Accounts›Sign-in options, scroll to Additional settings, expand Dynamic Lock, then check Allow Windows to automatically lock your device when you’re away. Your phone must be paired via Bluetooth 🔷 first.
Advertisement
Pairing Your Mobile Device via Bluetooth
📝Good to KnowPairing your phone over Bluetooth is the required first step.
Windows uses the active Bluetooth 🔷 connection between the PC and the phone to estimate how far apart they are. If the pairing is removed or Bluetooth is turned off on either device, Dynamic Lock stops working. Before you start, open the Bluetooth 🔷 settings on your phone and leave that screen open so the phone is discoverable.
Press the Win+I to open Settings. Windows 11 Start menu with Settings gear icon highlighted.
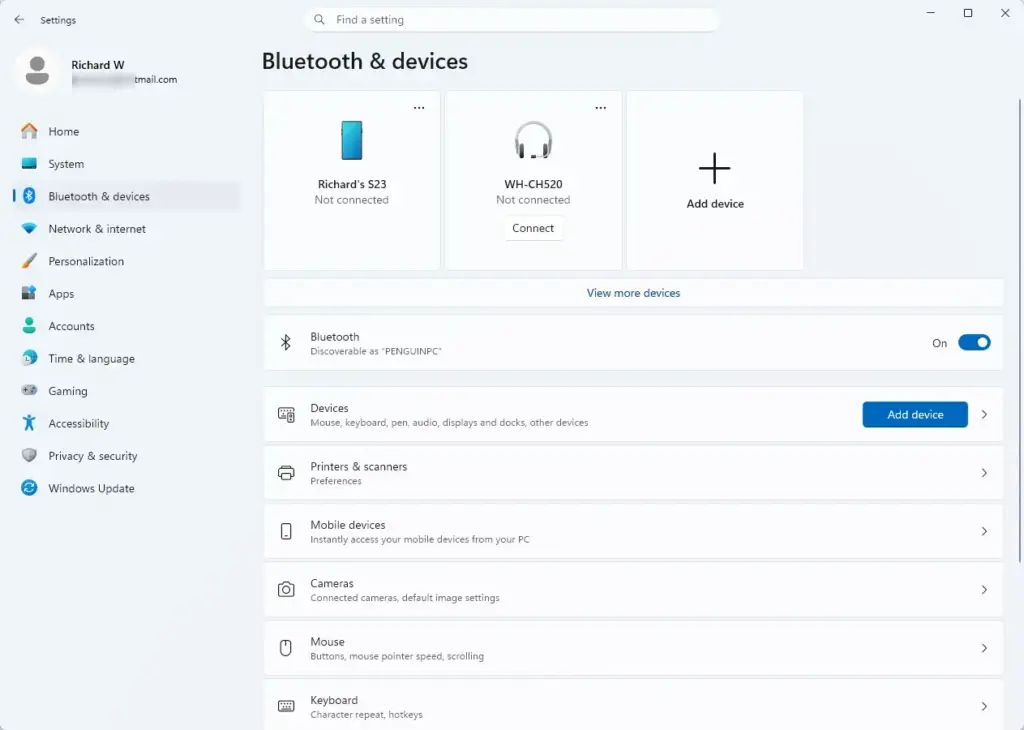
Click Bluetooth 🔷 & devices in the left-hand menu. Windows Settings menu highlighting the Bluetooth and devices option for printers
Check that the main Bluetooth 🔷 toggle at the top of the page is set to On. If it is off, switch it on. If the toggle is missing altogether, the PC has no working Bluetooth 🔷 adapter (see the last section).
Click the Add device button near the top. The Add a device window opens.
Select Bluetooth 🔷 from the list in the Add a device window. Windows 11 Bluetooth and devices settings with add device option. Windows starts scanning for nearby devices.
Choose your smartphone from the list of discovered devices. If it does not appear, check that Bluetooth 🔷 is on and the phone’s Bluetooth screen is open, then wait a few seconds.
Confirm that the PIN shown on your PC matches the one on your phone. Click Connect on the PC, then accept the pairing prompt on the phone.
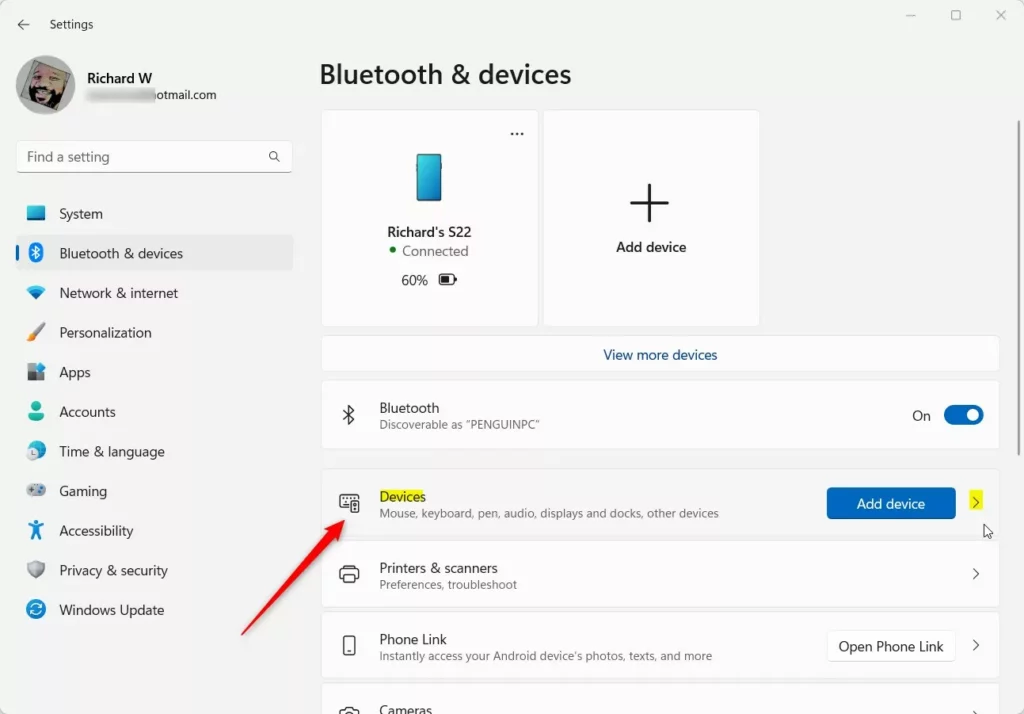
Click Done once the notification confirms both devices are connected. Your phone should now appear under Devices on the Bluetooth 🔷 & devices page.
Enabling Dynamic Lock in 🪟 Windows 11 Settings
With the phone paired, you can turn on Dynamic Lock. The option sits under Accounts in the Sign-in options page.
Press the Win+I to open Settings.
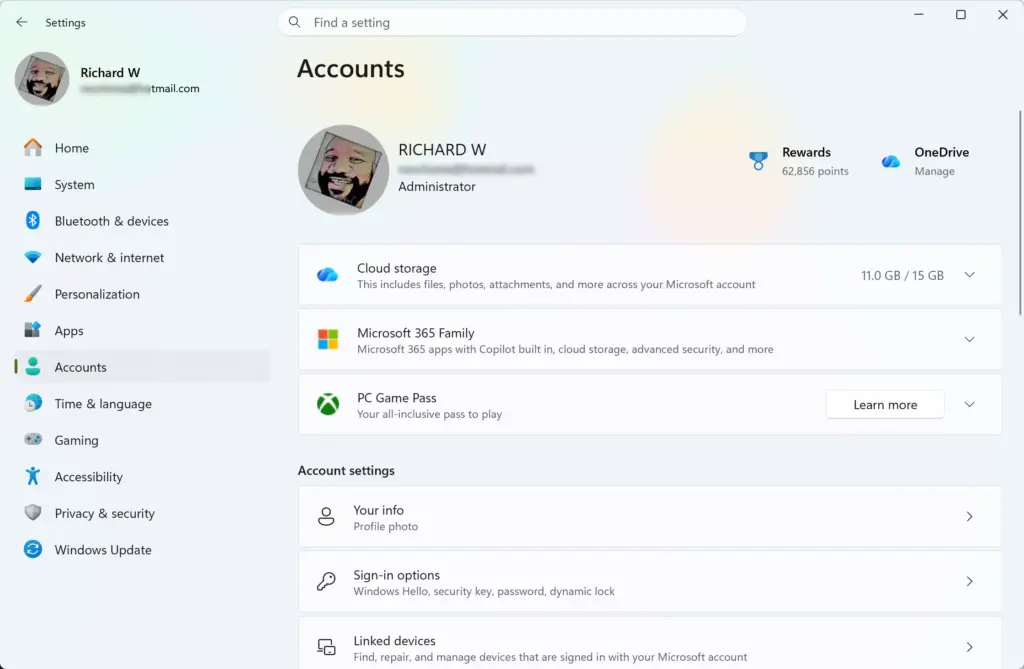
Click Accounts in the left-hand navigation pane. Settings › Accounts
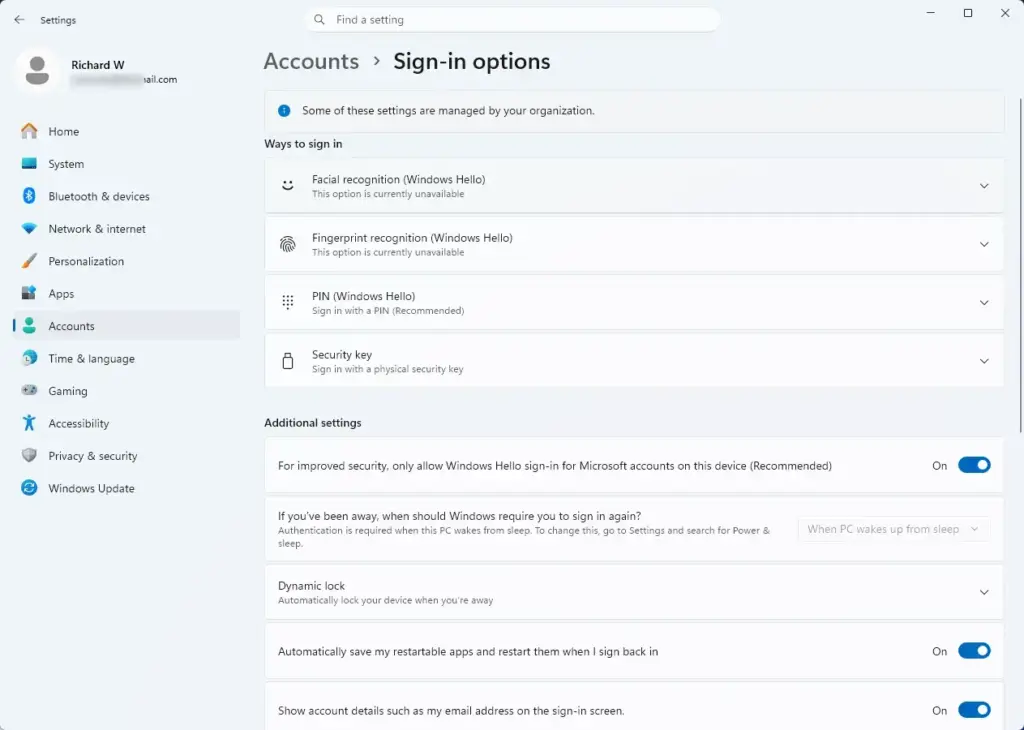
Select Sign-in options from the choices on the main accounts page. Settings › Accounts › Sign-in options
Scroll down until you reach the Additional settings section.
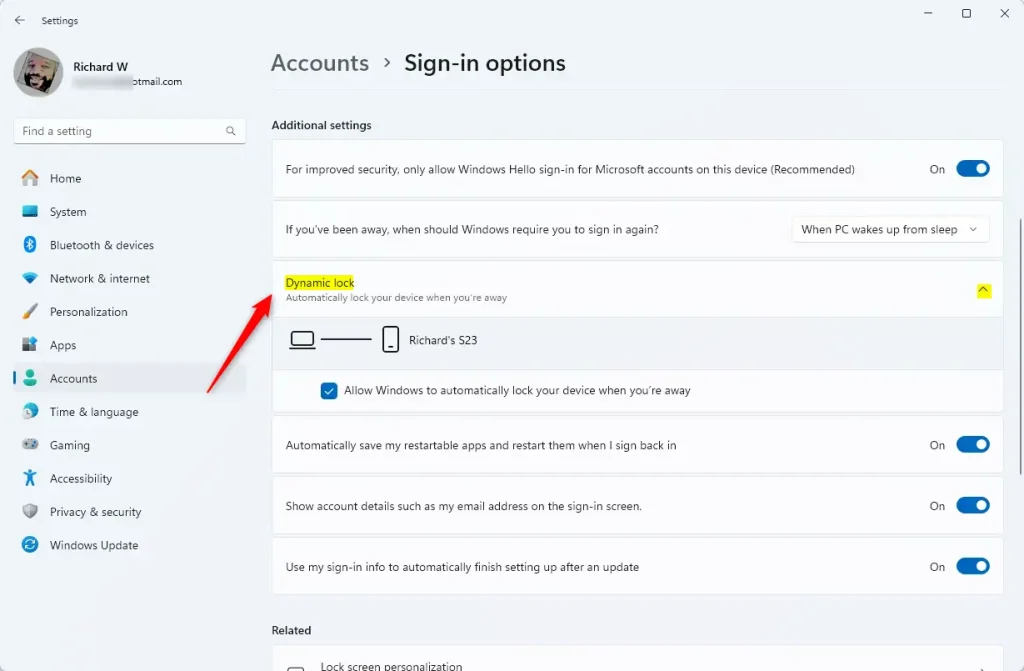
Click the Dynamic lock heading to expand it. Windows 11 Dynamic Lock settings screen showing pairing options.
Tick the box for Allow Windows to automatically lock your device when you’re away.
If the checkbox is greyed out or the option is missing, the PC usually has no paired phone or Bluetooth 🔷 is off. Go back to the pairing steps and check. A policy set by an administrator can also lock the option on managed PCs.
Windows will now watch the link to your paired phone. To test it, walk away from the PC with the phone in your pocket. After the signal drops, the screen should lock. This usually takes a minute or so, and the exact distance depends on walls and interference. The lock is one-way: Windows does not unlock the PC when you come back. You still sign in with your PIN, password or Windows Hello. To undo the change, clear the checkbox.
Advertisement
Alternative Auto-Lock Methods Using Screen Savers
A screen saver with a logon requirement is a different approach. It locks the PC after a set period of keyboard and mouse inactivity and does not track your phone. This works well if your phone does not hold a reliable Bluetooth connection or you would rather not use wireless tracking. It also works as a backup alongside Dynamic Lock.
Open the Start menu search, type screen saver, and press Enter. The classic Screen Saver Settings window opens.
Open the Screen saver drop-down and pick an option such as Blank. If you leave it on (None), the logon checkbox and the wait timer are usually greyed out and cannot be changed.
Tick On resume, display logon screen.
Use the up and down arrows in the Wait box to set the idle time in minutes. Choose a short time, such as 5 minutes, if the PC is in a shared space.
Click Apply, then click OK to save the settings.
No restart is needed. To undo this, reopen the window, clear the checkbox or set the screen saver back to (None), and click Apply.
Configuring Dynamic Lock via Group Policy
📝Good to KnowGroup Policy lets an administrator enforce automatic locking on a PC without clicking through Settings by hand.
You need administrator rights. The Local Group Policy Editor is only included in Pro, Enterprise and Education editions, so it will not open on Windows 11 Home.
Press the Windows key + R to open the Run dialog.
Type gpedit.msc and press Enter. The Local Group Policy Editor opens. If you see a "cannot find" error, you are probably on Home edition.
In the left tree, go to Computer Configuration, then Administrative Templates, then Windows Components, then Windows Hello for Business.
Find the policy that controls automatic locking when the user is not present, and double-click it. The exact policy name can differ between Windows builds, so read the description in the policy window to confirm it is the right one.
Select the Enabled radio button.
Click Apply, then click OK to apply the policy to the local machine.
The policy usually takes effect at the next policy refresh. Signing out and back in, or restarting, makes sure it is applied. To undo it, open the same policy and select Not Configured.
If this didn't work
If Dynamic Lock still does not work after you check your Bluetooth settings and try the inactivity timer, the Bluetooth adapter may be too old to report signal strength reliably, or its driver may be out of date. First, update the Bluetooth driver through Device Manager. Expand Bluetooth, right-click the adapter, and choose Update driver. If that does not help, plug in a modern USB Bluetooth dongle. Also check that the phone is still listed as paired and connected, since removing the pairing on either side stops Dynamic Lock.
📬 Get new Windows tips in your inbox
One email when we publish something worth your time. No spam, unsubscribe anytime.
Have a question about this guide?
Answered by AI from this guide. Good questions may be added to this page — please don't include personal details.
Richard is a writer at Geek Rewind who turns complex IT tasks into clear, step-by-step guides. He draws on years of hands-on experience in system administration and enterprise IT operations, focusing on Windows, Linux and WordPress: the problems people actually run into, and the fixes that work.
His server and WordPress guides come from systems he runs himself. Richard builds and maintains the platform behind Geek Rewind, from its Ubuntu servers and Nginx configuration to its custom WordPress plugins.
Many new tutorials start with readers' questions, and he's always glad to answer them in the comments.
One email when we publish a guide worth your time — new Windows features, the fixes that actually
work, and a heads-up when Microsoft breaks something. Unsubscribe in one click.
📬 Get new Windows tips in your inbox
One email when we publish something worth your time. No spam, unsubscribe anytime.



No comments yet — be the first to share your thoughts!