Browse to the AppData Roaming Folder in Windows 11

The AppData Roaming folder is where Windows keeps settings and data that follow you between computers on the same network. The fastest way to open it is to press Win+R, type 📂%appdata%, and press Enter. That takes you straight to 📁C:\
This page shows that method, a few other ways to get to 📂%appdata% Roaming, and how to reach the folder by clicking through File Explorer . It also covers what to try if the folder won’t open. The steps are the same on Windows 11 Home and Pro.
Press Win+R, type 📂%appdata% in the Open box, and press Enter to open the AppData Roaming folder in File Explorer . The address bar shows 📁C:\
What the AppData Roaming folder and %appdata% mean
AppData is a hidden folder inside your user profile. Apps store settings, saved data and caches there so they can remember your preferences. It has three subfolders: Roaming, Local and LocalLow.
%appdata% is an environment variable (a name that Windows replaces with a real path when you use it). It always points to the Roaming folder of the account you are signed in with. That is why the same shortcut works on every PC, whatever your username is.
Roaming holds data that is meant to follow your account. On a work or school network that uses roaming profiles (copies of your settings that follow you between PCs), Windows copies this folder to whichever PC you sign in on. On a home PC nothing roams, and the folder stays on that computer. A Microsoft account does not sync the contents of Roaming to your other devices.
Open the AppData Roaming folder with the Run dialog
The Run dialog is the fastest route because it expands %appdata% for you and does not need hidden items turned on. You do not need administrator rights for your own profile.
- Press Windows key + R. The Run dialog opens at the bottom left of the screen.

Run dialog - Type
%appdata%in the Open box. Include both percent signs and no spaces. - Press Enter or click OK. A File Explorer window opens and the address bar shows
C:\Users\USERNAME\AppData\Roaming.
If you see an error saying Windows cannot find %appdata%, check for a typo or a missing percent sign. If the spelling is correct, see the troubleshooting section below.
Other ways to open the %appdata% Roaming folder
Use one of these if you are already working in File Explorer or a command window.
From the File Explorer address bar
This opens the folder from a File Explorer window you already have open.
- Open File Explorer by pressing Windows key + E.
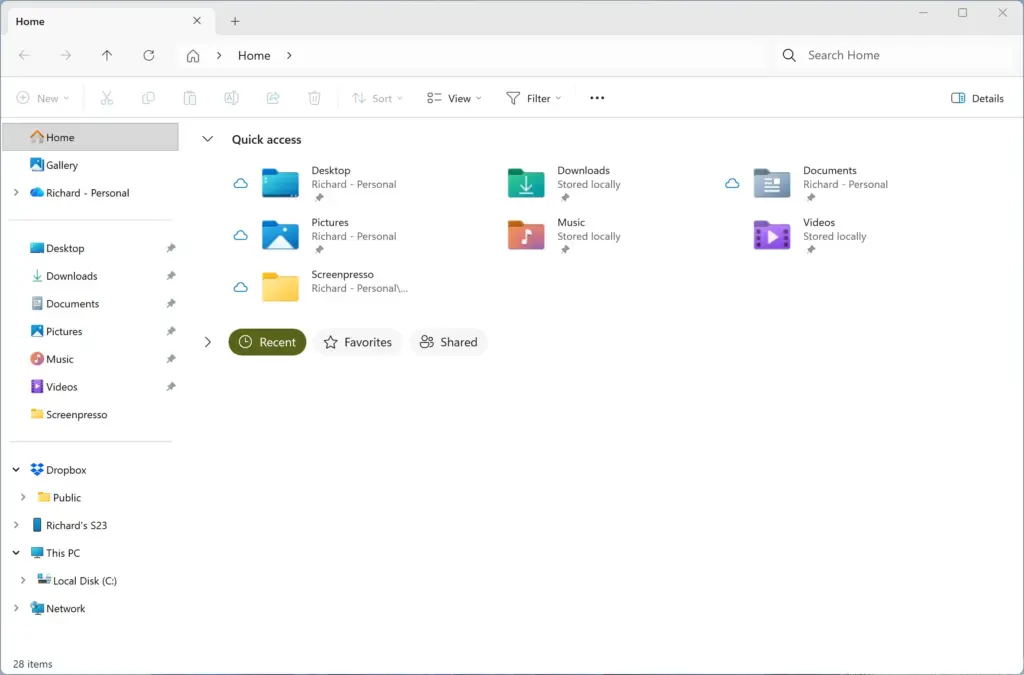
File Explorer - Click the address bar at the top, or press Ctrl + L. The current path becomes editable text.
- Type
%appdata%and press Enter. The window switches to the Roaming folder.
From Start search
Search can also expand the variable, but results vary between builds, so treat it as a backup to the Run dialog.
- Click Start or press the Windows key.
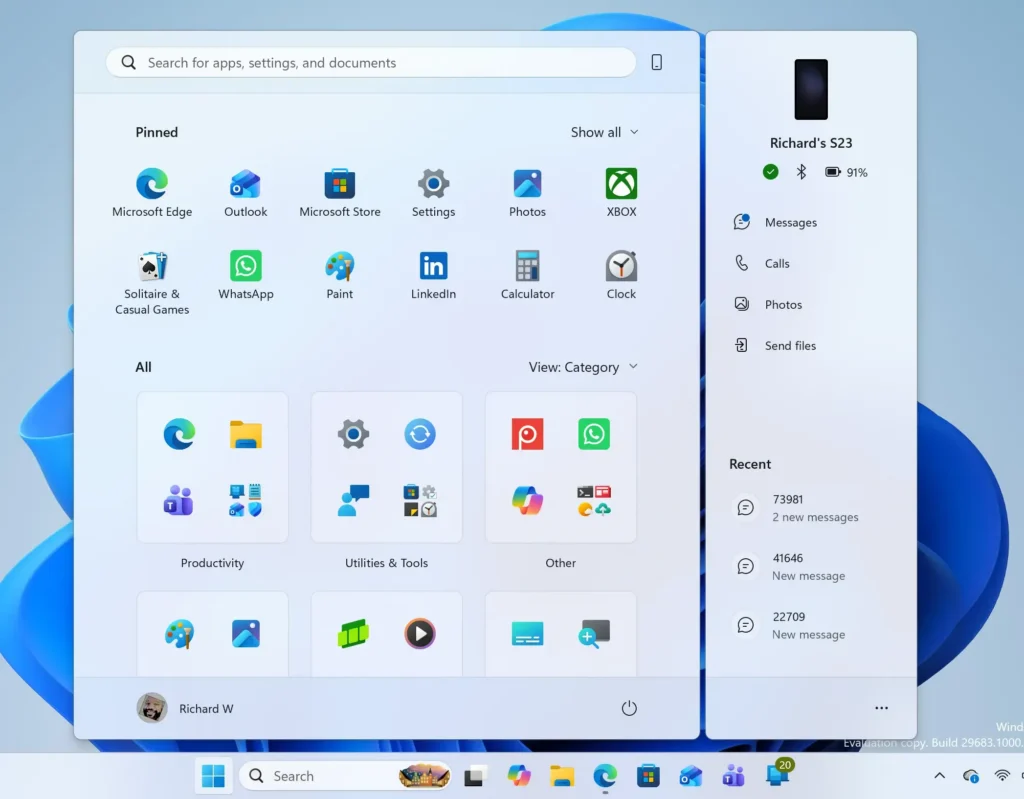
- Type
%appdata%in the search box. - Select the folder result if one appears, such as Roaming. It opens in File Explorer.
If no folder result appears, use the Run dialog instead.
From Command Prompt
Use this when you want to work with the folder's files in a command window, or open File Explorer from the command line.
- Right-click Start and select Terminal, or search for Command Prompt and open it. A normal window is enough. You do not need administrator rights.
- To open the folder in File Explorer, type the command below and press Enter.Code
explorer %appdata% - To move the command window into the folder instead, type the command below and press Enter. The
/dswitch makes the change work even if the window is currently on a different drive.Command Promptcd /d %appdata% - To print the full path without opening anything, type the command below.Command Prompt
echo %appdata%The window shows
C:\Users\USERNAME\AppData\Roaming, with your real username in place of USERNAME.
Windows Terminal opens PowerShell by default on Windows 11. If your prompt starts with PS, you are in PowerShell, and %appdata% does not work there. Use the PowerShell commands below, or type cmd first to switch to Command Prompt.
From PowerShell
PowerShell reads the same value from $env:APPDATA rather than %appdata%.
- Right-click Start and select Terminal. A normal window is enough.
- To open the folder in File Explorer, type the command below and press Enter.Code
explorer $env:APPDATA - To move PowerShell into the folder, type the command below and press Enter. The prompt now ends in
\AppData\Roaming.PowerShellSet-Location $env:APPDATA
Browse to the AppData Roaming folder manually
Click through File Explorer when you want to see how Roaming sits next to Local and LocalLow. AppData is hidden by default, so you must turn on hidden items first.
Show hidden items in File Explorer
This makes hidden folders such as AppData visible in File Explorer. It changes only what File Explorer displays and does not alter any files.
- Open File Explorer with Windows key + E.
File Explorer - Click View in the command bar at the top of the window.
- Point to Show near the bottom of the menu.
- Select Hidden items. A check mark appears next to it. Hidden folders now show with a faded icon.
On Windows 11, this setting is the same in Home and Pro. If you prefer the older dialog, open the See more menu (the three dots) in the command bar and select Options. On the View tab, choose Show hidden files, folders, and drives, then click OK.
Click through to Roaming
Follow these steps once hidden items are on.
- In the File Explorer sidebar, click This PC, then open the Local Disk (C:) drive. Your system drive may use a different letter.
- Open the Users folder.
- Open the folder named after your account (shown here as USERNAME). You see folders such as Desktop, Documents and Downloads, plus a faded AppData folder.
- Open AppData. You see three folders: Local, LocalLow and Roaming.
- Open Roaming. The address bar now reads
C:\Users\USERNAME\AppData\Roaming.
If you cannot see AppData in step 3, hidden items are still off. Go back and repeat the steps in the previous section. You can also type the full path into the address bar, which works even with hidden items off.
To undo the display change later, go to View Show and select Hidden items again to clear the check mark.
What you find inside the Roaming folder
Each app creates its own folder, usually named after the app or its publisher. The contents differ from PC to PC. Common examples include:
- Microsoft: Windows and Office data. Outlook email signatures are in a Signatures folder inside it. The per-user Startup folder is at
Microsoft\Windows\Start Menu\Programs\Startupinside Roaming. - Mozilla: Firefox profiles, including bookmarks and extensions, if you use Firefox.
- Folders for apps such as chat clients, media players and code editors, which keep their settings files here.
Browsers built on Chromium (the open-source engine behind Edge and Chrome) generally keep their profile data in the Local folder rather than Roaming. If you cannot find an app's settings in Roaming, look in Local next. Open it by typing %localappdata% in the Run dialog.
Before you change anything in Roaming
Follow these precautions.
- Close the app before you touch its folder. Open apps can lock files or rewrite them on exit.
- Copy the app's folder to your Desktop or another drive first. If something goes wrong, copy it back.
- Leave folders you do not recognize alone. Some belong to Windows components or to apps you have uninstalled, and the names are not always obvious.
- Deleting an app's folder typically makes the app behave as if it were freshly installed. It asks you to sign in again and sets all options back to defaults.
Open the Roaming folder of another user account
This step needs administrator rights. %appdata% [Verification Required: variable name missing from source] always points to the account running the window, so it cannot take you to someone else's profile. You must browse there instead.
- Sign in with an administrator account.
- Open File Explorer and go to
C:\Users. - Double-click the other person's folder. Windows shows a message saying you do not currently have permission to access this folder.
- Click Continue, and approve the User Account Control prompt (the pop-up that asks permission for changes that need administrator rights) if one appears. The folder opens.
- Turn on hidden items if you cannot see AppData, then open AppData Roaming
Access to another person's profile also raises privacy issues. Only do this on a PC you manage, and only for a good reason, such as recovering data from a profile that no longer loads.
Pin the Roaming folder to Quick access
If you open this folder often, pin it so it appears in the File Explorer sidebar.
- Open the Roaming folder using any method above.
- Click the folder icon in the address bar and drag it onto Quick access in the sidebar. Alternatively, go up one level to AppData, right-click Roaming and select Pin to Quick access.
Roaming now appears in the sidebar. To remove it later, right-click it there and select Unpin from Quick access.
If %appdata% does not open
Windows says it cannot find %appdata%
Check that you typed the name exactly, with a percent sign on each side. Typing the name with a space, or using the word appdata without the signs, does not work. Pasted text sometimes brings in hidden characters. If that happens, type it by hand.
The folder opens in the wrong account
If you run a window as a different administrator, or sign in through a prompt that asks for other credentials, %appdata% expands to that account's profile, not yours. The address bar shows the username in the path, so check it. Close the window that has administrator rights and open a normal one to get to your own Roaming folder.
AppData is missing when you browse manually
AppData is hidden by default. Turn on Hidden items as described earlier. If the option is already checked and the folder is still missing, type %appdata% into the address bar to confirm the folder opens. If it does, click the AppData breadcrumb (the clickable folder name in the address bar) to go up one level.
PowerShell ignores %appdata%
PowerShell does not expand percent-sign variables in commands. Use $env:APPDATA instead, as shown above, or switch to Command Prompt.
The Roaming folder is empty or small
This is normal on a PC with few classic desktop apps. Many Microsoft Store apps store their data in other locations, so Roaming can hold much less than you expect. Some apps also keep everything in the Local folder.
Access is denied inside a subfolder
Some folders inside Roaming belong to Windows or are in use by a running app. Close the app and try again. If the message persists, leave the folder alone unless you know what it does.
What to do next
To look at machine-specific app data, type %localappdata% in the Run dialog. It opens the Local folder, which is the sibling of Roaming inside AppData. If you turned on hidden items only for this task, go to View Show in File Explorer and select Hidden items again to hide them. Your Run dialog shortcut keeps working either way.
Have a question about this guide?
Answered by AI from this guide. Good questions may be added to this page — please don't include personal details.
Did this guide fix your problem?

About the Author
Richard
Tech Writer, IT Professional
Richard is a writer at Geek Rewind who turns complex IT tasks into clear, step-by-step guides. He draws on years of hands-on experience in system administration and enterprise IT operations, focusing on Windows, Linux and WordPress: the problems people actually run into, and the fixes that work. His server and WordPress guides come from systems he runs himself. Richard builds and maintains the platform behind Geek Rewind, from its Ubuntu servers and Nginx configuration to its custom WordPress plugins. Many new tutorials start with readers' questions, and he's always glad to answer them in the comments.
No comments yet — be the first to share your thoughts!