What to Do When Windows 11 Time Synchronization Fails with Time Servers

Windows 11 time synchronization fails when your PC cannot reach an internet time server to correct its clock. A clock that is even a few minutes off can break secure website connections, stop email from working, and cause login errors on office networks that use Active Directory.
Most cases take a few minutes to fix. You can force a sync, switch to a different time server, or restart the Windows Time service. Work through the sections below in order, because the simple fixes come first. Each one is safe to try, and you can undo any of them.
When Windows 11 time synchronization fails, first open Settings Time & language Date & time, toggle Set time automatically off and back on, then click Sync now. If that fails, open Control Panel Clock and Region Date and Time, click the Internet Time tab, click Change settings, select a different server like time.google.com from the dropdown, and click Update now.
Why Does 🪟 Windows 11 Time Synchronization Fail?
Synchronization usually fails for one of a few reasons. The background Windows Time service has stopped, the default time server is too busy to answer, or your network blocks the port that time requests use. A dying motherboard battery, a wrong time zone, or firewall interference can also keep the clock from updating.
The common causes are:
- The background Windows Time service has stopped running or crashed.
- The internet time server your computer is trying to reach is busy or offline.
- Your network settings, router, or firewall are blocking the network port required for time updates.
- Your computer’s internal hardware battery is failing, causing the system to lose time when the PC turns off.
One quick check before you start. If the time is correct but the hour is wrong, the cause is the time zone, not a sync failure. Fix that under Settings Time & language Date & time by choosing the right Time zone.
Method 1Use Windows Settings for a Quick Sync

Start with the manual sync button in Settings. The Sync now button makes your PC contact its time server immediately. This often corrects small clock errors without any further troubleshooting. It works on both Windows 11 Home and Pro, and you do not need administrator rights to see it.
- Press the Windows key + I to open the Settings app.

- Click Time & language in the left-hand menu.
- Click Date & time. You should see your current time and a list of time options.
- Check the switch next to Set time automatically. If it is on, turn it off and then on again to reset the connection. If it is off, turn it on.
- Scroll down to Additional settings.
- Click Sync now.
Watch the Sync now area. After a few seconds, Windows should show a message that the sync was successful, and the "Last successful time synchronization" line should update to the current time. If it reports a failure instead, or the button does nothing, move on to the next fix.
If Set time automatically is greyed out, the setting is probably controlled by your organization. This is common on work PCs. In that case, ask your IT department.
Method 2Change Your Internet Time Server
The default time server may be down, blocked, or overloaded. When that happens, switching to another reliable server often gets the clock syncing again. You make this change in the classic Date and Time window. You need to be signed in as an administrator.
- Click the Start button, type Control Panel, and open it.
- Click Clock and Region, then click Date and Time. On most builds you can also reach this window from Settings Time & language Date & time by using the related link for additional clocks. The exact wording varies between Windows 11 versions.
- In the Date and Time window, click the Internet Time tab.
- Click Change settings. (Admin privileges required) Click Yes if a User Account Control prompt appears.
- Make sure Synchronize with an Internet time server is checked.
- Open the Server drop-down menu and pick a different server. You can also type one in, such as time.google.com or time.cloudflare.com.
- Click Update now. You should see a message saying the clock was successfully synchronized.
- Click OK to save the change.
If Update now reports a timeout or an error, try another server from the list. If every server fails, the problem is probably the service or the network, so keep going through this guide. To undo the change, return to this tab and select the original server.
Method 3Restart the Windows Time Service
The Windows Time service is the background program that keeps your clock accurate. If it is stuck, crashed, or set not to start, syncing will fail. Restarting it clears most temporary glitches. Setting it to start automatically stops the problem from coming back after a reboot.
- Click the Start button, type Services, and open the Services app. (Admin privileges required)

Windows 11 taskbar search bar used for finding date and time settings - Scroll down the alphabetical list until you find Windows Time.
- Right-click Windows Time and choose Properties. A properties window opens on the General tab.
- Open the Startup type drop-down menu and select Automatic.
- Check the Service status line. If it says "Stopped," click Start. If it says "Running," click Stop, wait a few seconds, and then click Start.
- Click Apply, then click OK.
The status should now read "Running." If the Start button shows an error, note the message, because it points to a deeper problem. The Event Viewer section later in this guide will help you track it down. You do not need to restart the PC after this change.
Method 4Use Command Prompt or PowerShell to Force a Resync

If the settings above did not work, a few Command Prompt commands can reset the time service and force a fresh sync. They stop the service, register it again, start it, and then request a new sync. This often clears stubborn errors that the Settings app cannot fix. Run each command in order and wait for it to finish before typing the next one.
- Click the Start button and type Command Prompt. Right-click the result and choose Run as administrator. (Admin privileges required) Click Yes if prompted. The window title should include "Administrator."
- Type the following command and press Enter to stop the time service:
net stop w32time - Type this command and press Enter to register the time service again:
w32tm /register - Type this command and press Enter to start the time service:
net start w32time - Type this command and press Enter to force a sync with the time server:
w32tm /resync
After the last command, you should see a message confirming that it completed successfully. If you see "Access is denied," the window is not running as administrator. Close it and open it again with Run as administrator. If the sync command says the service has not been started, repeat the start command and try again.
Method 5Check Your Network Port and Firewall Settings
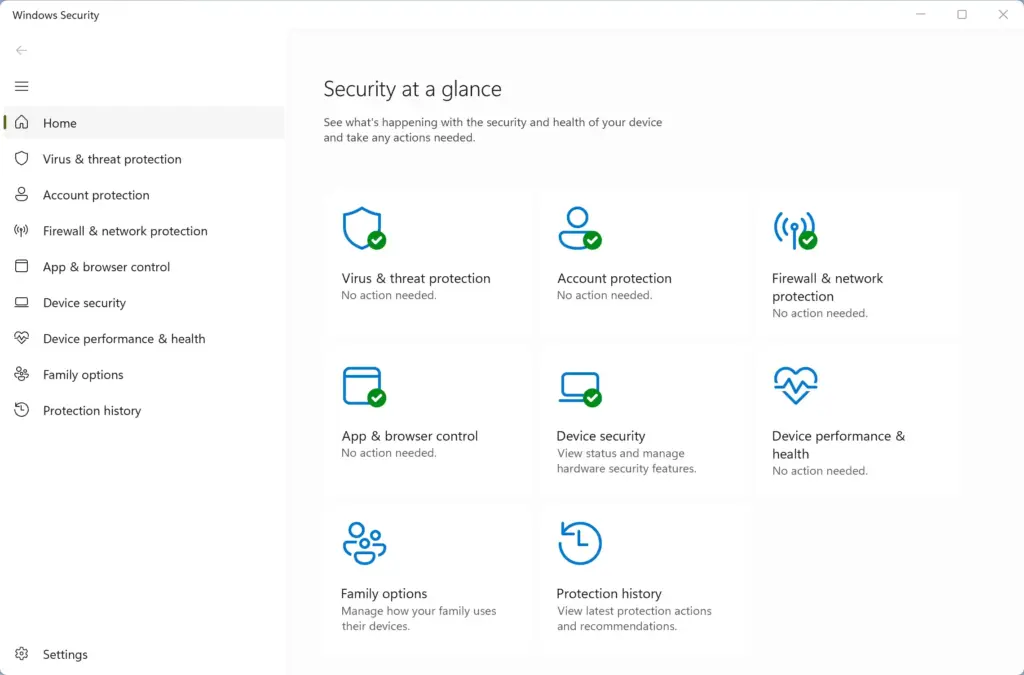
Time sync uses UDP port 123. If your firewall, antivirus, or router blocks that port, the request never reaches the time server and the sync fails. Make sure outbound traffic on that port is allowed. Windows Defender Firewall normally allows it by default, so the cause is more often a third-party security suite, a router rule, or a managed network.
If you use a third-party security suite:
- Open your antivirus or firewall application settings.
- Look for network rules, firewall exceptions, or blocked port settings.
- Ensure that outbound traffic on UDP Port 123 is allowed.
If you are on public Wi-Fi or a corporate network, the network administrator may block this port for security reasons. Try connecting to a different network, such as your mobile phone hotspot. If the sync works there, the original network is the cause. On a work network, ask your IT team which internal time server you should use. If the hotspot also fails, the problem is on your PC.
Advanced Method: Check Your Hardware CMOS Battery (Unique Expert Tip)
Suspect it if your PC loses the correct time every time it shuts down or restarts. A dead or dying battery stops the hardware clock while the power is off, so no software setting will keep the time correct until you replace it.
Desktop motherboards use this battery to keep the system clock running even when the computer is unplugged from the wall. When it dies, the computer forgets the date and time as soon as power is cut. Windows then boots with an incorrect default date. That breaks secure connections before the internet has a chance to correct the clock.
A typical sign is a clock that resets to a date years in the past after the PC has been off, even though syncing works fine while it is running. Some PCs also show a "CMOS checksum error" or ask you to reset the BIOS settings at startup.
Then open the case and replace the silver coin battery on the motherboard. The most common type is a CR2032, but check the old battery to be sure. If you are using a laptop, a dead internal battery usually requires professional repair.
Advanced Method: Check Event Viewer Logs for Hidden Errors (Unique Expert Tip)
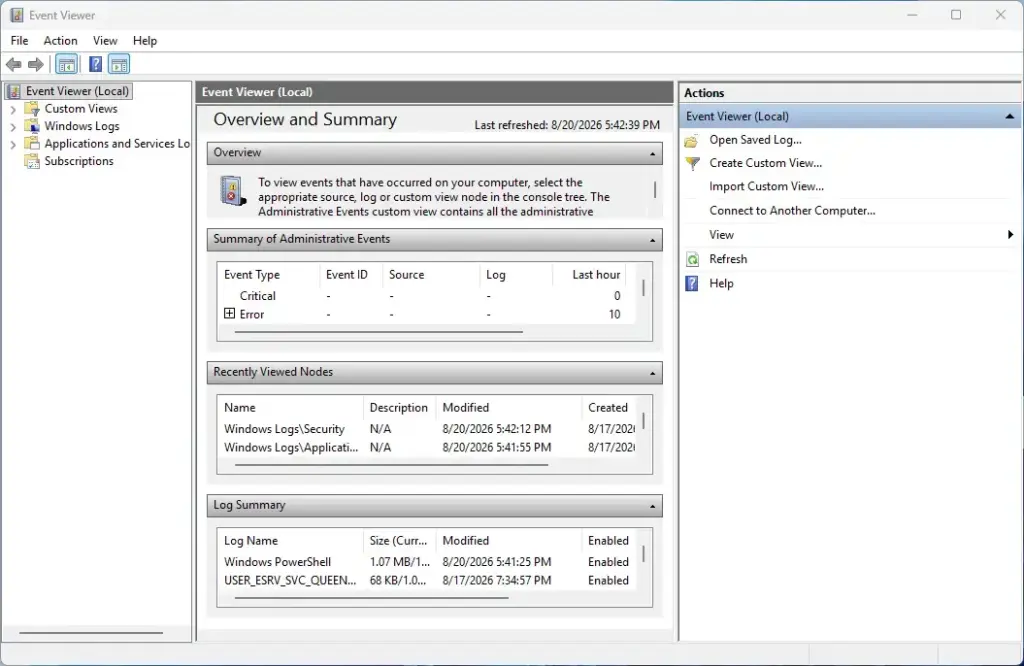
If nothing so far has helped, Event Viewer can tell you why. It is a built-in Windows tool that records system events. The Time-Service log shows the specific warnings and errors behind your sync failures. These point you to the right fix, whether that is a blocked port, an unreachable server, or a permissions problem.
- Click the Start button, type Event Viewer, and open the app.
- In the left sidebar, click the arrow next to Applications and Services Logs to expand it.
- Expand Microsoft, then expand Windows. Scroll down to Time-Service and click Operational under it. A list of recent events appears in the middle pane.
- Look through the list. Errors show a red icon and warnings show a yellow triangle.
- Click an error to read its description at the bottom of the window. Look for messages about server timeouts, access denied, or network failures. A timeout usually means a blocked port or a dead server. Access denied points to a permissions problem. A network failure points to your connection.
Match what you find to the fixes above, then run Sync now again to test. If the Operational log is empty, the service may not be running at all, so go back to the Windows Time service steps.
Summary
Windows 11 time sync failures usually come from a stopped background service, a blocked network port, or an unresponsive time server. Most are fixed by using Sync now, restarting the Windows Time service, switching servers, or running the manual resync commands. If the clock resets every time the PC is off, the likely cause is a dead motherboard battery.
Did this guide fix your problem?

About the Author
Richard
Tech Writer, IT Professional
Richard is a writer at Geek Rewind who turns complex IT tasks into clear, step-by-step guides. He draws on years of hands-on experience in system administration and enterprise IT operations, focusing on Windows, Linux and WordPress: the problems people actually run into, and the fixes that work. His server and WordPress guides come from systems he runs himself. Richard builds and maintains the platform behind Geek Rewind, from its Ubuntu servers and Nginx configuration to its custom WordPress plugins. Many new tutorials start with readers' questions, and he's always glad to answer them in the comments.
No comments yet — be the first to share your thoughts!