How to Split Screen in Windows 11 Using Snap Layouts

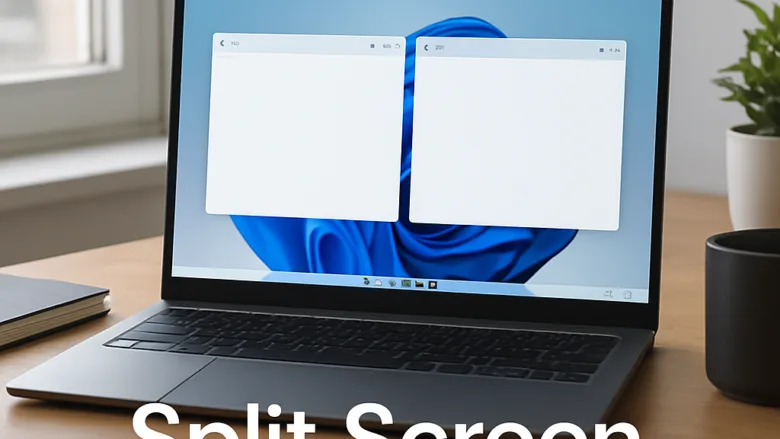
Snap layouts in Windows 11 let you arrange two, three, or four open windows side by side without dragging them by hand. When you hover over the maximize button of a window, Windows shows a small grid of layouts. You click a spot in the grid and the window moves there. The feature works the same on Windows 11 Home and Pro.
- Open the first application you want to use.
- Hover your mouse pointer over the Maximize button in the top-right corner of the window. You can also press Win+Z on your keyboard. A small panel of layout icons appears. With the keyboard shortcut, each zone in the panel is numbered.
- Click the zone in the grid where you want the current window to sit. If you used the keyboard shortcut, press the number shown on that zone instead. The window snaps into that zone.
- Look at the remaining zones on your screen. Windows shows thumbnails of your other open windows there. Click the application you want in each empty zone. Repeat until every zone is filled.
If the panel does not appear, check the Snap settings later in this guide. On smaller or lower-resolution screens, Windows offers fewer layouts. The four-window layouts usually appear only on larger displays.
Hover over the Maximize button in the top-right corner of any open window and click a zone in the layout grid that appears, then click another app to fill the remaining space. You can also press Win+← Arrow to snap a window to the left half, then click an app on the right side.
Arranging Windows with Keyboard Shortcuts
They use the Win and the arrow keys. This is the quickest method once you get used to it.
- Click the title bar of the window you want to move, so it is the active window.
- Press and hold the Win, then press the Left Arrow or Right Arrow key. The window snaps to that half of the screen.
- Release the keys. The window stays in place and fills half of the display.
- Look at the opposite side of the screen. Windows shows thumbnails of your other open windows there. This is called Snap Assist. Click the application you want, and it fills the other half. Your split screen layout is complete.
Press Win+← Arrow or Right Arrow, then press Win+↑ Arrow or Down Arrow. If no thumbnails appear after you snap, the Snap Assist suggestion setting is probably turned off. You can turn it back on in the Multitasking settings described below.
Using Split Screen Browsing in Microsoft Edge
Microsoft Edge has its own split screen feature. It shows two web pages side by side inside a single browser window, so you do not need to manage two separate windows. This works inside Edge only. It does not affect other apps.
- Open Microsoft Edge.
- Click the Split screen button on the toolbar. It looks like two rectangles separated by a vertical line. You can also press Ctrl+Shift+2 on your keyboard. The window divides into two panes.
- Select a second tab, or type a new web address, to load the second page in the right-hand pane.
- Drag the center divider slider to the left or right to change how much space each page gets.
If you cannot find the Split screen button, update Edge to the latest version first. Then check the browser’s toolbar settings to see whether the button is hidden.
Exiting Split Screen Modes
Leaving split screen takes a second, whether you are using desktop windows or Edge. In both cases you can undo the layout without closing any of your apps.
- If you are using desktop Snap Layouts, click the Maximize or Restore Down button in the top-right corner of the window. You can also drag the window away from the edge of the display. The window returns to its normal size.
- If you are using split screen in Microsoft Edge, click the Close split screen button. It is an "X" icon on the center divider or the toolbar. The two views merge back into a single full-size tab.
Closing a snapped window does not close the other windows in the layout. They stay where they are until you move or resize them.
Advanced Window Snapping and Multitasking Options
The Multitasking settings in Windows 11 control how windows snap to the edges and corners of your screen. You can switch the whole feature on or off here, or turn off single behaviors that you find annoying.
- Open Settings. The quickest way is to press Windows Key + I.
- Click System in the left sidebar, then select Multitasking. The Multitasking page opens.
- Find the Snap windows toggle. Make sure it is switched On, then click the dropdown arrow next to it to expand the available options.
- Uncheck any behaviors you want to disable. Examples are the suggestion of what to snap next to a window when you snap it, or the simultaneous resizing of adjacent snapped windows when you resize one. Check the box again to bring a behavior back.
The changes apply straight away and you do not need to restart. If you switch Snap windows off, dragging to the edges and the snap layouts panel both stop working. Switch it back on to restore them.
If this didn't work
If windows refuse to snap when you drag them to the edges of your display, start with your system settings. Work through the checks below in order.
- Open Settings, click System, then select Multitasking. Confirm that the Snap windows toggle is On, and expand it to check that the individual options you need are ticked.
- Try the snap again. If a particular window still will not snap, it may have a fixed size that cannot be resized. Some older apps and dialog boxes behave this way, so test with another app such as Notepad.
- Restart your computer. A restart clears many temporary display glitches.
- If you still see visual glitches, update your graphics card driver. Open Settings, go to Windows Update, click Advanced options, then Optional updates, and install any display driver update listed. You can also download the latest driver from your graphics card maker's website.
After the update, restart once more and test the snap again.
Frequently asked questions
How do I enable split screen in 🪟 Windows 11?
Snap layouts are on by default in Windows 11, so you usually don't need to enable anything. Hover over a window's Maximize button, or press Windows Key + Z, and pick a grid zone. If nothing appears, open Settings, go to System Multitasking, and turn on Snap windows.
Why isn't my split screen working in 🪟 Windows 11?
Most often, Snap windows is turned off in Settings, or the app has a fixed size and can't snap. Open Settings, go to System Multitasking, and turn on Snap windows. Then try again. If a window still won't snap, it may not support resizing. Small screens may also show fewer layouts.
How to activate Windows split screen?
Open the first app, then hover over its Maximize button or press Windows Key + Z. Click the zone where you want that window. Windows then shows thumbnails of your other open windows, so click one for each empty zone to finish the split.
How do I split my screen on Microsoft Windows?
In Windows 11, hover over a window's Maximize button and click a zone in the layout panel, or press Windows Key + Z. On Windows 10, drag a window to the left or right edge of the screen, or press Windows Key + Left Arrow or Windows Key + Right Arrow.
Still have a question?
Answered by AI from this guide. Good questions may be added to this page — please don't include personal details.
Did this guide fix your problem?

About the Author
Richard
Tech Writer, IT Professional
Richard is a writer at Geek Rewind who turns complex IT tasks into clear, step-by-step guides. He draws on years of hands-on experience in system administration and enterprise IT operations, focusing on Windows, Linux and WordPress: the problems people actually run into, and the fixes that work. His server and WordPress guides come from systems he runs himself. Richard builds and maintains the platform behind Geek Rewind, from its Ubuntu servers and Nginx configuration to its custom WordPress plugins. Many new tutorials start with readers' questions, and he's always glad to answer them in the comments.
No comments yet — be the first to share your thoughts!