How to Remove a Color Profile in Windows 11

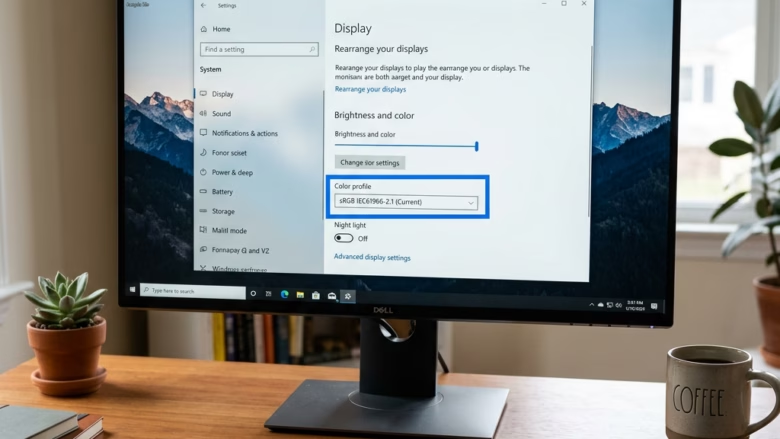
This tutorial shows how to remove an old or incorrect color profile from a display in Windows 11 using the Settings app. It takes about a minute. You don’t need a restart.
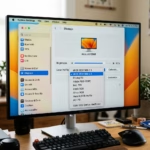
Open Settings , go to System Display, scroll down and click Color profile, select your display, click the profile you want to remove, then click the Remove button. The profile is deleted immediately without restarting.
Why Remove a Color Profile?
There are a few common reasons to remove a color profile:
- The profile is no longer needed, for example after you replaced the monitor.
- The profile is causing display problems, such as a strong color tint or washed-out colors.
- You installed a new profile and want to clear out the old ones so the wrong one doesn’t get picked by mistake.
Keeping your list of profiles tidy can also make troubleshooting easier later, because there are fewer profiles that could be responsible.
What Happens When You Remove a Color Profile?
When you remove a color profile, Windows goes back to its default color settings for that display. The adjustments the profile made are no longer applied, so your screen may look slightly different, usually closer to a standard appearance. The change takes effect straight away, without signing out or restarting.
Keep a copy of the original profile file before you remove anything you may want back.
Steps to Remove a Color Profile
Step 1Open Windows Settings
Settings is where you manage your display and remove the color profile. You can open it in either of two ways.
- Use the keyboard shortcut. Press
Windows key+Iat the same time. This is usually the quickest way. - Or use the Start menu. Click the Start button (the Windows icon) on the taskbar, then click the Settings icon, which looks like a gear. If you don't see it, click All apps and find Settings in the list.
Either method opens the Settings window, with a list of categories down the left side.
Step 2Go to Display Settings
Next, go to the display settings.
- In the Settings window, look at the left sidebar and click System.
- On the right side, under the System options, click Display.
You should now see the Display page, with a preview of your monitor or monitors at the top.
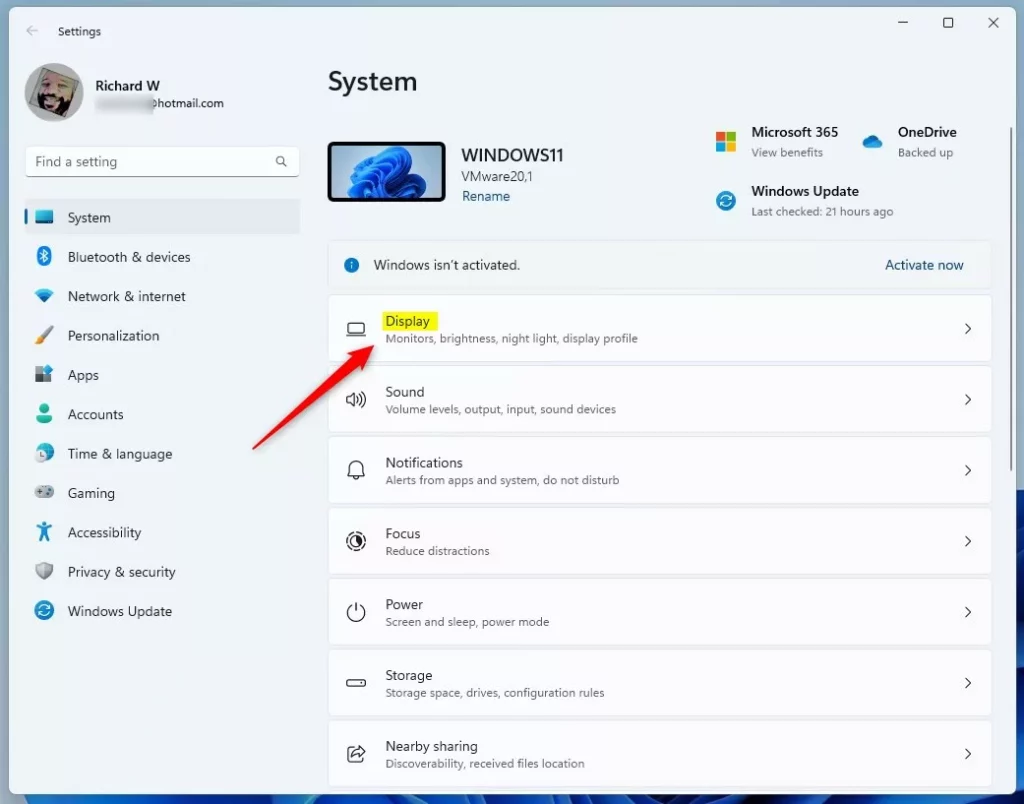
This page holds the basic visual settings for your screen, such as brightness and screen resolution. It is also the starting point for the color profile options. If you have more than one monitor, the settings further down apply to whichever display is selected at the top, so check that it is the right one before you scroll.
Step 3Find Color Profile Settings
In Windows 11, color profile management is under the Display settings. This section lists the color profiles currently linked to your screen.
- Scroll down the Display settings page.
- Look for the option called Color profile and click it.
If you can't find Color profile, your version of Windows 11 may be older or may lay out the Display page differently. Check Windows Update for the latest updates, then look again. Also look under the advanced display options on the same page, as the option may sit there on some builds.
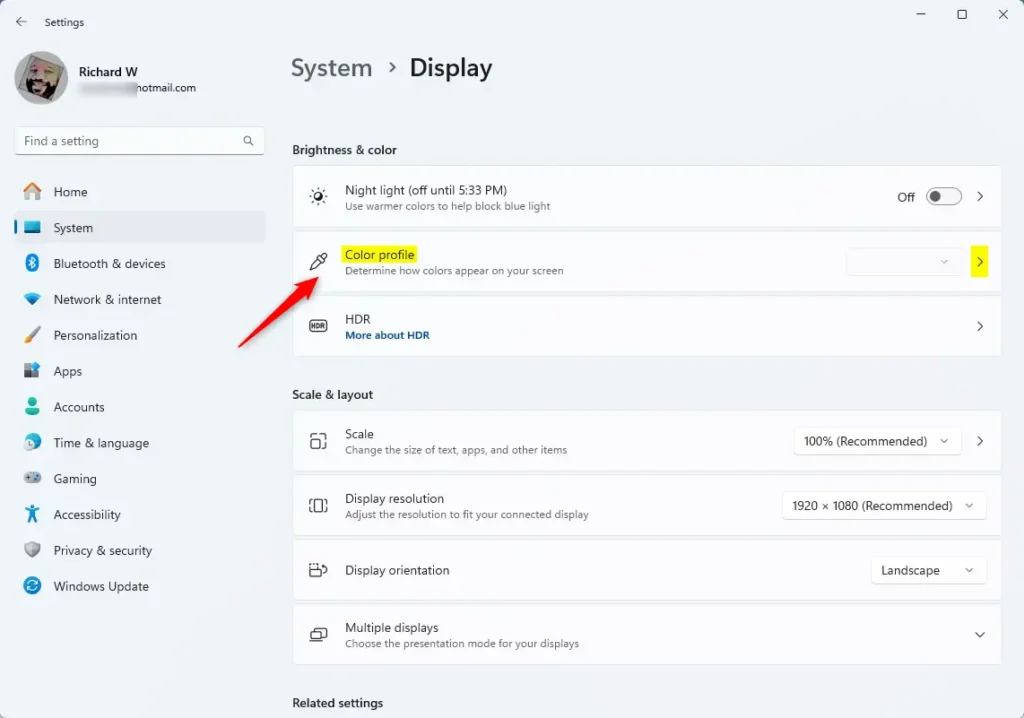
Clicking Color profile opens a new page showing the color profiles for your display.
Step 4Choose Your Display and Profile
Before you remove anything, make sure you are looking at the right display and the right profile. Removing a profile from the wrong monitor is an easy mistake on a multi-monitor setup.
- At the top of the Color profile page, find the box labeled Select your display. Click it and choose the monitor that has the profile you want to remove.
- Below that, look at the list of color profiles and find the one you want to delete. The list now shows the profiles for the monitor you chose.
If you aren't sure which monitor is which, you can check on the main Display page. Selecting a monitor there lets you identify it before you come back here.
Step 5Expand and Remove the Profile
Now remove the profile.
- Click the color profile you want to remove. A section expands, showing more details about it.
- At the bottom of the expanded section, click the Remove button.
- If Windows asks you to confirm, click to confirm that you want to remove the color profile.
The profile should disappear from the list, and your display goes back to its default color behavior for that monitor. If the colors look wrong afterward, you can add the profile again from its original file, or from the driver package supplied by the monitor maker.
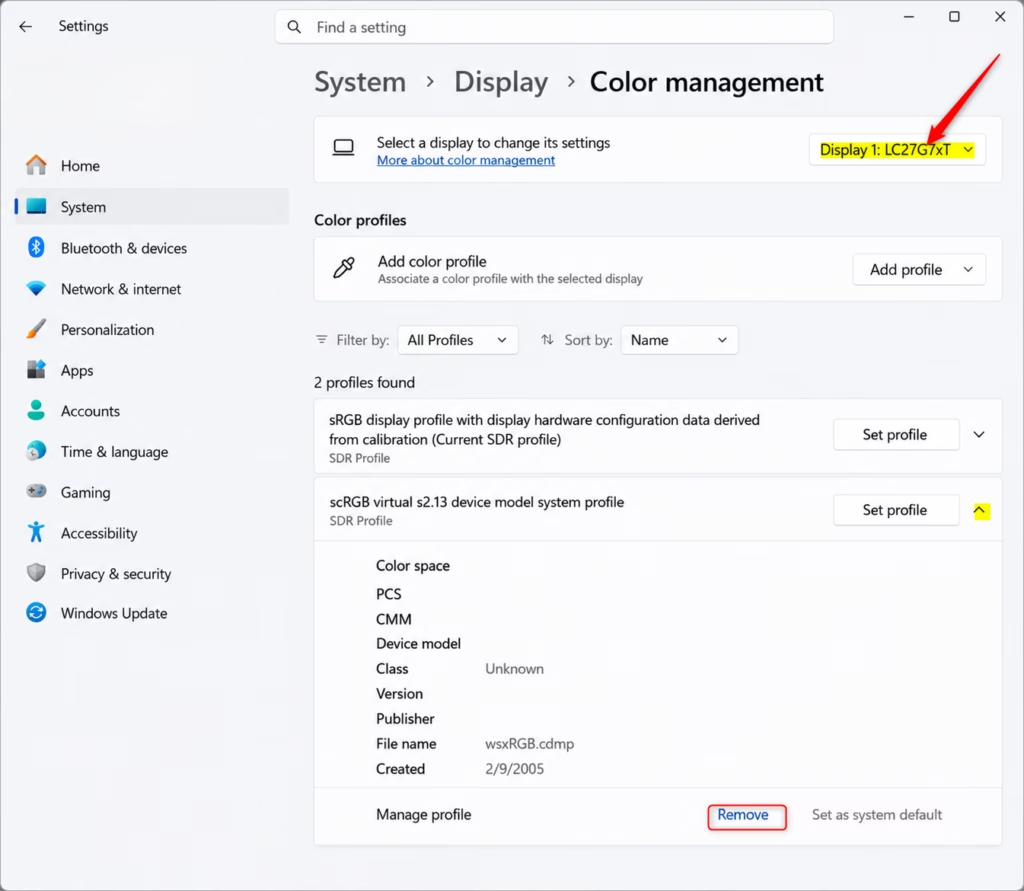
If the Remove button is grayed out or missing, you won't be able to delete that profile. This is normal. Profiles built into Windows or supplied with your display driver are often protected. Leave them alone; they are the fallback Windows uses when no custom profile is applied.
Reference:
Summary
Here's a quick recap of how to remove a color profile in Windows 11:
- Open Settings.
- Go to System Display Color profile.
- Select your display, then select the profile.
- Expand the profile and click Remove.
If Remove is grayed out, the profile is a protected default and can't be deleted.
Was this guide helpful?
0% of readers found this helpful (1 votes)

About the Author
Richard
Tech Writer, IT Professional
Richard is a writer at Geek Rewind who turns complex IT tasks into clear, step-by-step guides. He draws on years of hands-on experience in system administration and enterprise IT operations, focusing on Windows, Linux and WordPress: the problems people actually run into, and the fixes that work. His server and WordPress guides come from systems he runs himself. Richard builds and maintains the platform behind Geek Rewind, from its Ubuntu servers and Nginx configuration to its custom WordPress plugins. Many new tutorials start with readers' questions, and he's always glad to answer them in the comments.



No comments yet — be the first to share your thoughts!