How to Add a Color Profile in Windows 11
Adding a color profile in Windows 11 uses the “Calibrate display color” tool to apply ICC profiles for accurate screen colors.
A color profile, also called an ICC profile, is a file that tells Windows how your monitor should display colors. Installing one helps make sure the colors you see on your screen are correct and consistent.
For example, if you edit photos or videos, using the right color profile, often a .icc or .icm file, can make your work look much better.
This feature is especially helpful if your monitor doesn’t show colors perfectly right away. It helps you get true-to-life colors for whatever you’re doing on your PC.
Add a color profile in Windows 11 by going to Settings > System > Display, then clicking “Color profile”. Select your display, click “Add profile”, browse to your .icc or .icm file, and click “Set profile” to make it the default.
Where to Find Color Profile Settings
You can find color profile settings in Windows 11 by opening the Settings app. First, click on ‘System’, and then select ‘Display’ from the list. Scroll down within the Display settings to see the color profile options for your screen.
- Open Settings: Click the Start button, then click Settings. You can also press the
Windows key + Ikeys on your keyboard. - Go to Display: In the Settings window, click on System. Then, click on Display.
- Find Color Profile: Scroll down in the Display settings. You will see an option called Color profile. Click it.

This will open the Color management settings for your screen.
Adding a New Color Profile
Have a new color profile file? Perhaps it came with your monitor, or you downloaded it from a specific source. Here’s how to add it to Windows:
Step 1Choose Your Display
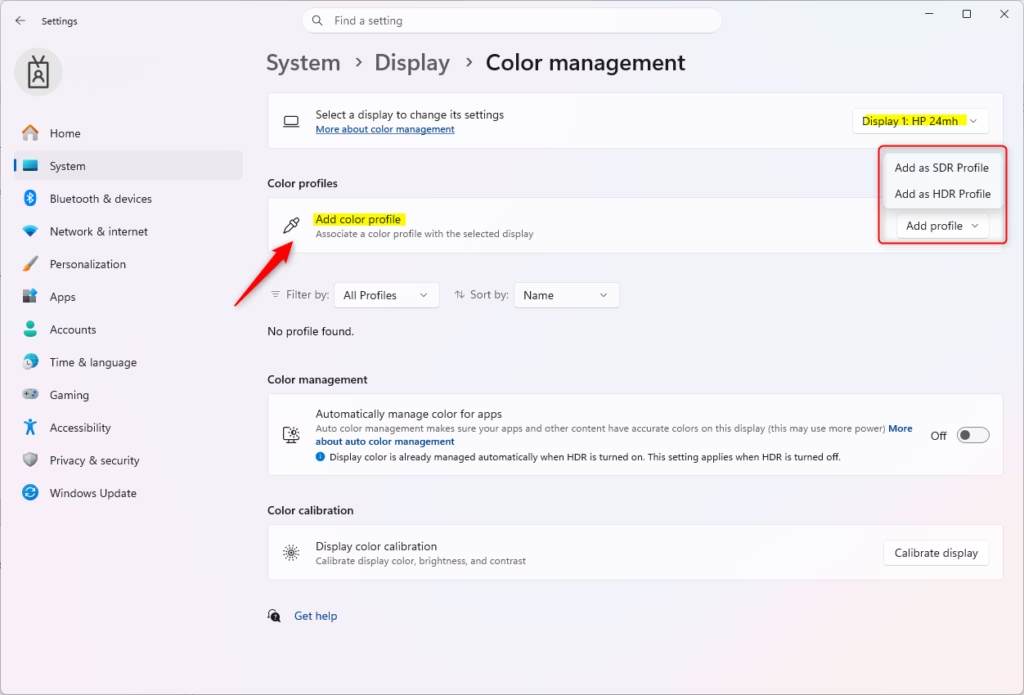
At the top of the Color management page, you will see a box that says “Select your display”. Pick the correct monitor if you have more than one.Step 2Add the Profile
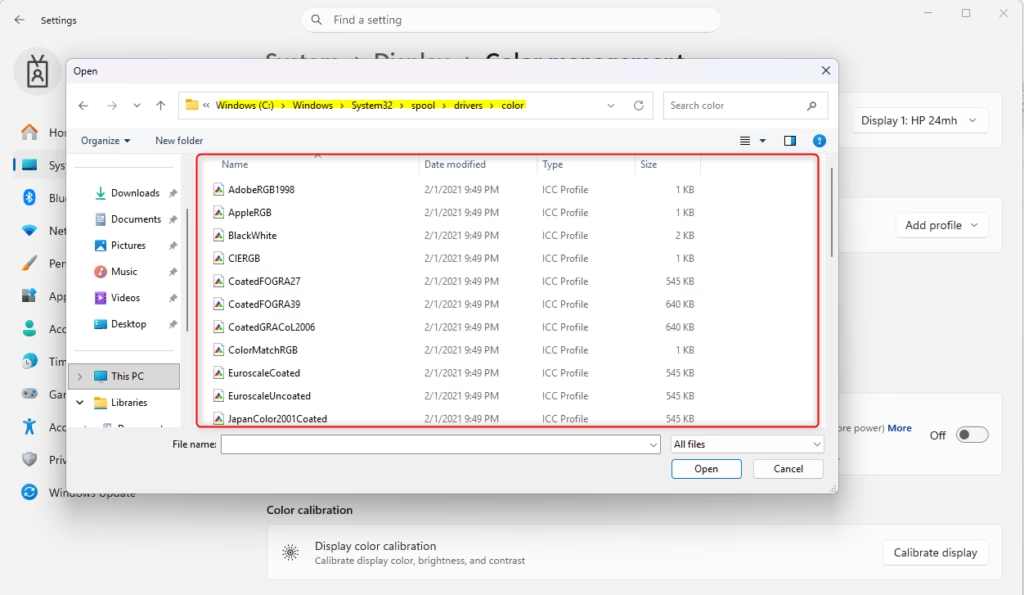
To add a color profile in Windows 11, go to your display settings and click the ‘Add profile’ button found below the list of current profiles.Step 3Find Your Profile File
When prompted, find the color profile file you want to add; these files usually end with .icm or .icc, then select it and click ‘Add’ or ‘Open’.Step 4Set as Default (Good Idea)
After adding the profile, it will show up in the list for your display. To make sure Windows uses this new profile, you should set it as the default. Select the profile you just added. Then, click the Set profile button below the list.
After you add a color profile, it will appear in the list for your display. To make sure Windows uses your new color profile, it’s a good idea to set it as the default. Simply select the profile you just added and click the ‘Set profile’ button below the list.
Reference:
Summary
Adding a color profile in Windows 11 improves screen color accuracy by going to System > Display > Color profile, clicking ‘Add profile’, selecting your .icm or .icc file, and setting it as default.
How do I add a color profile to 🪟 Windows 11?
To add a color profile in Windows 11, open Settings, navigate to System > Display > Advanced display, click ‘Color profile’, and choose your desired profile from the dropdown.
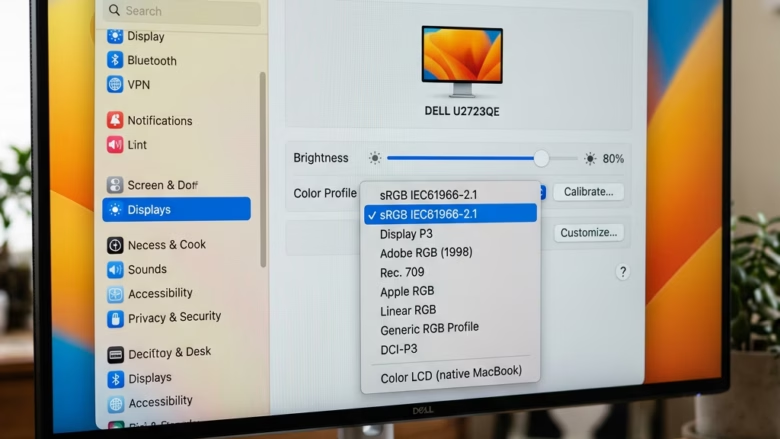
What should my color profile be on a Mac?
For Macs, the standard sRGB IEC61966-2.1 profile is generally recommended for most users and web content. However, for professional color-critical work, using a custom profile generated by a hardware calibrator specific to your display is the best approach for optimal accuracy.
How do you enable color profile?
In Windows 11, color profiles are typically enabled by selecting them within the Advanced display settings. Navigate to Settings > System > Display > Advanced display, then under 'Color settings,' choose your desired color profile from the dropdown. This action applies the selected profile to your display.
Which sRGB color profile is best?
The 'sRGB IEC61966-2.1' profile is the universally accepted standard and generally the best choice for most users, especially for web browsing and general use. It ensures consistent color representation across different devices and applications that support sRGB.
Was this guide helpful?

About the Author
Richard
Tech Writer, IT Professional
Richard, a writer for Geek Rewind, is a tech enthusiast who loves breaking down complex IT topics into simple, easy-to-understand ideas. With years of hands-on experience in system administration and enterprise IT operations, he’s developed a knack for offering practical tips and solutions. Richard aims to make technology more accessible and actionable. He's deeply committed to the Geek Rewind community, always ready to answer questions and engage in discussions.


No comments yet — be the first to share your thoughts!