How to Set Your Primary Display in Windows 11
Setting your primary display in Windows 11 decides which monitor gets the taskbar, clock, and new program windows first.
Your primary display is your main computer screen. It makes sure your desktop is organized, especially if you use more than one monitor.
Without this setting, Windows 11 might put your taskbar or notifications on different screens without you planning it, which can be annoying.
Windows 11 usually picks the last monitor you used as the primary one. But you can easily change this in the Display settings on your PC.
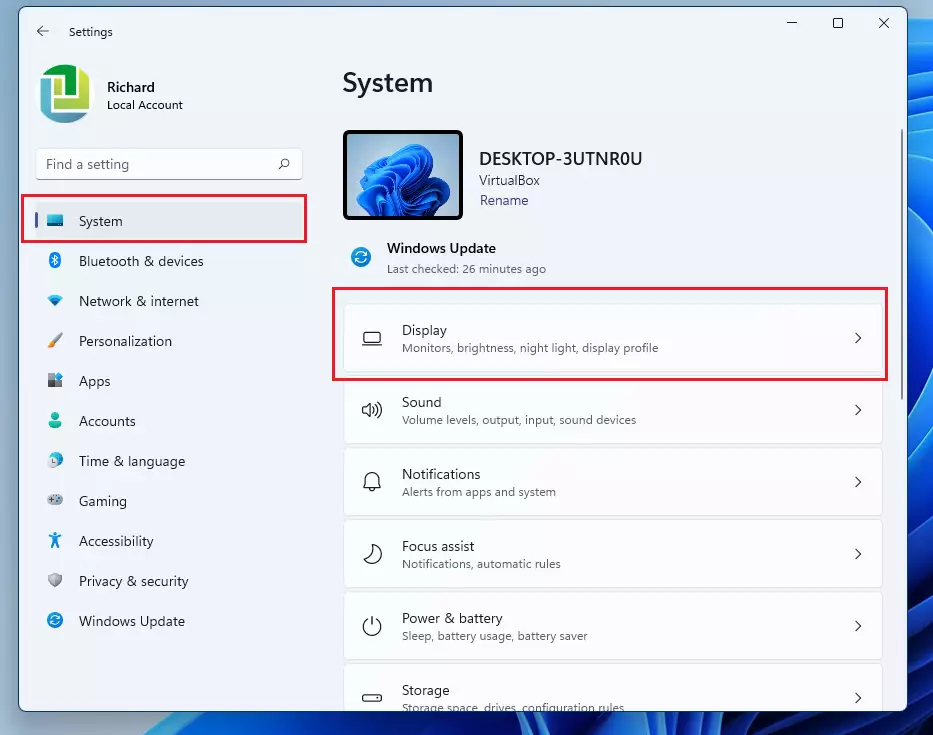
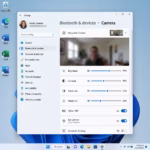
Go to Settings > System > Display. Select the desired monitor, scroll down to “Multiple displays,” and check “Make this my main display.” This sets your preferred screen for the taskbar and new application windows.
What happens when you are done?
When you set your primary display in Windows 11, that monitor becomes your main screen. It’s where your taskbar and new apps will show up automatically. This simplifies managing your desktop, especially if you use more than one screen.
How to Identify and Configure Monitors
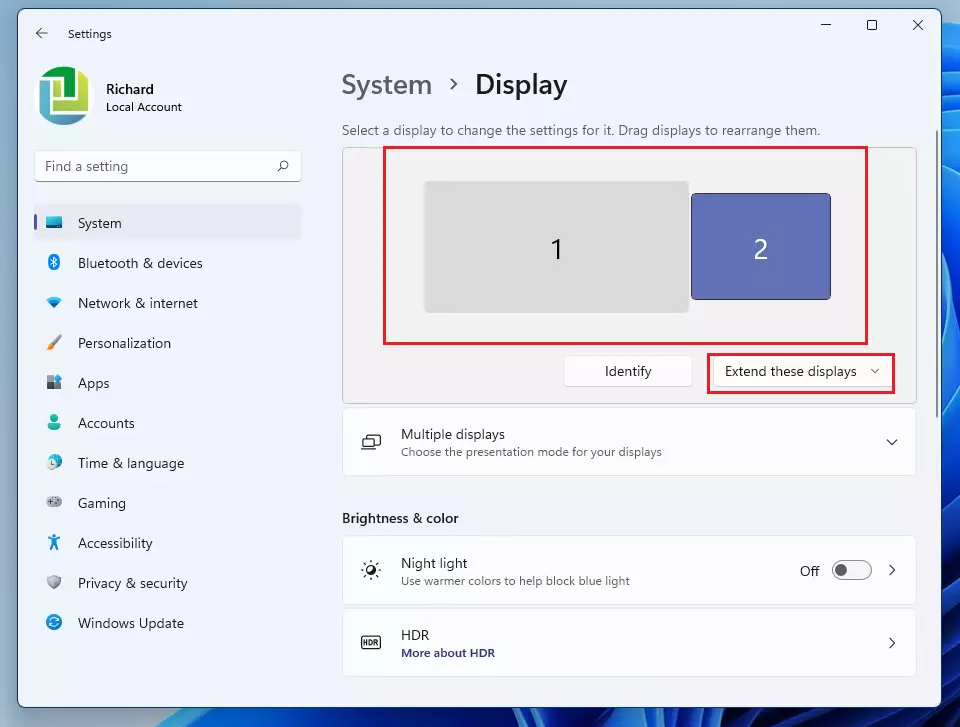
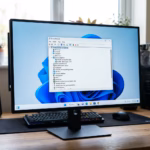
Finding out which monitor is which in Windows 11 is clear. Open Settings, go to System, and then Display. You’ll see a map of all your connected screens, and you can click ‘Identify’ to see a number pop up on each physical screen. This helps you match the on-screen map to your actual monitors.

Windows shows a map of your screens. Click the Identify button. A number appears on each monitor. This helps you know which physical screen corresponds to the rectangles on your screen.
Make sure the dropdown menu is set to Extend these displays. This mode allows you to use both monitors as one large workspace rather than mirroring the same image.
To change your main screen, follow these steps:
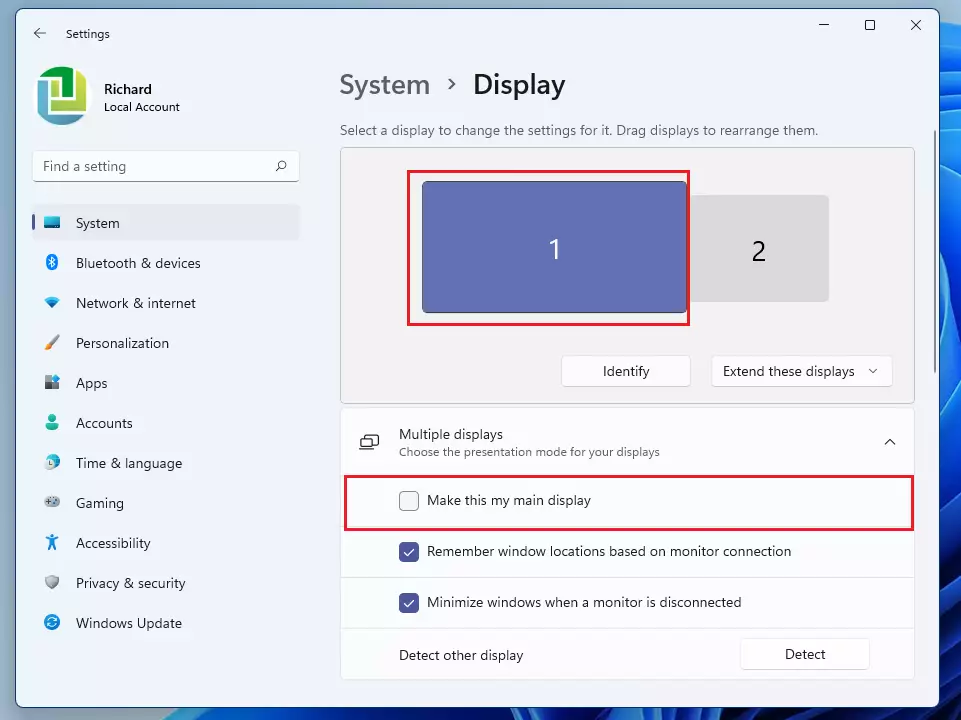
- Click the rectangle representing the monitor you want to be your primary display.
- Scroll down to the Multiple displays section.
- Check the box that says Make this my main display.
Why do my apps keep opening on the wrong monitor?
Apps often open on the screen where you last closed them. If you have not set a primary display, Windows may default to the monitor connected to the primary graphics port. Setting a primary display in Windows 11 settings forces the system to prioritize that screen for new window placement.
Can I have a taskbar on both monitors?
Yes. Go to Settings > Personalization > Taskbar. Expand the Taskbar behaviors section and check the box for Show my taskbar on all displays. This lets you manage open windows across your whole multi-monitor setup easily, no matter which screen is primary.
Troubleshooting Display Issues
When troubleshooting display issues in Windows 11, start by checking your graphics drivers if settings aren’t saving correctly.
For more help, you can visit the official Microsoft support page.
Summary
Setting your primary display in Windows 11 is key for a clean, productive multi-monitor setup. When you identify your screens and select the main display, you regain control over your taskbar and app placement. If you encounter bugs, updating your drivers or checking your taskbar settings usually resolves the issue.
Was this guide helpful?

About the Author
Richard
Tech Writer, IT Professional
Richard, a writer for Geek Rewind, is a tech enthusiast who loves breaking down complex IT topics into simple, easy-to-understand ideas. With years of hands-on experience in system administration and enterprise IT operations, he’s developed a knack for offering practical tips and solutions. Richard aims to make technology more accessible and actionable. He's deeply committed to the Geek Rewind community, always ready to answer questions and engage in discussions.

[…] way to do this is to click on the far right corner of the taskbar on the main display to show the desktop and minimize all open windows, and click on it again to restore all minimized […]
[…] can only set different backgrounds when you extend your display across multiple monitors. Once your display is extended to other monitors, you can set different backgrounds, and the steps […]