Skip to content
Follow
Windows 🟢 Beginner

How To Customize Live Captions Style And Position In Windows 11 Accessibility Settings

Richard
Written by
Richard
Sep 10, 2026 7 min read
How to Customize Live Captions Style and Position in Windows 11 Accessibility Settings

Step-by-Step Guide to Changing Caption Styles

Changing caption styles in Windows 11 lets you pick built-in designs like white text on a black background or create your own custom look. Open your settings, go to accessibility, and find the caption style section under hearing options. Choosing the right style makes on-screen text much easier to read.
  1. Open the Windows Start menu and select Settings.
  2. Start Menu
    Start Menu
  3. Click on Accessibility in the left menu.
  4. Click on Captions under the Hearing section.
    Settings › Accessibility › Captions
    Settings › Accessibility › Captions
  5. Look for the Caption style section on the page. Windows provides several built-in styles like White on black, Large text, or Extra dark.
  6. If you want to create your own custom look, click the Edit button next to Caption style or click Add to build a personalized style from scratch.
  7. In the style customization menu, you can change the text color, text transparency, font size, font style, and font effect. You can also modify the background color and window color to make the text stand out clearly against your desktop background.
  8. Your changes apply immediately so you can preview how the text looks on your screen.

How to Customize Live Captions Style and Position in 🪟 Windows 11 Accessibility Settings

Settings › Accessibility

Customizing live captions style and position in Windows 11 accessibility settings helps keep important screen controls visible while you read text. You can place your live captions bar at the top of the screen, anchor the live captions bar to the bottom, or let the live captions bar float freely anywhere you want. This live captions setup prevents captions from blocking important content in your browser or video player.

Advertisement

Windows 11 lets you place your Live Captions bar in three primary locations: anchored to the top of the screen, anchored to the bottom of the screen, or floating freely anywhere you choose.

Changing Caption Position Using the On-Screen Settings Menu

Changing caption position using the on-screen settings menu takes just a few clicks right from your active caption bar. Click the small gear icon on the toolbar, hover your mouse pointer over the position option, and choose top, bottom, or floating. This puts the text exactly where you need it on your monitor.
  • With Live Captions active, look at the caption bar on your screen.
  • Click the small gear icon labeled Settings located right on the caption toolbar.
  • Hover your mouse pointer over the Position option in the menu.
  • Choose your preferred placement from the available options: Top, Bottom, or Floating.
  • Selecting Top locks the caption bar across the very top edge of your monitor. Selecting Bottom anchors it to the bottom edge. Selecting Floating detaches the caption box from the edges of the screen.

Dragging a Floating Caption Window

Dragging a floating caption window gives you complete freedom to move the text box anywhere you want on your screen. Click and hold your mouse cursor on the empty area of the caption toolbar, drag the box to your preferred spot, and let go. This method is very useful for placing captions directly underneath a video player.

Advanced Customization: Enhancing Readability and Contrast

Enhancing readability and contrast for captions in Windows 11 involves pairing your text choices with system-wide display features. High contrast modes and dark themes help caption text stand out sharply against your background. You can adjust these extra visual options in your main personalization settings to make text even clearer.

By default, Windows matches many app appearances to your system color mode. You can adjust your overall Windows color theme to complement your caption choices. Go to Settings , click on Personalization, and then select Colors. From there, you can choose your mode to be dark or light. Pairing a dark system theme with high-contrast bright yellow or white caption text dramatically reduces eye strain during long viewing sessions.

Advertisement

Additionally, you can adjust text scaling if you find that even the largest caption settings are still too small. Go to Settings, click on System, and then select Display. Adjusting the scale of items on your screen will also scale the live captions text proportionally.

Using Microphone Audio and Additional Languages

Using microphone audio and additional languages with live captions lets Windows transcribe your own voice when you speak into a microphone. This helpful feature supports virtual meetings and improves speech clarity by turning spoken words into readable text in real time. You can turn on microphone captioning right inside the settings gear menu on the caption bar.

Microphone captioning is extremely helpful during virtual meetings if you prefer to read what you are saying or need assistance with speech clarity. To turn on microphone captioning, you can click the settings gear icon inside the Live Captions toolbar and check the box that enables microphone input capture.

Furthermore, Live Captions supports multiple languages and translation features. If you are listening to audio spoken in a language other than English, you can download additional language packs. Click the settings icon in the caption bar, select Language, and choose the language you want to add. Windows will download the necessary data files, allowing the tool to translate foreign speech into English text on your screen automatically.

Advertisement

Summary

Live captions in Windows 11 serve as an essential accessibility tool that turns spoken audio into readable text in real time. Knowing how to customize live captions style and position allows you to tailor the text display to match your exact visual needs. By using the accessibility menu, you can easily change text sizes, colors, and screen locations.

Live Captions in Windows 11 turns any spoken audio on your PC into text that appears right on your screen. This built-in accessibility tool works offline using your computer hardware, keeping your private conversations secure without sending audio to the internet.

You can easily change how the text looks and where the caption box sits on your display to match what you like. Opening these style settings takes just a few clicks through the main system menu once you turn on the feature.

Advertisement
⚡ Quick Answer

Open Settings, select Accessibility, click Captions, and open Caption style to change text colors, fonts, and sizes. To change the position, click the Settings gear icon inside the live captions bar on your screen, select Position, and choose either Top, Bottom, or Overlaid to move the text box.

Advertisement

How to Turn On Live Captions in 🪟 Windows 11

Enabling Live Captions takes only a few seconds via the settings menu or a keyboard shortcut.

Using System Settings

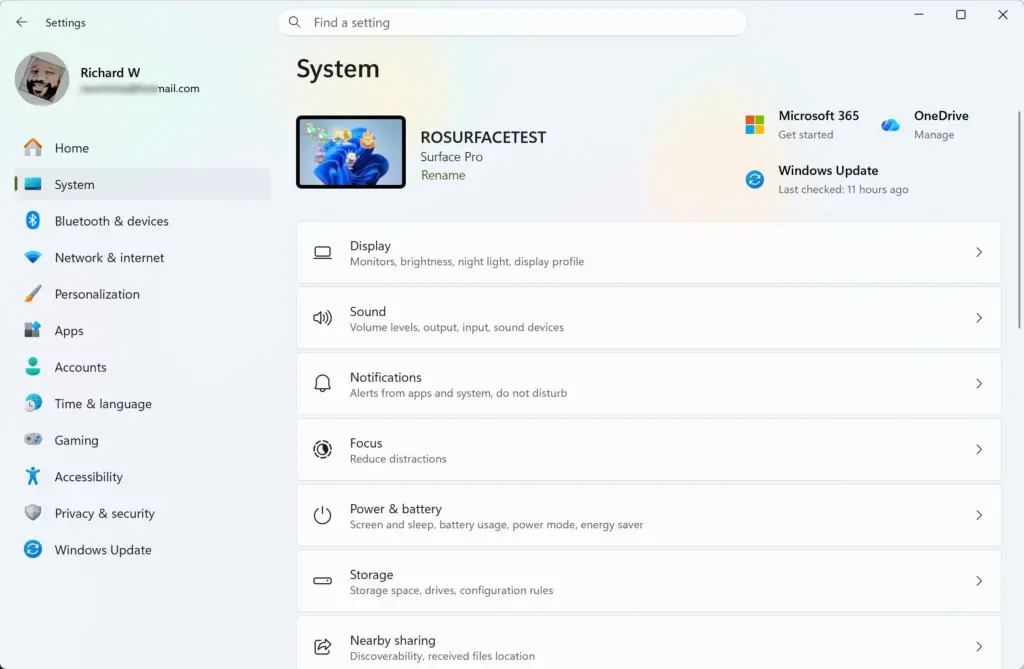
Settings › System
Settings › System

Opening system settings in Windows 11 is easy when you use the Start menu or a quick keyboard shortcut. Press the Windows key and the I key together on your keyboard to open the main settings window instantly. From there, you can manage display options, change accessibility features, and update your computer preferences.

Taskbar
Taskbar

In the Settings window, click on Accessibility in the left-hand sidebar menu.

Scroll down the right side of the screen until you find the Hearing section, then click on Captions.

You can turn Live captions on by opening the accessibility settings menu and clicking the Live captions toggle switch at the top of the page. Turning Live captions on helps you read real-time text for any audio playing on your computer screen.

Advertisement

A small confirmation window or download prompt may appear the very first time you use the feature. Follow the on-screen prompts to download the necessary language files.

Using the Keyboard Shortcut

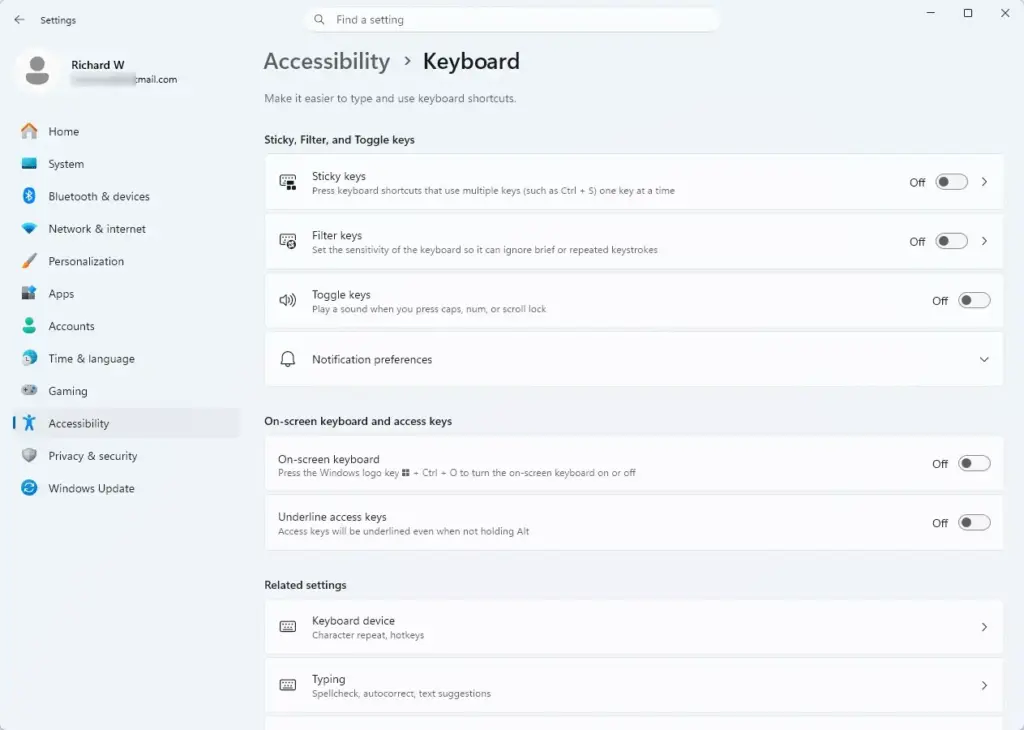
Settings › Accessibility › Keyboard

To toggle Live Captions quickly while working in other apps, use a keyboard shortcut. Press the Windows key + Ctrl + L keys at the same time. The Live Captions bar will immediately appear at the top or bottom of your screen.

Personalizing How Your Captions Are Displayed

Personalizing how your captions are displayed in Windows 11 helps you read text much more comfortably. You can change the font size, text color, and background shading to match your eyesight and style preferences. Making these quick adjustments ensures you never miss a single word while watching videos or using apps.

You can change the font size, font color, and background shading of the text box in the Windows 11 Live Captions feature. Making these style adjustments ensures you never miss a single word of text while watching videos or chatting online.

Advertisement

Step-by-Step Guide to Changing Caption Styles

Changing caption styles in Windows 11 lets you pick built-in designs like white text on a black background or create your own custom look. Open your settings, go to accessibility, and find the caption style section under hearing options. Choosing the right style makes on-screen text much easier to read.
  1. Open the Windows Start menu and select Settings.
  2. Start Menu
    Start Menu
  3. Click on Accessibility in the left menu.
  4. Click on Captions under the Hearing section.
    Settings › Accessibility › Captions
    Settings › Accessibility › Captions
  5. Look for the Caption style section on the page. Windows provides several built-in styles like White on black, Large text, or Extra dark.
  6. If you want to create your own custom look, click the Edit button next to Caption style or click Add to build a personalized style from scratch.
  7. In the style customization menu, you can change the text color, text transparency, font size, font style, and font effect. You can also modify the background color and window color to make the text stand out clearly against your desktop background.
  8. Your changes apply immediately so you can preview how the text looks on your screen.

How to Customize Live Captions Style and Position in 🪟 Windows 11 Accessibility Settings

Settings › Accessibility

Customizing live captions style and position in Windows 11 accessibility settings helps keep important screen controls visible while you read text. You can place your live captions bar at the top of the screen, anchor the live captions bar to the bottom, or let the live captions bar float freely anywhere you want. This live captions setup prevents captions from blocking important content in your browser or video player.

Windows 11 lets you place your Live Captions bar in three primary locations: anchored to the top of the screen, anchored to the bottom of the screen, or floating freely anywhere you choose.

Changing Caption Position Using the On-Screen Settings Menu

Changing caption position using the on-screen settings menu takes just a few clicks right from your active caption bar. Click the small gear icon on the toolbar, hover your mouse pointer over the position option, and choose top, bottom, or floating. This puts the text exactly where you need it on your monitor.
  • With Live Captions active, look at the caption bar on your screen.
  • Click the small gear icon labeled Settings located right on the caption toolbar.
  • Hover your mouse pointer over the Position option in the menu.
  • Choose your preferred placement from the available options: Top, Bottom, or Floating.
  • Selecting Top locks the caption bar across the very top edge of your monitor. Selecting Bottom anchors it to the bottom edge. Selecting Floating detaches the caption box from the edges of the screen.

Dragging a Floating Caption Window

Dragging a floating caption window gives you complete freedom to move the text box anywhere you want on your screen. Click and hold your mouse cursor on the empty area of the caption toolbar, drag the box to your preferred spot, and let go. This method is very useful for placing captions directly underneath a video player.

Advanced Customization: Enhancing Readability and Contrast

Enhancing readability and contrast for captions in Windows 11 involves pairing your text choices with system-wide display features. High contrast modes and dark themes help caption text stand out sharply against your background. You can adjust these extra visual options in your main personalization settings to make text even clearer.

Advertisement

By default, Windows matches many app appearances to your system color mode. You can adjust your overall Windows color theme to complement your caption choices. Go to Settings, click on Personalization, and then select Colors. From there, you can choose your mode to be dark or light. Pairing a dark system theme with high-contrast bright yellow or white caption text dramatically reduces eye strain during long viewing sessions.

Additionally, you can adjust text scaling if you find that even the largest caption settings are still too small. Go to Settings, click on System, and then select Display. Adjusting the scale of items on your screen will also scale the live captions text proportionally.

Using Microphone Audio and Additional Languages

Using microphone audio and additional languages with live captions lets Windows transcribe your own voice when you speak into a microphone. This helpful feature supports virtual meetings and improves speech clarity by turning spoken words into readable text in real time. You can turn on microphone captioning right inside the settings gear menu on the caption bar.

Microphone captioning is extremely helpful during virtual meetings if you prefer to read what you are saying or need assistance with speech clarity. To turn on microphone captioning, you can click the settings gear icon inside the Live Captions toolbar and check the box that enables microphone input capture.

Furthermore, Live Captions supports multiple languages and translation features. If you are listening to audio spoken in a language other than English, you can download additional language packs. Click the settings icon in the caption bar, select Language, and choose the language you want to add. Windows will download the necessary data files, allowing the tool to translate foreign speech into English text on your screen automatically.

Summary

Live captions in Windows 11 serve as an essential accessibility tool that turns spoken audio into readable text in real time. Knowing how to customize live captions style and position allows you to tailor the text display to match your exact visual needs. By using the accessibility menu, you can easily change text sizes, colors, and screen locations.

Was this guide helpful?

Tags: #Windows 11
Was this helpful?
Richard

About the Author

Richard

Tech Writer, IT Professional

Richard, a writer for Geek Rewind, is a tech enthusiast who loves breaking down complex IT topics into simple, easy-to-understand ideas. With years of hands-on experience in system administration and enterprise IT operations, he’s developed a knack for offering practical tips and solutions. Richard aims to make technology more accessible and actionable. He's deeply committed to the Geek Rewind community, always ready to answer questions and engage in discussions.

Advertisement

📚 Related Tutorials

How To Customize Mouse Pointer Size And Color In Windows 11 Accessibility Settings
Windows How To Customize Mouse Pointer Size And Color In Windows 11 Accessibility Settings
How To Change Speech Recognition Output Devices In Windows 11 Accessibility Speech Settings
Windows How To Change Speech Recognition Output Devices In Windows 11 Accessibility Speech Settings
Should You Enable Mono Audio In Windows 11 Accessibility Settings
Windows Should You Enable Mono Audio In Windows 11 Accessibility Settings

No comments yet — be the first to share your thoughts!

Leave a Comment

Your email address will not be published. Required fields are marked *