How to Enable or Disable Live Captions in Windows 11
You can enable or disable Live Captions in Windows 11 to get instant, real-time text transcriptions of all audio playing on your computer.
Live Captions is a powerful built-in accessibility tool that automatically generates captions for anything you hear, from system sounds to videos and apps. It’s a game-changer for anyone with hearing difficulties or simply for those who enjoy content with subtitles.
This feature debuted in Windows 11 build 22557 and works seamlessly across your entire operating system, not just within specific programs. Here’s how you control it.
Press ⊞ Win+Ctrl+L to instantly enable or disable Live Captions. Alternatively, open Settings, go to Accessibility, and select Captions to use the toggle.
Quick Shortcut
Why use live captions?
Using live captions in Windows 11 makes sure everyone can understand audio, which is great for accessibility. They’re also super handy if you’re in a quiet place like a library and can’t play sound out loud. Windows 11 uses smart tech to help you catch every word.
What happens when you enable live captions?
When you turn on this feature, Windows 11 starts processing audio input from your system or microphone. A caption window will appear on your screen. It will display text as people speak. This happens locally on your device to protect your data privacy.
How to enable or disable live captions
- Press Windows key + I to open Settings.
- Click on Accessibility in the left menu.
- Select Captions on the right side of the screen.
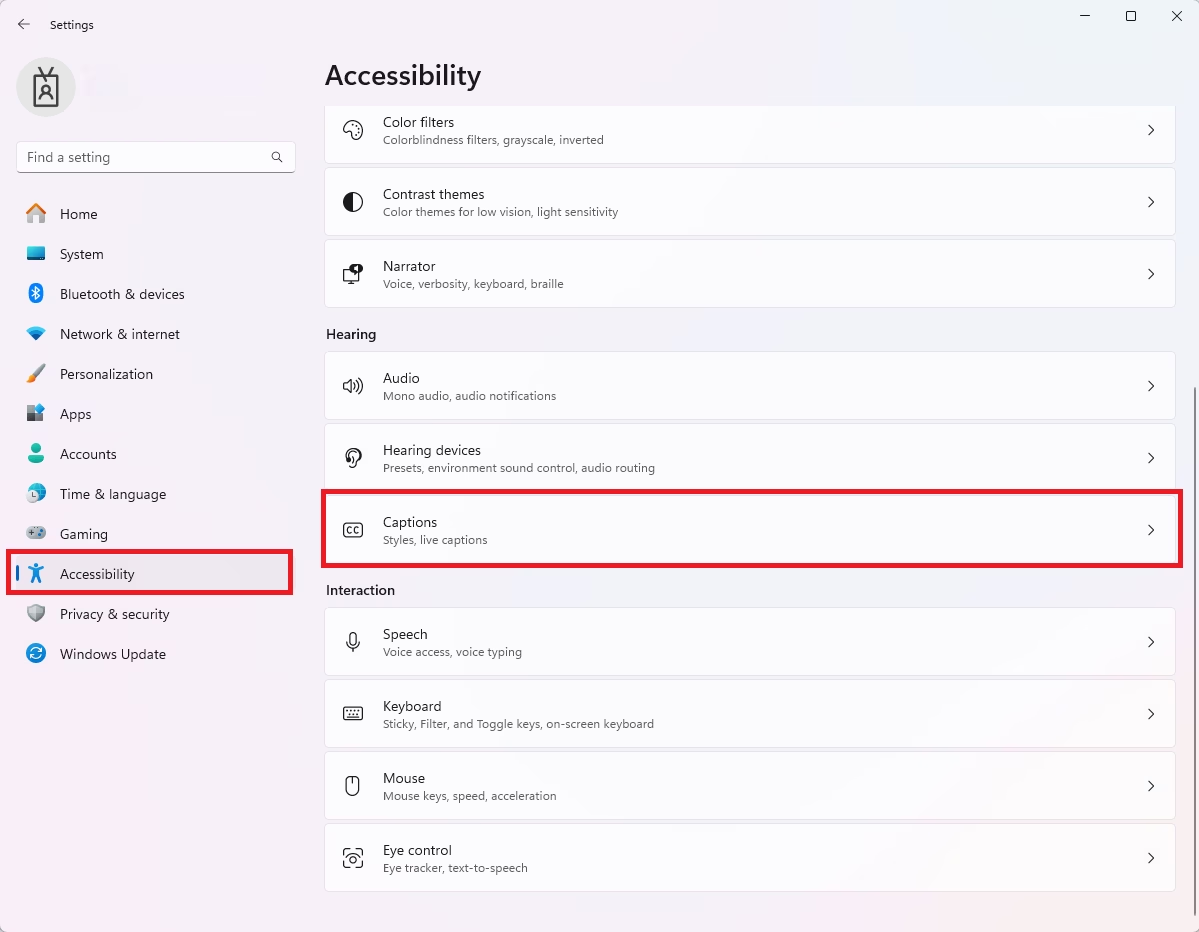
Captions tile Windows 11 - Use the toggle button to turn Live captions On or Off.

Captions button Windows 11
Customizing caption style
Windows 11 lets you change the font, color, and size of your captions so they are easier to read.
- Follow the steps above to reach the Captions menu.
- Click the Edit button next to Caption style.
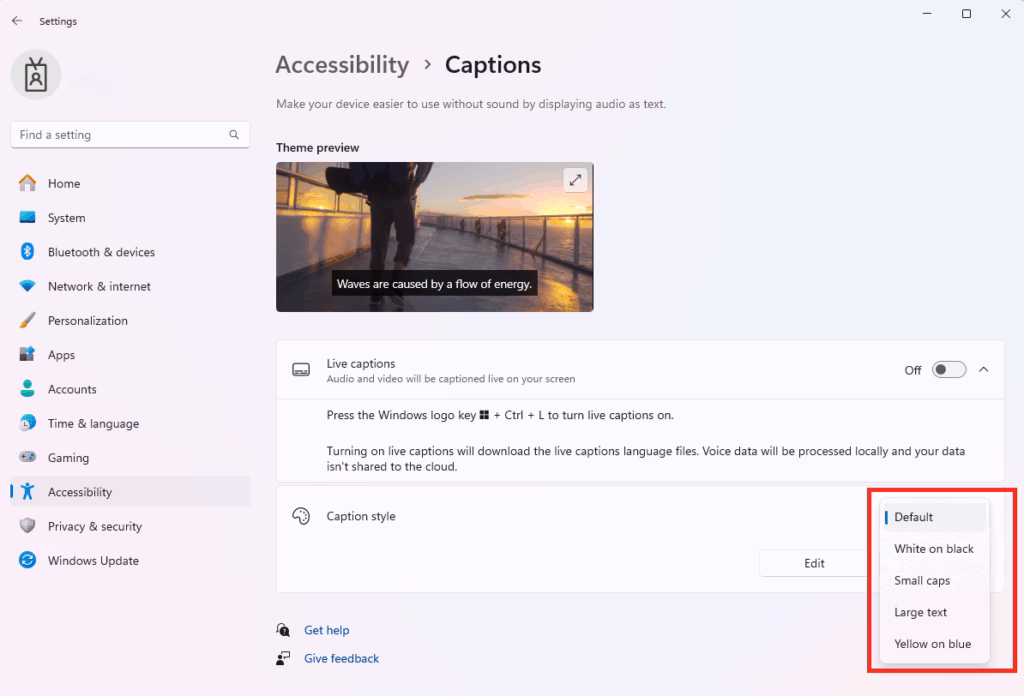
Captions style options - Adjust the text size, color, and background opacity to your liking.
Supported languages
Live captions currently support several languages for transcription. These include:
- English (US)
- Chinese (Simplified and Traditional)
- French
- German
- Italian
- Japanese
- Portuguese (Brazil)
- Spanish
Troubleshooting
If your live captions aren’t showing up in Windows 11, start by checking your microphone input to make sure it’s set up right. Live captions need an app playing sound, so confirm your audio source is active. Sometimes, downloading the correct language pack is also needed for live captions to work properly.
- Microphone Input: Ensure your microphone is selected in your system sound settings.
- Audio Source: Live captions only work if the app is currently playing audio.
- Language Packs: You may need to download the language pack for your specific language in Settings > Time & language > Language & region.
Summary
You can quickly turn live captions on or off in Windows 11 using the Windows key, Ctrl, and L together. These captions help make audio easier to understand, and you can change how they look in your settings to make sure they’re always easy to read.
Does Live Captions work offline?
Yes, Live Captions in Windows 11 works entirely offline. The speech-to-text processing happens locally on your computer using your device’s hardware. This ensures that your audio data remains private and is not sent to the cloud for processing, making it safe for sensitive environments.
How does Live Captions affect system performance?
Live Captions uses your computer’s processor to convert audio to text. On modern PCs, especially those with a dedicated NPU like a Copilot+ PC, the impact is minimal. Older computers might notice a slight increase in CPU usage while the feature is active during heavy multitasking.
Was this guide helpful?

About the Author
Richard
Tech Writer, IT Professional
Richard, a writer for Geek Rewind, is a tech enthusiast who loves breaking down complex IT topics into simple, easy-to-understand ideas. With years of hands-on experience in system administration and enterprise IT operations, he’s developed a knack for offering practical tips and solutions. Richard aims to make technology more accessible and actionable. He's deeply committed to the Geek Rewind community, always ready to answer questions and engage in discussions.

cant turn off cap? it will pop up at all video media? i need to deactivate this app?
I can’t find how to turn this stupid thing off. Always comes on when you really don’t want to see it! Maybe delete some things in the registry might work.
I need to shut it off!!! i tried delete, however it failed they need a fix it ,and to post it after that …on how to fix the problem,. thanks shawn
I can not turn off the live caption on my windows 11
I guess it falls on deaf ears !
delete this post, it’s not right, fake help
I don’t understand what the hell is happening with Windows 11. This shitty Live Captions are keep coming as if we’re all deaf to need it. I can’t find turn-off/disable option. This is irritating, not sure whether Windows know this issue to look into….