How to Enable or Disable Live Captions in Windows 11
You can enable or disable Live Captions in Windows 11 to see spoken audio converted into on-screen text.
Live Captions is an accessibility tool that transcribes audio from any application or your microphone into text displayed directly on your screen.
This feature is incredibly useful for users who are deaf or hard of hearing, or anyone who prefers to read along with content like videos, meetings, or podcasts.
You can toggle Live Captions on or off quickly using the keyboard shortcut Windows key + Ctrl+L.
Once activated, Windows 11 displays text boxes that show detected speech in real-time, enhancing your PC’s usability.
Enable Live Captions by pressing Windows key + Ctrl+L, or by navigating to Settings > Accessibility > Captions. You can also use the Accessibility icon in Quick Settings. To disable, use the same shortcut or toggle the switch off in Settings.
How to Enable Live Captions
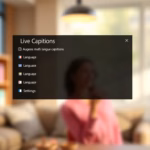
Using Quick Settings
1. Click the Network/Volume/Battery icon in the bottom right corner of your taskbar to open the Quick Settings menu.
2. Click the Accessibility icon (the person icon).
3. Toggle the Live captions switch to On.
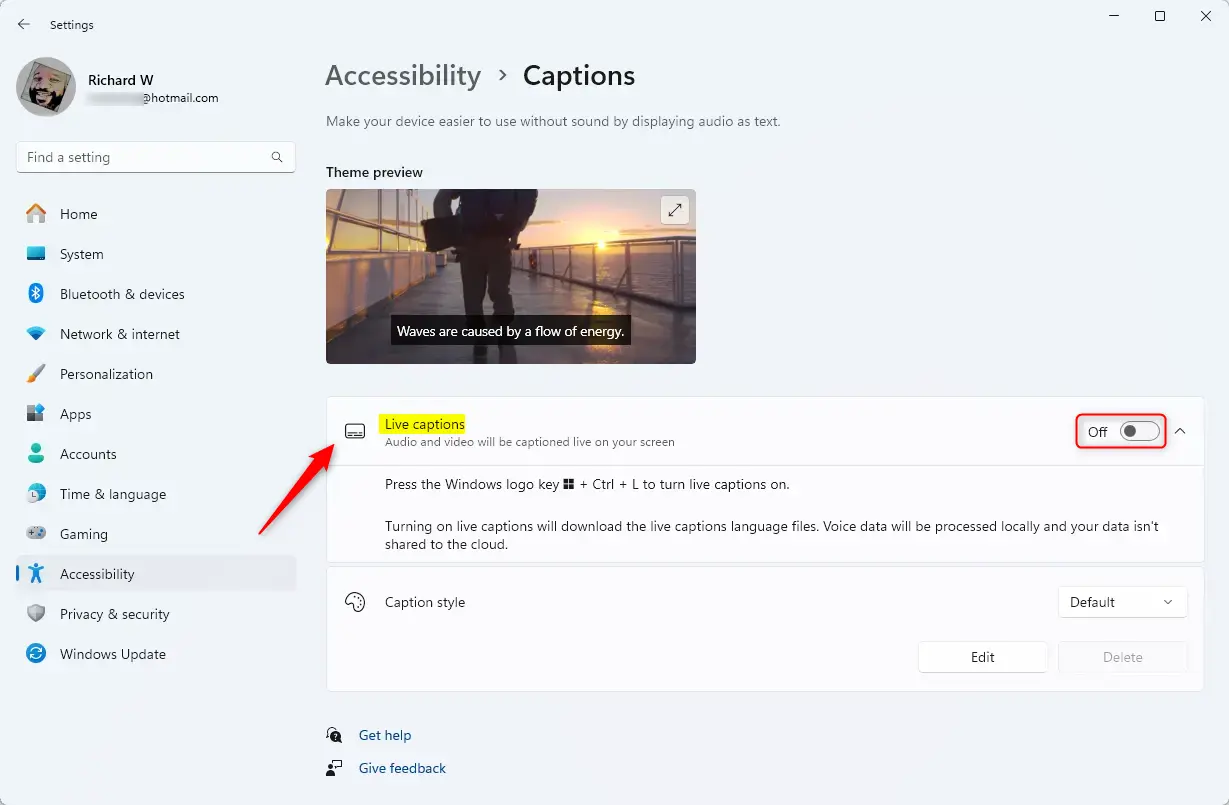
Using the Settings App
1. Press Windows key + I to open the Settings app.
2. Click Accessibility on the left sidebar.
3. Scroll down to the Hearing section and click Captions.
4. Click Live captions and flip the switch to On.


Customization and Personalization
Data Privacy and Processing
Live captions process audio right on your computer. This means your audio data is not sent to the cloud. Everything happens locally on your computer, keeping your conversations private and secure.
Troubleshooting and FAQs
Why isn’t my headset audio being captured?
Does live captions support multiple languages?
Live captions in Windows 11 currently only support English.
Currently, live captions in Windows 11 primarily support US English. While Microsoft is expanding language support for Copilot+ PC features, most standard Windows 11 builds are limited to English. Check the Language settings in the Captions menu to see if additional language packs are available for download.
Summary
You can easily turn live captions on or off in Windows 11 using the Windows key, Ctrl, and L all at the same time.
Was this guide helpful?

About the Author
Richard
Tech Writer, IT Professional
Richard, a writer for Geek Rewind, is a tech enthusiast who loves breaking down complex IT topics into simple, easy-to-understand ideas. With years of hands-on experience in system administration and enterprise IT operations, he’s developed a knack for offering practical tips and solutions. Richard aims to make technology more accessible and actionable. He's deeply committed to the Geek Rewind community, always ready to answer questions and engage in discussions.


On my windows 11 pro I do not have the option to turn off “live captions” and the key combination does not work either.
facing same problem !
have you got any solution?
Turn Off Live Captions using Registry Editor
1. Press the Win + R keys to open Run program.
2. Type regedit to open Registry Editor.
3. Go to HKEY_CURRENT_USER\Software\Microsoft\Windows NT\CurrentVersion\Accessibility by Pasting this string in the address bar
4. Double click in the key Configuration
5. Remove livecaptions from the Value data
6. Press OK
7. Reload registry (any of: reboot, logoff then login, killing Explorer.exe process)
Disable Chrome Live Caption
Launch Google Chrome browser.
Click on the More. for options menu.
Select the Settings menu from the list.
Scroll to the Advanced section, and click to expand.
Under the Accessibility section, and turn OFF the Live Caption toggle button.
You literally just saved me SO MUCH frustration THANK YOU.
This worked for me! Thank you!
its very annoying and i am not able to turn this off eigther
I turned it off, and it’s still off, but live captions still comes up every time a video starts playing. It’s infuriating!
Turning it off in Windows didn’t work for me and I was getting so frustrated! Turned out I needed to disable it in Chrome browser settings under Accessibility. Looks like Peggy Staley had the same solution.