How to Disable Audio Output on Windows 11
You can disable audio output on Windows 11 by switching your default playback device or muting a specific audio device directly in the Sound settings.
Disabling audio output on Windows 11 stops sound from playing through unwanted speakers or headphones. This action saves users the hassle of physically unplugging audio devices, ensuring sound plays only from desired sources.
This is especially useful when you have multiple audio devices connected, such as a monitor with integrated speakers alongside your primary headset.
Windows 11, particularly version 22H2 and newer, makes managing these audio outputs straightforward.
You can disable audio output on Windows 11 through Sound settings by preventing apps from using the device, or by using the Sound Control Panel to right-click and select Disable. This stops sound from playing through unwanted speakers or headphones.
Why disable audio output?
Disabling a sound device stops Windows from sending audio to the specific hardware. This method keeps the sound device connected while temporarily silencing its sound output. This approach provides a quick change to your audio setup without unplugging cables.
What happens when done?
Once you disable a device, it won’t show up as an option for playing sound anymore. The audio device is effectively removed from the list of active sound outputs. You can always turn it back on later by following the same steps.
How to turn off a sound device via Settings
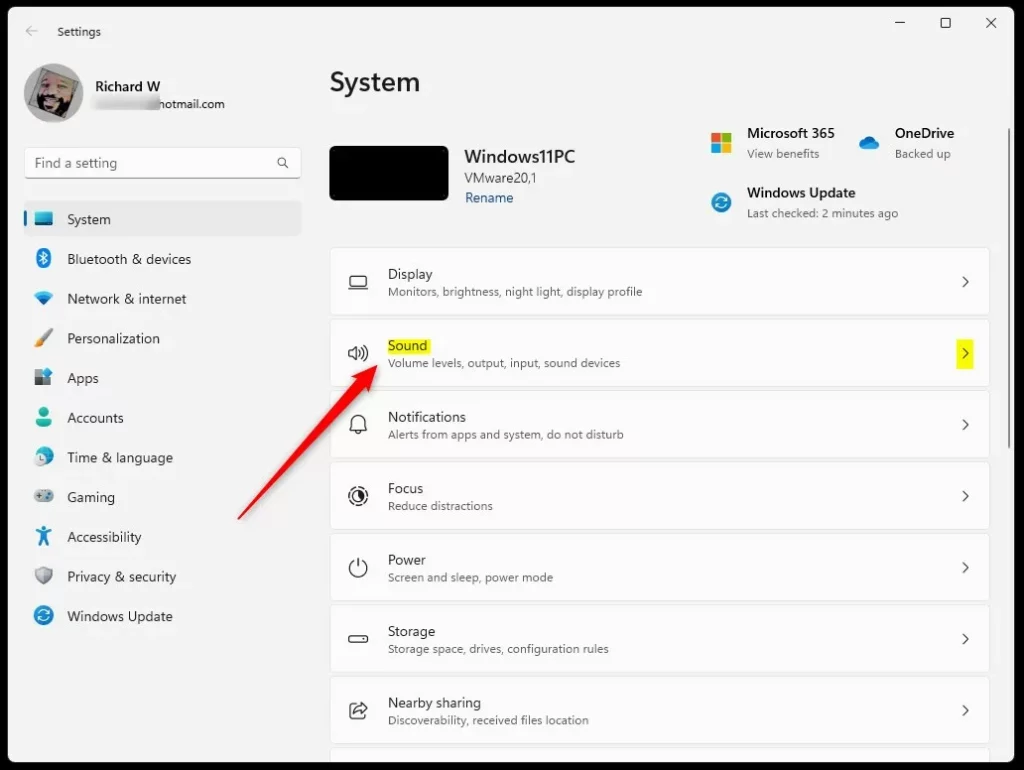
You can disable audio output on Windows 11 using the Settings app to stop a specific sound device from playing any audio. Just open Settings, go to System, then select Sound to find the device you want to turn off and disable it there.
- Open the Settings app. You can press the Windows key + I on your keyboard to open it quickly. Official Microsoft Support
- Click on System in the left menu.
- Select Sound on the right side of the screen.

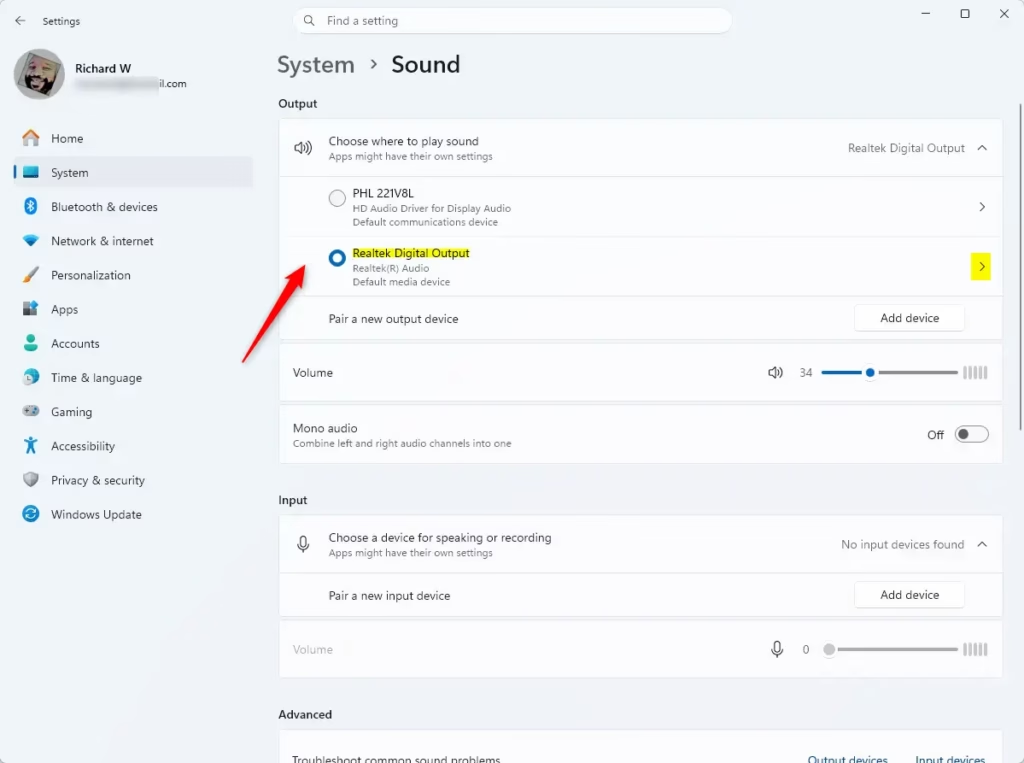
Next, find the device you want to stop.
- Under the Output section, click the small arrow next to the device name.
Now, look for the General settings for that device.
- Find the option that says Allow apps and Windows to use this device for audio.
- Click the Don’t allow button.

Advanced Method: Using the Sound Control Panel
The Sound Control Panel in Windows 11 provides a more direct way to disable audio output, letting you manage your sound devices more permanently. Press Windows key + R, type mmsys.cpl, and press Enter to open it, then right-click the device you want to disable and select ‘Disable’.
- Press Windows key + R, type mmsys.cpl, and press Enter.
- Right-click the device you wish to disable.
- Select Disable.
Advanced Management: PowerShell and Registry
Command-line users can disable audio output on Windows 11 using PowerShell for more granular control over sound devices. This method requires administrator privileges and allows you to disable specific speakers or headphones to prevent sound from playing through unintended outputs. A common command starts with ‘pnputil /disable-‘.
pnputil /disable-device "DeviceInstancePath"
HKEY_LOCAL_MACHINE\SOFTWARE\Microsoft\Windows\CurrentVersion\MMDevices control these settings.How to disable audio output for specific applications
If you only want to mute sound for a single app, don’t disable the hardware. Instead, use the Volume Mixer.
- Right-click the speaker icon in the taskbar.
- Select Open volume mixer.
- Adjust the slider for the specific app to zero or mute it.
Summary
You can easily manage your sound devices in Windows 11 without unplugging hardware, allowing you to disable audio output through the Settings menu or Sound Control Panel when needed.
Why do my disabled audio devices turn back on after a Windows update?
Your disabled audio devices might turn back on after a Windows update because updates can reset audio driver configurations, potentially re-enabling devices by default.
Is there a difference between ‘Don’t Allow’ and ‘Disable’ in 🪟 Windows 11?
Yes. ‘Don’t Allow’ in the Settings app is a user-level toggle that prevents apps from routing audio to that device. ‘Disable’ in the Device Manager or Sound Control Panel stops the hardware driver from communicating with the OS entirely, which is a more permanent and system-wide restriction.
Was this guide helpful?

About the Author
Richard
Tech Writer, IT Professional
Richard, a writer for Geek Rewind, is a tech enthusiast who loves breaking down complex IT topics into simple, easy-to-understand ideas. With years of hands-on experience in system administration and enterprise IT operations, he’s developed a knack for offering practical tips and solutions. Richard aims to make technology more accessible and actionable. He's deeply committed to the Geek Rewind community, always ready to answer questions and engage in discussions.


My audio divices dissapear from the list when i disable them so i cant turn them back on …
I had the same issue, you can find them here:
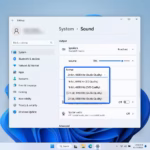
System > Sound > Advanced > All sound devices
I cant allow my soundbar and it also shows disconnected in Sound Options under Control Panel even though its paired on my Bluetooth devices