How to Configure Text Prediction in Windows 11 Inking and Typing Personalization

Text prediction in Windows 11 guesses the words you want to type next and shows them right above your cursor to help you type faster. As you press keys, Windows looks at your text and offers matching words. You can insert one with a single click or a press of the spacebar.
Inking and typing personalization goes a step further. It studies your personal dictionary, handwriting samples, and daily typing habits so your computer can learn your vocabulary and tailor suggestions to your style. This also helps cut down on spelling mistakes. Everything below is per user account, so your settings do not change anything for other people on the same PC unless you use Group Policy.
Open Settings , press Win+I, then click Time & language Typing. Toggle on Show text suggestions when typing on the physical keyboard. For deeper personalization, go to Time & language Inking & typing personalization and enable Custom dictionary so Windows learns your frequent words.
How to Open the Typing Settings Menu in 🪟 Windows 11
The Typing page in Settings is where you control text prediction, autocorrect, and typing insights. You reach it through Settings Time & language > Typing. The quickest way in is to press the Win+I, which opens Settings directly. Then click Time & language in the left sidebar and select Typing. The steps below cover the same route by mouse.
- Click the Start button at the bottom of your screen.
- Click the Settings app icon, which looks like a small gear. (You can also press the Win+I on your keyboard to open Settings instantly.) The Settings window opens.

Settings - In the Settings window, click Time & language in the left side menu. The language, date, and time options appear on the right.

Settings › Time & language - Click Typing on the right side of the screen.
You are now on the Typing page. You will see several switches and options for your keyboard and text features, and the rest of this tutorial starts from here.
How to Turn on Text Suggestions in 🪟 Windows 11
Text suggestions are what make Windows guess your next word while you type. The switch for them lives on the Typing page. Once it is on, word predictions appear near your typing as you write on a physical keyboard.
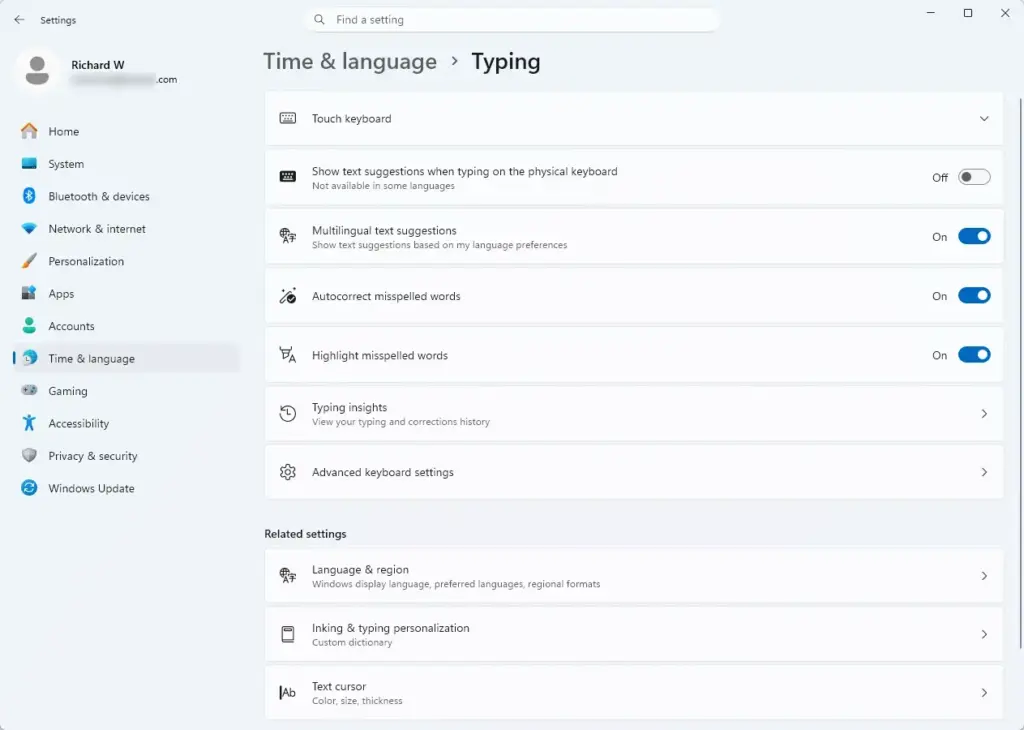
- Open the Settings app and go to Time & language Typing
- Find the option labeled Show text suggestions when typing on the physical keyboard.
- Click the switch next to this option to set it to On. The switch moves to the right and the label changes to On.
If you want extra help, also turn on the switch for Autocorrect misspelled words. This fixes common typing errors automatically as you type.
Now open a program like Notepad, Word, or an email app and start typing. Word suggestions should pop up near your typing area. To undo this, set the same switches back to Off. No restart is needed. Some apps draw their own text boxes and may not show suggestions, so test in more than one program before you assume something is wrong.
How to Manage Inking and Typing Personalization Settings
Inking and typing personalization controls how much data Windows gathers from your handwriting and typing to improve suggestions. In this tutorial the page is reached from Time & language. There you can use your custom dictionary or clear what Windows has learned. If you do not see the page there, your build of Windows 11 may place it under Settings Privacy & security instead, so check that location too.
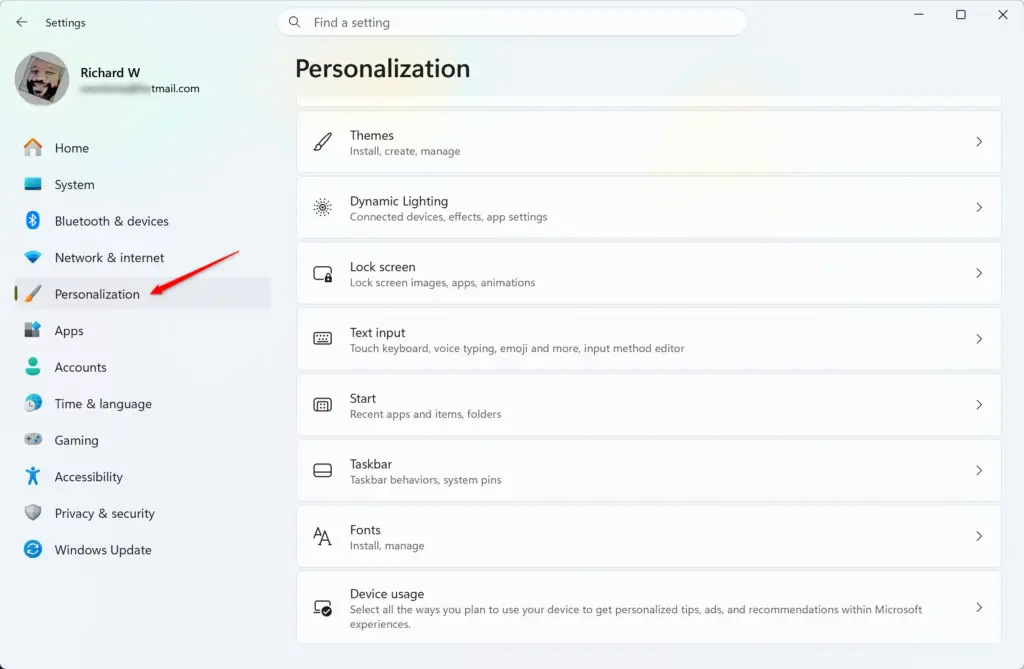
- Open the Settings app and go to Time & language.
- Click Inking & typing personalization. The page with your dictionary and data options opens.
Here you will see an option called Custom dictionary. Turn it on so Windows remembers words you type often, such as names or special terms. Turn it off if you would rather Windows not keep that list.
This cannot be undone. Windows will simply start learning your words again from scratch as you type. If the button is missing or greyed out on your PC, there is nothing stored to clear, or your build does not offer it.
Clearing your personal dictionary is helpful if you share your computer with someone else and want to reset the suggested words.
Alternative Method: Configuring Typing Insights via the Settings App
Typing insights shows stats about your typing habits, such as words fixed by autocorrect or time saved. You manage it from the Typing page in Settings. This method works on both Windows 11 Home and Pro. It does not require administrator privileges and only applies to your own user account.
- Open the Settings app by pressing Windows Key + I.
- Go to Time & language and select Typing.
- Scroll down and click Typing insights. The typing insights options expand or open.
- Toggle the switch to turn Typing Insights On or Off depending on your preference.
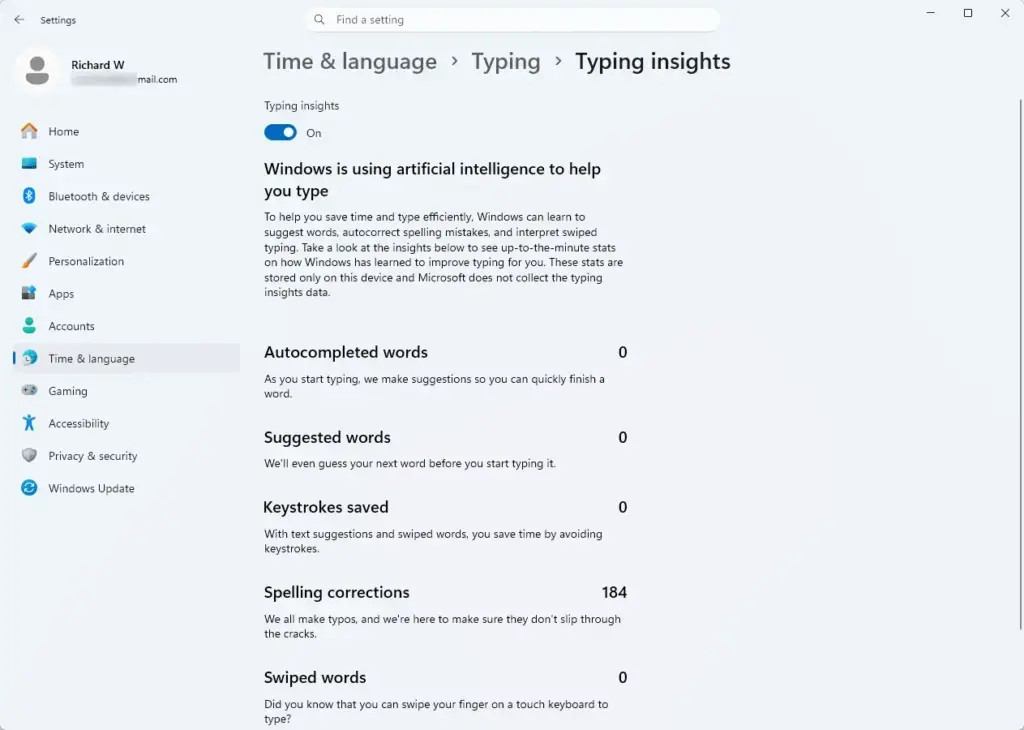
Settings › Time & language › Typing › Typing insights
To undo the change, flip the same switch back.
Alternative Method: Configuring Typing Insights via the Windows Registry
The Registry Editor gives advanced users a direct way to change the typing insights setting. Use it only if the Settings app is not an option for you. Incorrect edits can cause system instability, so back up first. In Registry Editor, you can do that with File Export, which saves a copy of the registry to a file you can double-click later to restore it.
⚠️ Warning: Making mistakes in the registry can cause system issues. Always back up your registry before making changes.
- Press the Windows Key + R to open the Run dialog box.

Run dialog - Type regedit and press Enter. (Admin privileges required.) If a User Account Control prompt appears, click Yes. The Registry Editor window opens.
- In the Registry Editor window, use the left sidebar to navigate to the following path:
HKEY_CURRENT_USER\Software\Microsoft\Input\Settings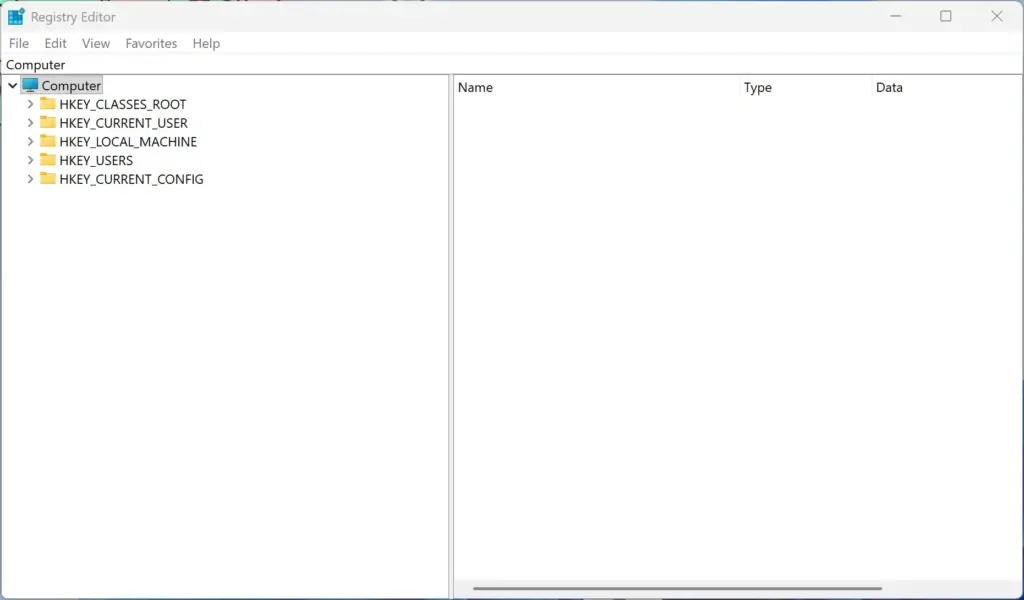
Registry Editor - Look for a value named InsightsEnabled on the right side.
- If the value does not exist, right-click an empty space on the right side and select New DWORD (32-bit) Value. Name it InsightsEnabled.
- Double-click InsightsEnabled and change its value data to 1 to turn it on, or 0 to turn it off.
- Click OK and close the Registry Editor.
If the setting does not seem to change, sign out and back in, or restart the PC. To undo the edit, set the value back to its previous number, or import the backup you exported.
Alternative Method: Configuring Typing Insights via PowerShell
PowerShell lets administrators and advanced users switch typing insights on or off from the command line, with no clicking through Settings. You need an elevated window for this, which means one opened with Run as administrator. This is handy for scripting or for changing the setting on several PCs.
- Click the Start button, type PowerShell, and select Run as administrator. (Admin privileges required.) Click Yes if User Account Control asks for permission. A PowerShell window opens.
- To enable Typing Insights, type the following command and press Enter:
Set-ItemProperty -Path "HKCU:\Software\Microsoft\Input\Settings" -Name "InsightsEnabled" -Value 1 -Type DWord - To disable Typing Insights, type this command and press Enter:
Set-ItemProperty -Path "HKCU:\Software\Microsoft\Input\Settings" -Name "InsightsEnabled" -Value 0 -Type DWord
Run only one of the two commands. The other one is how you undo it. If the change does not show up in Settings right away, close and reopen Settings, or sign out and back in.
Alternative Method: Configuring Typing Insights via Local Group Policy
Local Group Policy lets you manage typing features centrally on a system or across a network. It is only available on Windows 11 Pro, Enterprise, and Education. Windows 11 Home does not include the Local Group Policy Editor, so use the Settings app on Home. Policies set here override the matching choices in Settings.
- Press the Windows Key + R, type gpedit.msc, and press Enter. (Admin privileges required.) The Local Group Policy Editor opens.
- In the Group Policy window, use the left sidebar to browse your system folders.
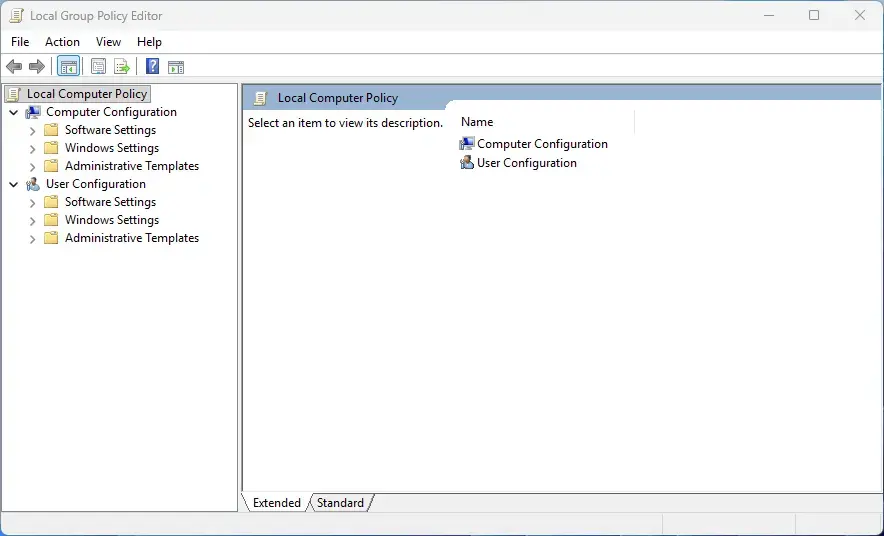
Group Policy Editor - Locate the policy settings related to typing personalization and text suggestions. The policies appear in the right pane when you select a folder.
- Double-click the policy rule to open its configuration window.
- Select Enabled or Disabled to change the setting, then click Apply and OK.
A policy change may not take effect until you sign out and back in or restart. To undo it, open the same policy and select Not Configured, which hands control back to Settings.
Pro Tips for Managing Your Typing Experience
A few habits make typing predictions more accurate and keep your data under your control. Review your language settings, and decide how much Windows is allowed to remember about your writing.
- Multilingual Typing: If you type in more than one language, add all your languages in Time & language Language & region. Windows provides accurate text predictions for each individual language you use.
- Privacy Protection: If you are worried about privacy and do not want Windows to remember words you type in private chat windows or secure fields, turn off the personal dictionary and inking personalization features completely. You can turn them back on later, though Windows will have to relearn your words.
Summary
Configuring text prediction and inking and typing personalization in Windows 11 helps you type faster with fewer spelling errors. The Settings app is the simplest way to turn on text suggestions, manage your personal dictionary, and view typing insights. The registry, PowerShell, and Group Policy methods are there for advanced users and for centralized control across multiple computers. Whichever one you pick, you can reverse the change by setting it back the way you found it.
Have a question about this guide?
Answered by AI from this guide. Good questions may be added to this page — please don't include personal details.
Did this guide fix your problem?

About the Author
Richard
Tech Writer, IT Professional
Richard is a writer at Geek Rewind who turns complex IT tasks into clear, step-by-step guides. He draws on years of hands-on experience in system administration and enterprise IT operations, focusing on Windows, Linux and WordPress: the problems people actually run into, and the fixes that work. His server and WordPress guides come from systems he runs himself. Richard builds and maintains the platform behind Geek Rewind, from its Ubuntu servers and Nginx configuration to its custom WordPress plugins. Many new tutorials start with readers' questions, and he's always glad to answer them in the comments.
No comments yet — be the first to share your thoughts!