How to Clear the Recommended Section in the Windows 11 Start Menu

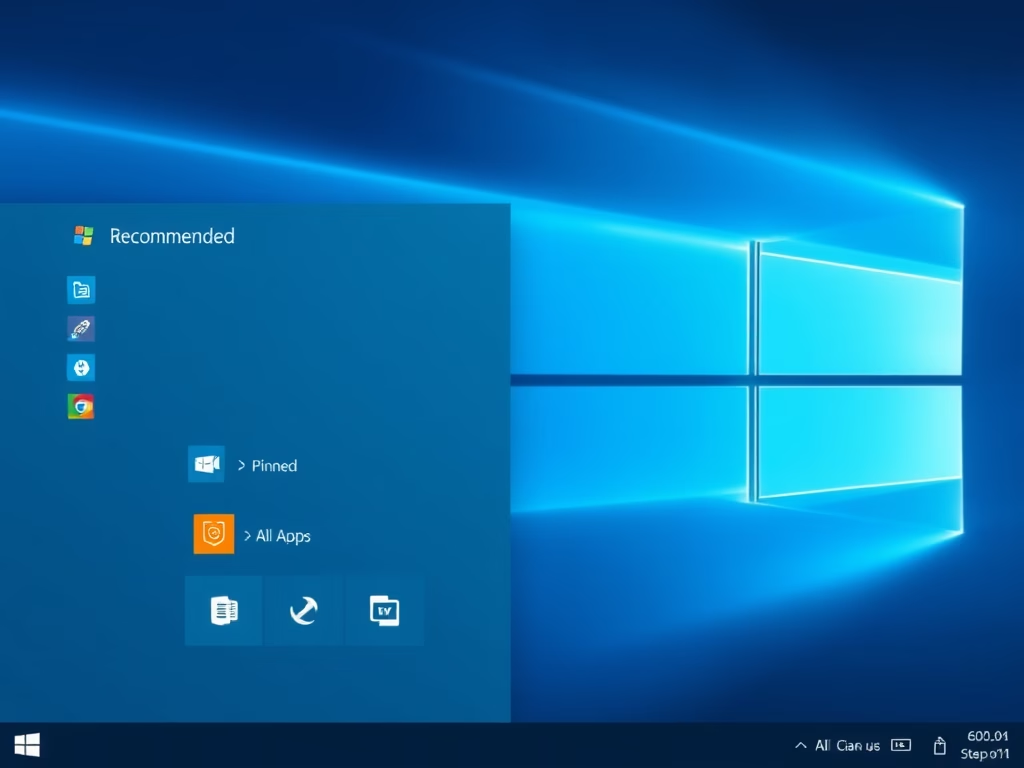
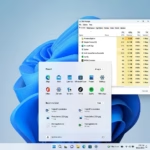
The Recommended section in the Windows 11 Start menu sits at the bottom of the menu. It shows a live feed of recently opened files, newly installed apps, and cloud documents. Windows builds this list from your activity history to guess what you want to open next.
You can turn these suggestions off in Settings to keep the Start menu clean and private. Once they are off, Windows stops showing your latest app activity and recent files in plain sight. No restart is needed, and you can reverse every change later.
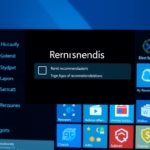
Open Settings , go to Personalization Start, and turn off Show recently added apps, Show recently opened items in Start, Jump Lists, and File Explorer , and Show recommendations for tips, shortcuts, new apps, and more. The Recommended section empties immediately.
What Is the Start Menu Made Of?
The Windows 11 Start menu has three parts that help you reach programs and files quickly:
- Pinned – apps you choose to keep handy
- All apps – a list of all your installed programs
- Recommended – shows your recently added apps, files, and websites
The panel stays on the Start menu even when you switch everything off. What you can do is stop it from filling up. With the options below turned off, the list stays empty, and previously opened files and apps no longer appear in it.
Menu wording can differ slightly between builds, so if a label on your PC is a little different, pick the closest match.
Steps to Clear the Recommended Section
- Open Settings . Press
Win + Ion your keyboard. The Settings window should open. - Go to Personalization. Click Personalization in the left-hand menu. Then click Start on the right. You should now see the Start options, including layout choices and several switches.
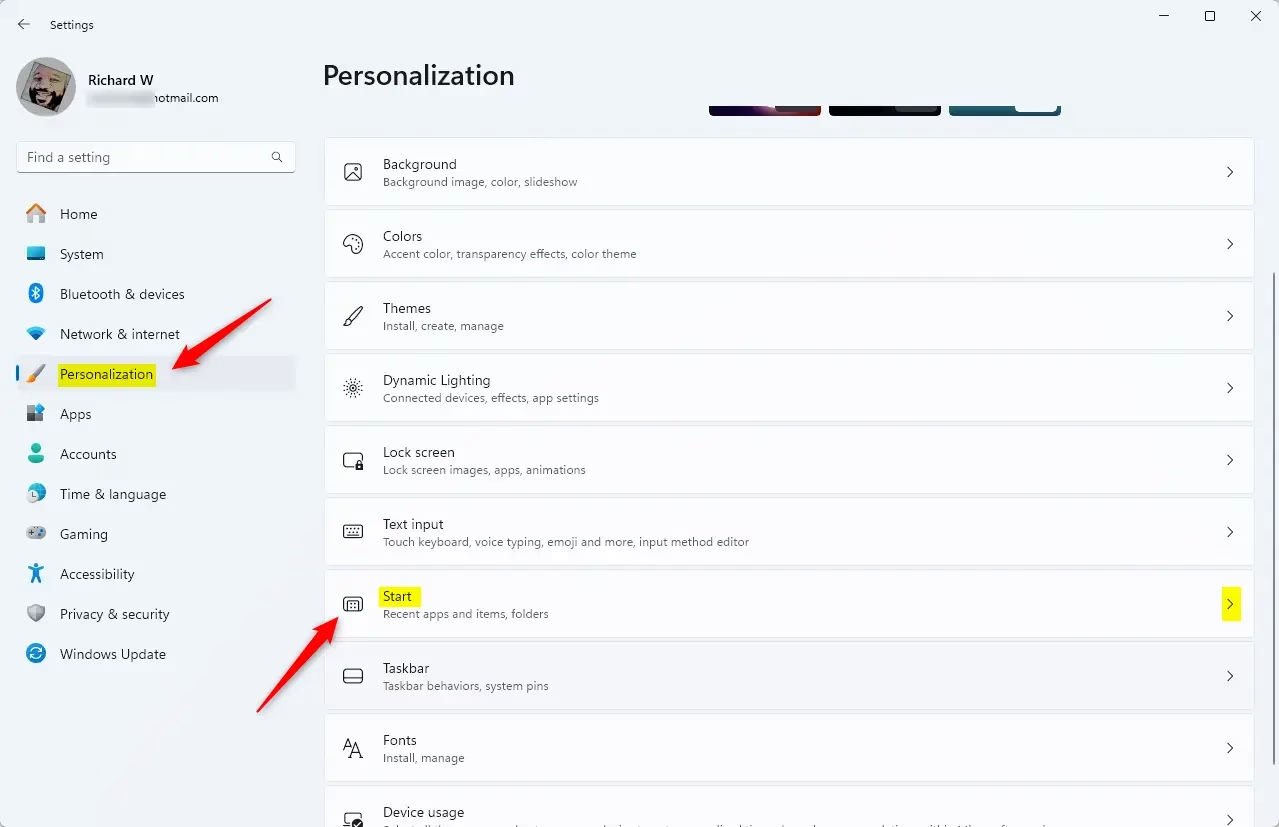
Windows 11 Personalization settings for Start menu size options. - Change the layout. Under Layout, select More pins. The Recommended section gets smaller and the Pinned area gets more room. This step is optional, but it makes the Start menu look much cleaner. To undo it, choose Default here.
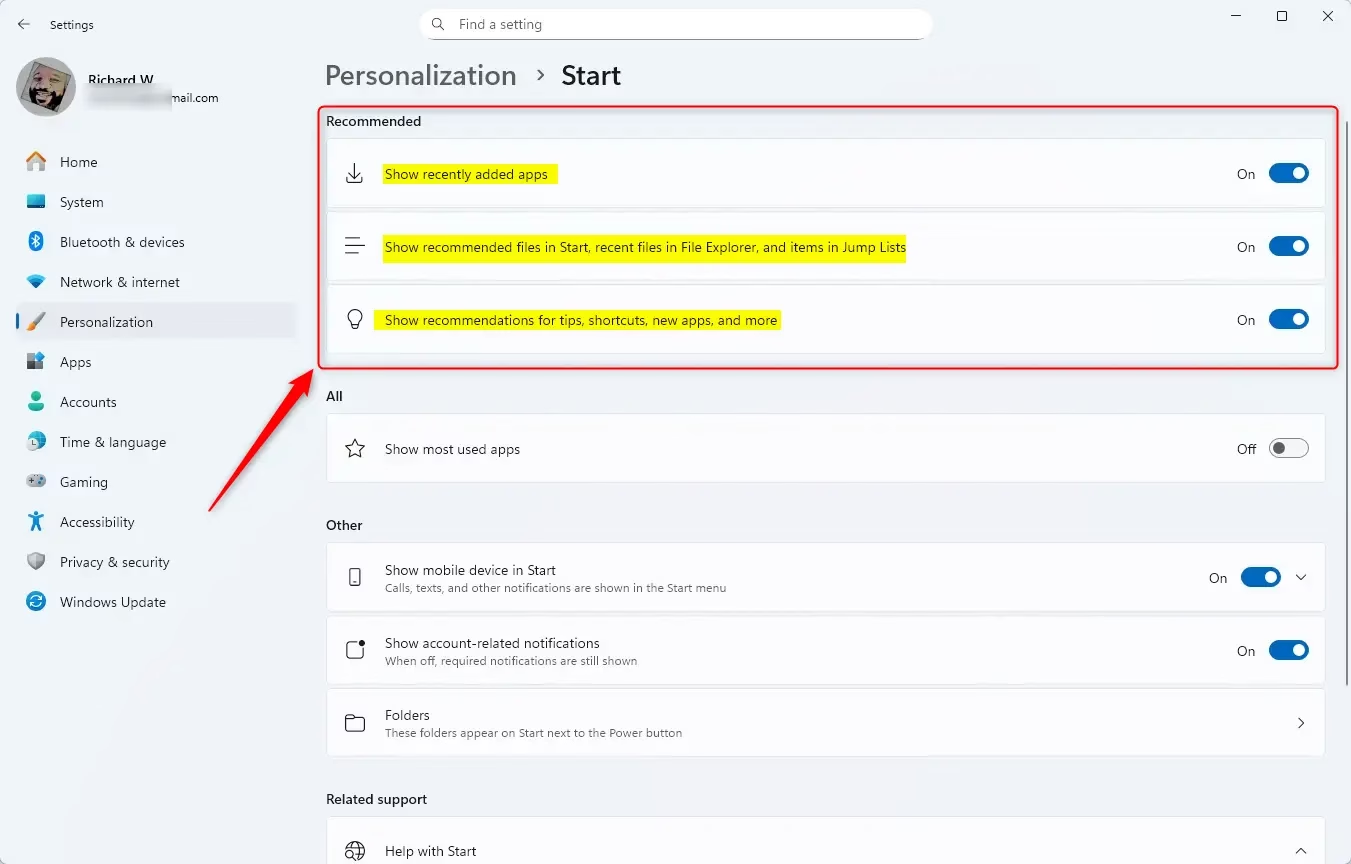
Windows 11 Start menu toggles to clear Recommended section - Turn off the options. Click each switch so it reads Off for these three options:
- Show recently added apps
- Show recently opened items in Start, Jump Lists, and File Explorer
- Show recommendations for tips, shortcuts, new apps, and more
Disable recently added apps and recommendations Windows 11 - Close Settings. Close the Settings window when you are done. Open the Start menu to check the result.
If a switch is greyed out, your PC is probably managed by an organization, such as a work or school account, and a policy is controlling it. In that case, ask your IT administrator. To bring the suggestions back, return to the same page and turn the switches back On.
What Happens When You're Done?
With these options off, the Recommended section stops showing recent apps, files, or websites, and it stays empty. The Start menu looks cleaner and less busy. Windows also stops surfacing your recent activity there, which helps if other people use or look at your screen.
Want to Learn More?
If you want to learn more about customizing the Windows 11 Start menu, you can visit the official Microsoft guide here: Customize the Windows 11 Start Menu.
Summary
- Open Settings and go to Personalization Start
- Set the layout to More pins to shrink the Recommended area
- Turn off all the options to stop showing recent apps, files, websites, and tips
- Turn the switches back on at any time if you want the suggestions back
Was this guide helpful?

About the Author
Richard
Tech Writer, IT Professional
Richard is a writer at Geek Rewind who turns complex IT tasks into clear, step-by-step guides. He draws on years of hands-on experience in system administration and enterprise IT operations, focusing on Windows, Linux and WordPress: the problems people actually run into, and the fixes that work. His server and WordPress guides come from systems he runs himself. Richard builds and maintains the platform behind Geek Rewind, from its Ubuntu servers and Nginx configuration to its custom WordPress plugins. Many new tutorials start with readers' questions, and he's always glad to answer them in the comments.
No comments yet — be the first to share your thoughts!