How to Change System Locale in Windows 11
Changing the system locale in Windows 11 makes older programs show text correctly, especially those made before modern standards like Unicode.
The system locale acts like a language setting for your computer’s regional information, telling old software how to understand characters and number formats. This helps stop text from appearing as jumbled symbols.
This change is important for programs made before Unicode was widely used. For instance, if you use software from the Windows XP days, updating the system locale ensures it displays characters, like those in certain European languages, without issues.
After you change the system locale in Windows 11, your PC will process text in older apps properly. This setting applies to everyone using the computer, and you’ll need to restart your PC for the change to take effect.
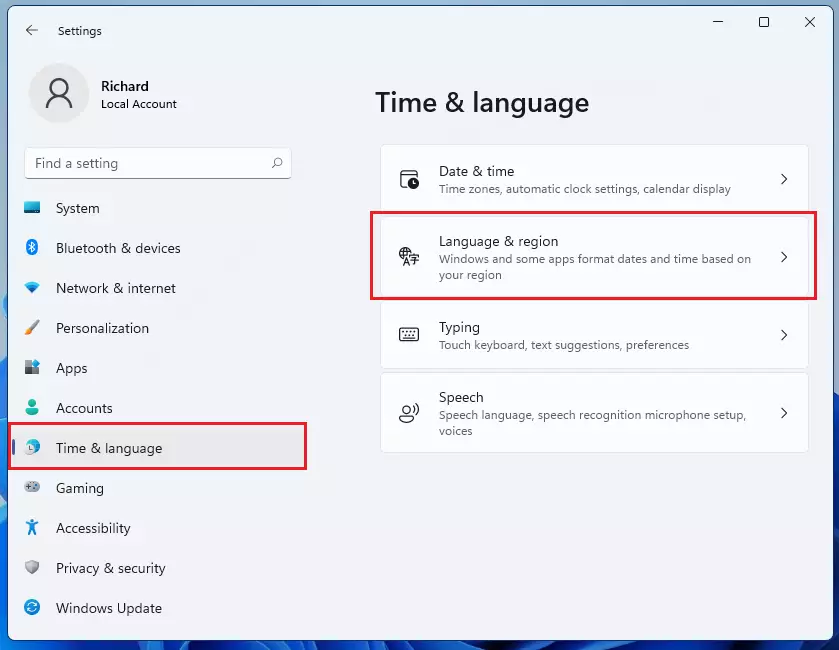
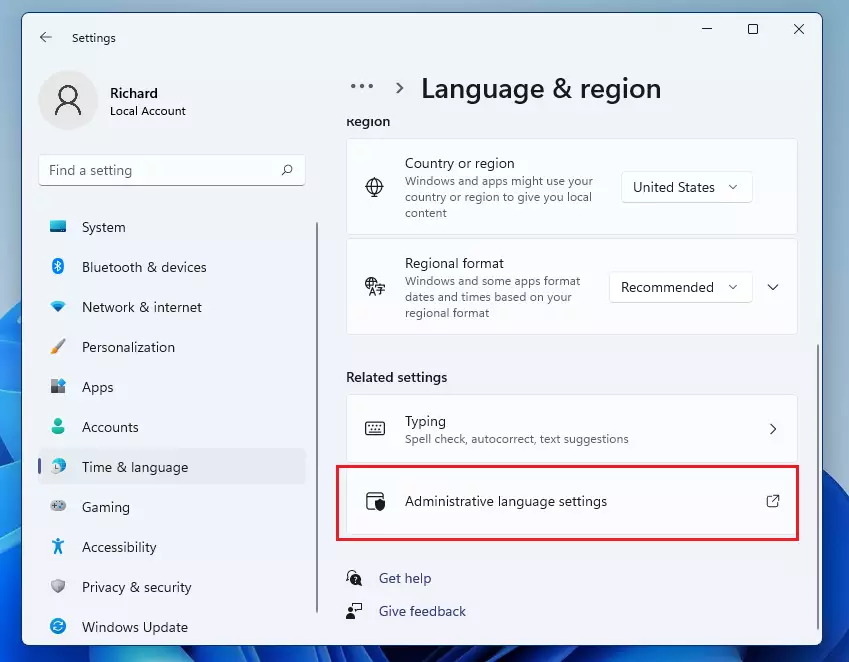
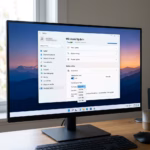
Open Settings, go to Time & Language, then Language & Region. Click Administrative language settings and select the Administrative tab. Choose Change system locale, pick your desired language, and click OK, then restart your PC.
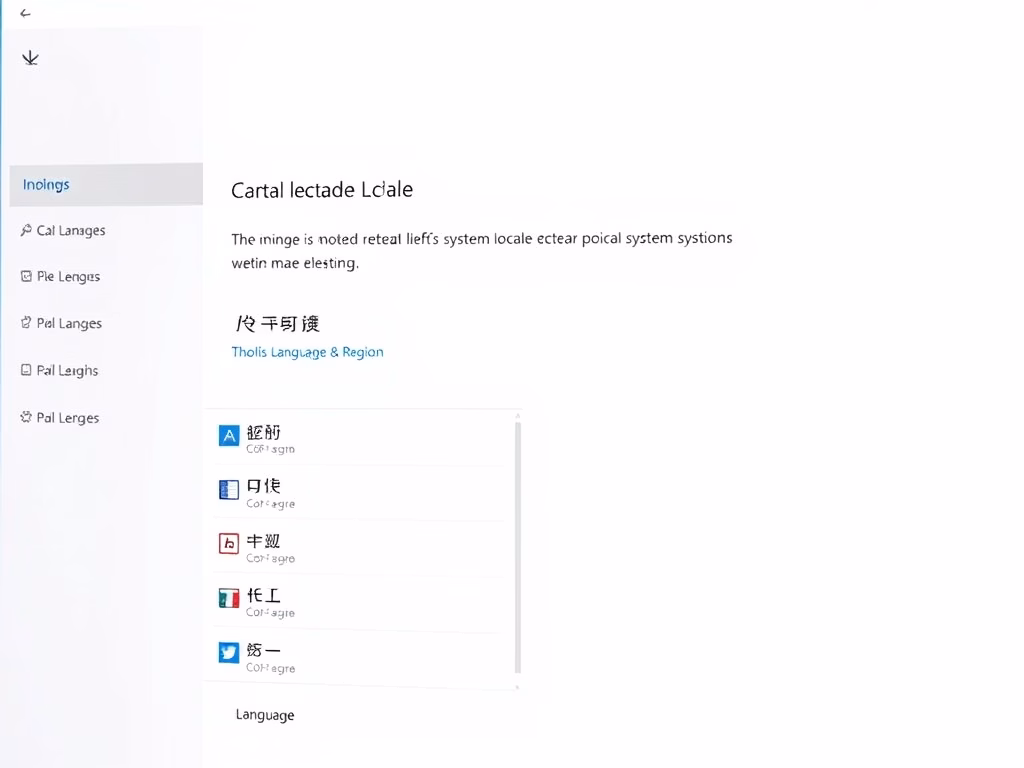
Difference Between Display Language and System Locale
Your display language changes what you see on Windows menus and buttons, while the system locale helps older programs understand text.
How to Change System Locale via Control Panel
You can change your system locale in Windows 11 using the Control Panel by selecting your preferred language and restarting your computer. This is a direct way to adjust regional settings for apps that need them. Select your language, click OK, and then restart.
- Choose your preferred language from the list provided, then click OK.
- Once you finish, you will be prompted to restart your computer. You must restart for the new settings to take effect.
- If you want to use the latest global language support, you can check the box for BETA: Use Unicode UTF-8 for worldwide language support.
- A new window will open. Under the Administrative tab, click the Change system locale button. Note: This step requires admin privileges.
- Scroll down to the bottom of the page. Look for the Related settings section and click on Administrative language settings.
- In the Settings menu, click on Time & Language. Then, select Language & Region on the right side of your screen.
- Open your Settings by pressing the Windows key + I on your keyboard, or click Start and select the Settings gear icon.


Advanced Method: Using PowerShell
Power users can change the system locale in Windows 11 using PowerShell commands. This advanced method allows for programmatic control over regional settings, which is useful for automating setups or performing bulk changes. Remember, executing PowerShell commands to alter system settings requires administrator privileges.
You’ll replace ‘en-US’ with your desired locale code. (This involves using the Windows Registry editor.) This command updates the administrative language settings on your Windows 11 computer, allowing programs to use the correct language for displays and input methods.
Troubleshooting Common Issues
If you encounter issues after changing the system locale, like unreadable menus or scrambled text in old apps, ensure the locale matches the software’s original region.
Summary
Changing your system locale helps older programs, which struggle with modern text standards, display characters correctly and run without errors.
Will changing the system locale change my Windows display language?
No, changing the system locale does not change your Windows display language; it only affects how older programs interpret text, and you must change display language settings separately.
Why do some games or legacy apps require a specific system locale?
Some older games and apps need a specific system locale because they use older text encoding methods that don’t work with modern Unicode standards.
Does changing the system locale require a system restart?
Yes, changing the system locale requires a system restart because the changes are deeply integrated into Windows and affect how all applications handle character data.
Was this guide helpful?

About the Author
Richard
Tech Writer, IT Professional
Richard, a writer for Geek Rewind, is a tech enthusiast who loves breaking down complex IT topics into simple, easy-to-understand ideas. With years of hands-on experience in system administration and enterprise IT operations, he’s developed a knack for offering practical tips and solutions. Richard aims to make technology more accessible and actionable. He's deeply committed to the Geek Rewind community, always ready to answer questions and engage in discussions.


Yes, that was what I tought first to do without that little tutorial. But it that not doing that. Also if I want to run a program with another UNICODE language, that do not mean that the whole system must be in the local UNICODE language. So..it is not completly correct and also do not work so simply.
But thanks..
And sorry for my bad english. I am a little bit stressed becouse my programs from other countries worked under windows 10 perfectly fine and in the upgrade report was nothing written about that there will be unicode system changes.
[…] you click Next, your current Windows 11 local account will switch to this Microsoft […]
[…] Regional format settings influence how dates, times, numbers, and currencies are displayed on your computer according to your locale. Windows supports a variety of languages, plus currency and date/time formats for the countries/regions that use those languages. […]
[…] Regional format settings influence how dates, times, numbers, and currencies are displayed on your computer according to your locale. […]
[…] Regional format settings control how your computer shows dates, times, numbers, and currency based on where you live. […]
[…] Regional format controls how Windows shows dates, times, numbers, and money based on your country or language. For example, some places use a comma (,) as a decimal point while others use a dot (.). […]