How to Back Up Your Accounts in Microsoft Authenticator

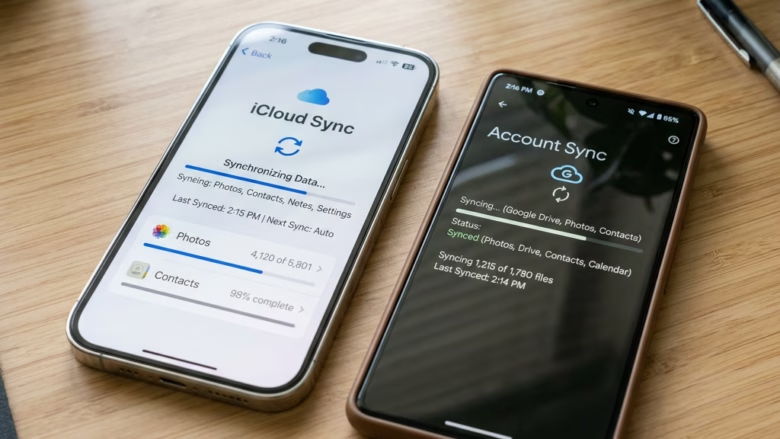
Cloud backup in Microsoft Authenticator saves your two-factor sign-in codes to a personal Microsoft account or work account, so you can restore them on a new phone in minutes. The built-in feature protects your login credentials with strong encryption, which stops unauthorized access while keeping your data safe.
Turn on cloud backups in the app before you lose or replace your phone. Once the old phone is gone, you can’t switch the backup on, and you would have to add every account back by hand.
Open Microsoft Authenticator and go to Settings , then turn on Cloud Backup. On iPhone, first enable iCloud Drive, iCloud Keychain, and iCloud Backup in Settings, then switch on Authenticator in iCloud’s app list. Your two-factor codes sync to your Microsoft account and restore on any new device.
Step 1Enable iCloud Drive
iCloud Drive is the first requirement for saving your Microsoft Authenticator backup on an iPhone or iPad. Without it, the other iCloud features in this guide have nothing to work with. You switch it on in the iCloud section of your device settings.
- Open the Settings app on your iPhone or iPad.
- Tap your Apple ID banner at the top. This opens your Apple Account page.
- Select iCloud. You should see your storage bar and a list of apps that use iCloud.
- Turn on the switch for iCloud Drive. The switch should turn green.
To undo the change later, switch it off again in the same place. Do that only if you no longer need the backup.
Step 2Enable iCloud Keychain
iCloud Keychain lets Apple securely manage your saved passwords and login data. It is part of the Microsoft Authenticator backup setup on iOS. Go back to the main Settings screen and turn on the Keychain option from the iCloud page.
- Go back to the main Settings screen.
- Tap your Apple ID banner.
- Select iCloud.
- Find Passwords & Keychain (it is called just Keychain on older iOS versions) and turn it on.
- If iOS asks whether to merge your data with iCloud, accept the prompt. This synchronizes information across your devices.
If you have questions about how synchronization works, Apple’s official help pages cover it in detail. If you are asked for your Apple ID password or device passcode, enter it. Apple uses it to protect the Keychain data.
Step 3Enable iCloud Backup
iCloud Backup saves your whole device automatically, including the app data needed for a Microsoft Authenticator backup. Check that the main switch is on.
- Go to Settings > your Apple ID > iCloud.
- Scroll down and tap iCloud Backup.
- Make sure the iCloud Backup switch is on.
Practical Tip: iCloud runs automatic backups when the device is connected to Wi-Fi, plugged into a charger, and locked. To force an immediate save, tap Back Up Now on this screen and stay on Wi-Fi until it finishes. If the backup fails, check that you have enough free iCloud storage. A full account is a common reason backups stop.
Step 4Enable Authenticator in Your iCloud Saved List
The Authenticator app also needs its own switch turned on in your iCloud settings. This makes iCloud include your Microsoft Authenticator data in its archives.
- Go to Settings > your Apple ID > iCloud.
- Under "Apps Using iCloud," tap Show All if you don't see the full list.
- Look for Authenticator and make sure its switch is on (green).
Important Note: If Authenticator doesn't appear in the list, your iOS or the app itself is probably out of date, so update both from the App Store and check again. Major iOS upgrades can also turn the switch off, so check it again after one.
Backing Up Your Accounts on an Android Device
Android uses native cloud backups, which send your account data straight to a personal Microsoft account. You don't need to set up any separate platform services, so it takes fewer steps than the iOS method.
Step 1Open Authenticator Settings
Start by opening the app so you can reach its storage controls. Menu layouts shift a little between app versions, so if something looks different, look for the same Settings entry.
- Open the Microsoft Authenticator app on your Android device.
- Tap the three lines (hamburger menu) in the top-left corner.
- Select Settings from the menu. The Settings screen should now open.
Step 2Turn On Cloud Backup
The backup switch is on the Settings screen. Turning it on is what starts the cloud backup.
- In the Settings menu, find the Cloud Backup toggle.
- Tap the toggle to turn it on. It should change color (green or blue) to show it is active.
If you ever want to stop backing up, tap the same toggle again to turn it off.
Step 3Select Your Backup Account
Choosing a personal account links your login details to the cloud, so you can restore your codes later. Pick an account you will still be able to sign in to after you lose or replace the phone.
- If you haven't set up a backup account before, the app asks you to select one. Choose the personal Microsoft account you want to use.
- If you already have a backup, you may see an option to Change account. Use it to switch accounts, or confirm the current one.
- Tap OK to confirm your choice and start the backup.
If you select the wrong credentials, the old archives are deleted and you have to restart the configuration.
Check the backup status from time to time. The app shows a timestamp for the last successful backup. If the process stalls, or the last backup is more than 24 hours old, restart it manually and check your internet connection.
Summary
These preparations take only a few minutes and spare you a lot of stress later. When you move to a new phone, you can get back into your critical online services quickly. On the new phone, open Authenticator and use the recovery option, signing in with the same account you used for the backup.
Did this guide fix your problem?

About the Author
Richard
Tech Writer, IT Professional
Richard is a writer at Geek Rewind who turns complex IT tasks into clear, step-by-step guides. He draws on years of hands-on experience in system administration and enterprise IT operations, focusing on Windows, Linux and WordPress: the problems people actually run into, and the fixes that work. His server and WordPress guides come from systems he runs himself. Richard builds and maintains the platform behind Geek Rewind, from its Ubuntu servers and Nginx configuration to its custom WordPress plugins. Many new tutorials start with readers' questions, and he's always glad to answer them in the comments.
No comments yet — be the first to share your thoughts!