Every Windows 11 Hidden Startup Folder Location

The Windows 11 hidden startup folder locations store app shortcuts that launch programs automatically every time you turn on your PC. Two main folders control this behavior: a personal folder located at 📁C:\
Many background apps place shortcuts inside these startup directories during installation to open immediately upon system boot. Opening these folders lets you find and delete unwanted programs that slow down your computer startup time.
Every Windows 11 hidden startup folder location can be accessed by pressing the Win plus R on your keyboard, typing shell:startup for your personal account or shell:common startup for all users into the Run box, and pressing Enter to open those specific folders in File Explorer .
The Main User Startup Folder Location in 🪟 Windows 11
The main user startup folder location in Windows 11 is hidden inside your user profile data folder at 📁C:\
Because Windows hides system and application folders by default, you cannot just click through standard desktop icons to find it. Instead, you can use a quick shortcut command.
Step-by-step instructions to open the user startup folder:
- Press the Win+R on your keyboard at the same time to open the Run dialog box.

Run dialog - Type the following command into the box:
shell:startup - Press Enter or click the OK button.
A File Explorer window will open directly to your personal startup folder.
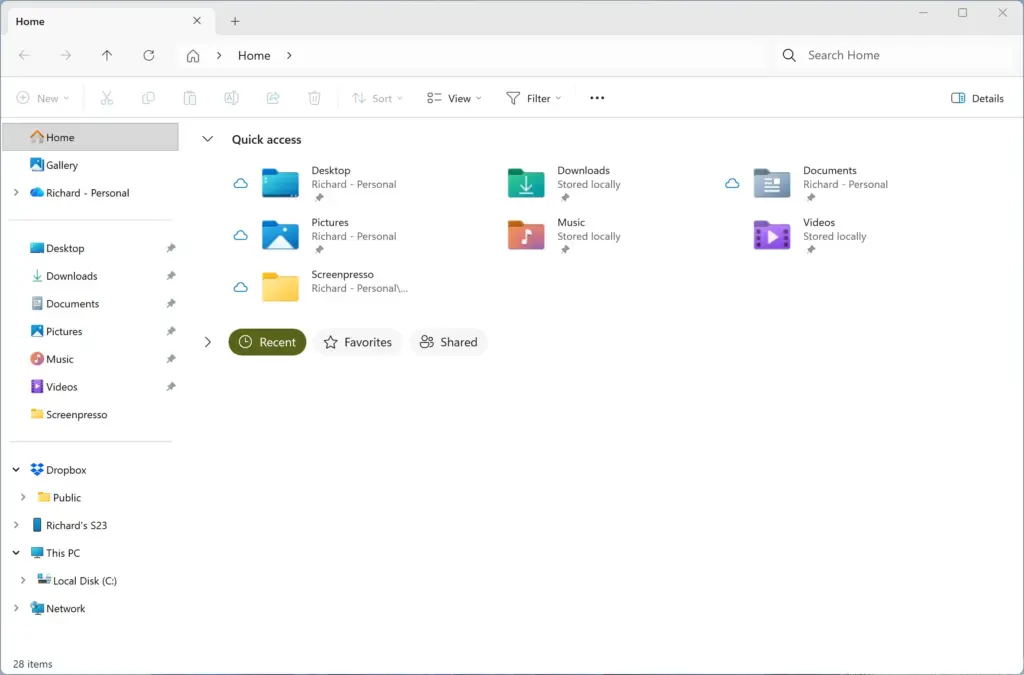
Once you are inside this folder, look at the shortcuts listed. If you see an app that you do not want opening automatically, simply right-click it and select Delete. This stops that app from launching when you turn on your computer.
The All-Users Startup Folder Location for Everyone on the PC
The all-users startup folder location in Windows 11 is stored at C:\ProgramData\Microsoft\Windows\Start Menu\Programs\StartUp and holds app shortcuts that launch for every person who signs into the computer. You can open this shared folder quickly by pressing the Windows key and R, typing shell:common startup, and pressing Enter to manage system-wide boot applications.
Programs like antivirus software or shared office tools often place themselves here during installation so they protect or serve all users.
Step-by-step instructions to open the common startup folder:
- Press the Windows Key + R on your keyboard to open the Run box.
- Type the following command into the box:
shell:common startup - Press Enter or click the OK button.
A File Explorer window will open showing the startup items for all users.
Review the shortcuts inside this folder carefully. Delete any items that you do not want running in the background for every user.
Finding Hidden Startup Folders Using File Explorer Settings
Finding hidden startup folders using File Explorer settings requires you to change a view option because Windows hides system directories by default. Open any folder or File Explorer, click the View menu at the top, select Show, and check the box for Hidden items to reveal system folders and navigate your drive manually.
Step-by-step instructions to show hidden files:
- Open File Explorer by clicking its icon on your taskbar or pressing Windows Key + E.
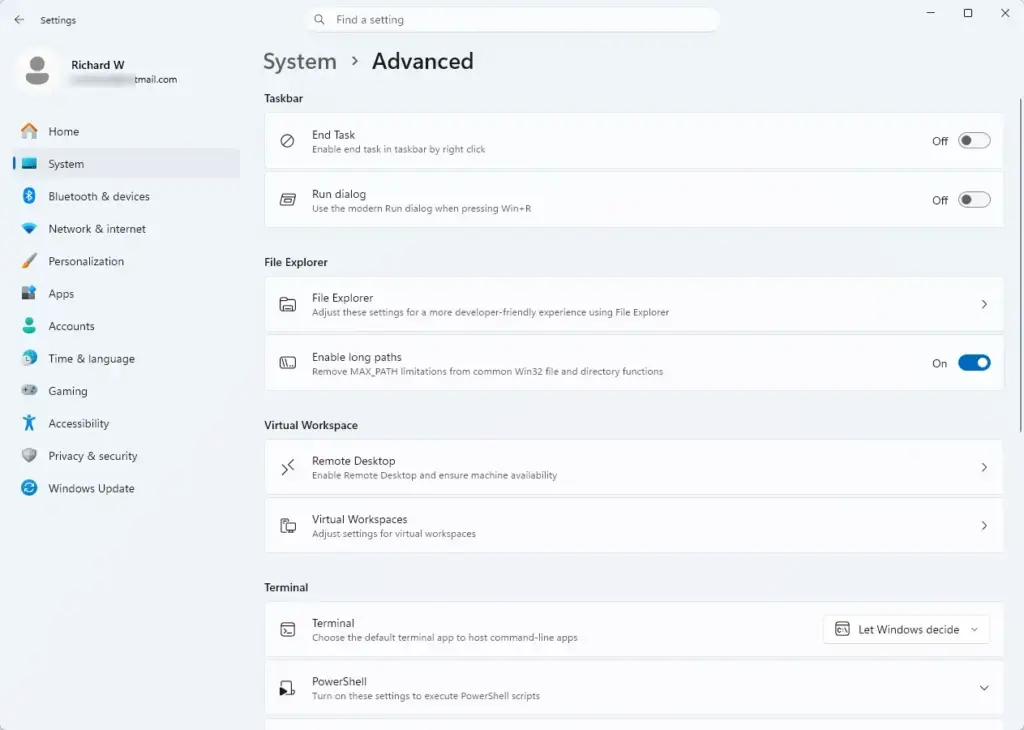
Settings > Advanced - Click the View menu at the top of the window.
- Hover your mouse over Show in the drop-down menu.
- Click on Hidden items so a checkmark appears next to it.
Now that you can see hidden items on your Windows 11 computer, you can open the personal startup folder manually by pressing the Windows Key plus R, typing shell:startup into the box, and pressing Enter. This specific folder location at C:\Users\[Username]\AppData\Roaming\Microsoft\Windows\Start Menu\Programs\Startup matters because any shortcut you place inside here launches automatically every time your user account signs in, helping you control which apps start right away.
- Open File Explorer and click on your main hard drive, usually labeled Local Disk (C:).
- Click on the Users folder.
- Click on your specific user profile folder (e.g., USERNAME).
- Open the AppData folder (this folder is semi-transparent because it is normally hidden).
- Open the Roaming folder.
- Navigate to Microsoft, then Windows, then Start Menu, then Programs, and finally Startup.
This long path brings you to the exact same place as the shell:startup command. You can manage your startup shortcuts right from here.
Using 🪟 Windows 11 Task Manager to Find Modern Startup Apps
Using Windows 11 Task Manager to find modern startup apps lets you see background programs that do not use traditional shortcut folders. Press the keys Ctrl, Shift, and Esc at the same time to open Task Manager, then click the speedometer icon on the left side to view and manage your startup applications.
Step-by-step instructions to manage startup apps in Task Manager:
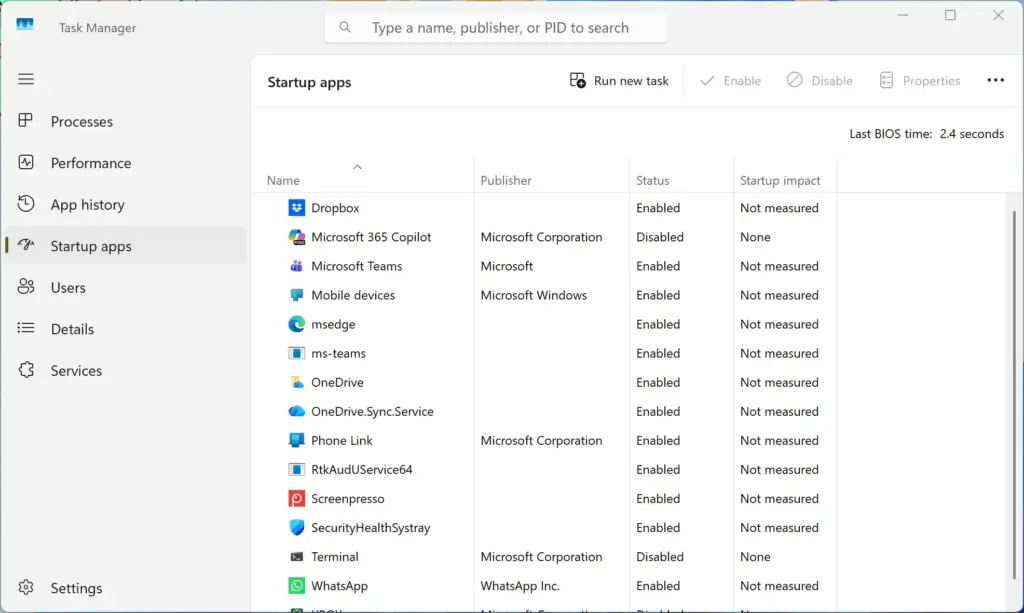
- Right-click the Start button on your taskbar and select Task Manager (or press Ctrl + Shift + Esc).
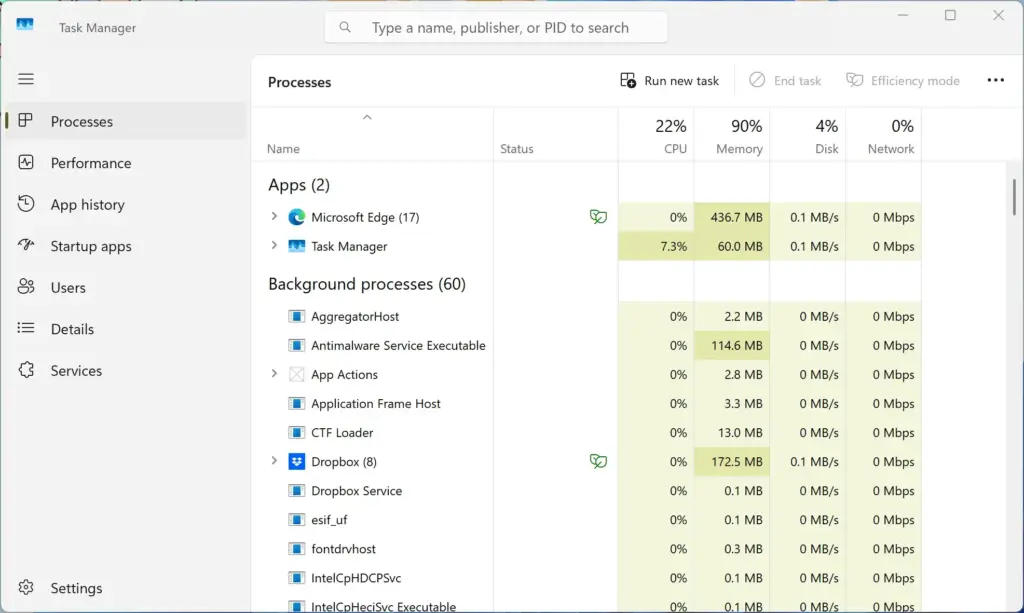
Task Manager - If Task Manager opens in a small window with few details, click the More details or expand the left sidebar menu to view all options.
- Click on the Startup apps icon on the left sidebar (it looks like a gauge or speedometer).
- You will see a list of every app configured to start with Windows 11, along with its startup impact (High, Medium, Low, or Not measured).
- Click on any app you want to stop from launching automatically.
- Click the Disable button at the top right of the window.
Disabling an app here does not delete the app from your computer. It simply stops the app from running in the background every time you turn on your PC. You can still open the app normally whenever you want by clicking its icon.
Checking 🪟 Windows 11 Settings for Additional Startup Apps
Checking Windows 11 Settings for additional startup apps is a straightforward way to control what runs when your computer turns on. Press the Windows key and I on your keyboard to open the main Settings window, click on Apps in the left sidebar, and select Startup to see a complete list of programs allowed to run at boot.

Step-by-step instructions to check startup settings:
- Press the Windows Key + I on your keyboard to open the Settings app.
- Click on Apps in the left-hand menu.
- Click on Startup in the main panel on the right.
- You will see a list of apps with toggle switches next to them.
- Click the toggle switch to turn any unwanted app from On to Off.
This menu gives you a clean, easy-to-read list of your startup apps with helpful details about how much power they use.
Unique Angle: Uncovering Hidden Task Scheduler Startup Triggers
Uncovering hidden Task Scheduler startup triggers helps you find stubborn software and adware that bypass standard startup folders and Task Manager lists. Type task scheduler into your Windows search bar and open the app to look through scheduled tasks that are set to run automatically at system startup or user logon.
Instead of placing a shortcut in a startup folder, scheduled startup programs tell Windows to run a specific task at startup or at log on. Because these scheduled startup items live inside the Task Scheduler, scheduled startup items will not show up in your standard startup folders or even in the Task Manager startup tab.
Step-by-step instructions to check for hidden startup tasks:
- Click the Start button, type Task Scheduler into the search bar, and click the matching result.
- In the left-hand panel, click the arrow next to Task Scheduler Library to expand it.
- Click through the folders listed underneath (or look directly at the main middle pane).
- Look at the triggers column in the middle list. Search for tasks that have a trigger set to At startup or At log on.
- If you find a suspicious task created by an app you do not recognize or trust, right-click it and select Disable or Delete.
Checking the Task Scheduler ensures that sneaky background programs cannot bypass your cleanup efforts.
Unique Angle: Investigating Windows Services That Start Automatically
Investigating Windows Services that start automatically lets you stop background programs that launch the moment your computer boots up. Type services into your Windows search bar, open the Services app, and look through the list to find third-party background software that might be slowing down your boot time unnecessarily.
Step-by-step instructions to check background services:
- Press the Windows Key + R to open the Run box.
- Type
services.mscand press Enter or click OK.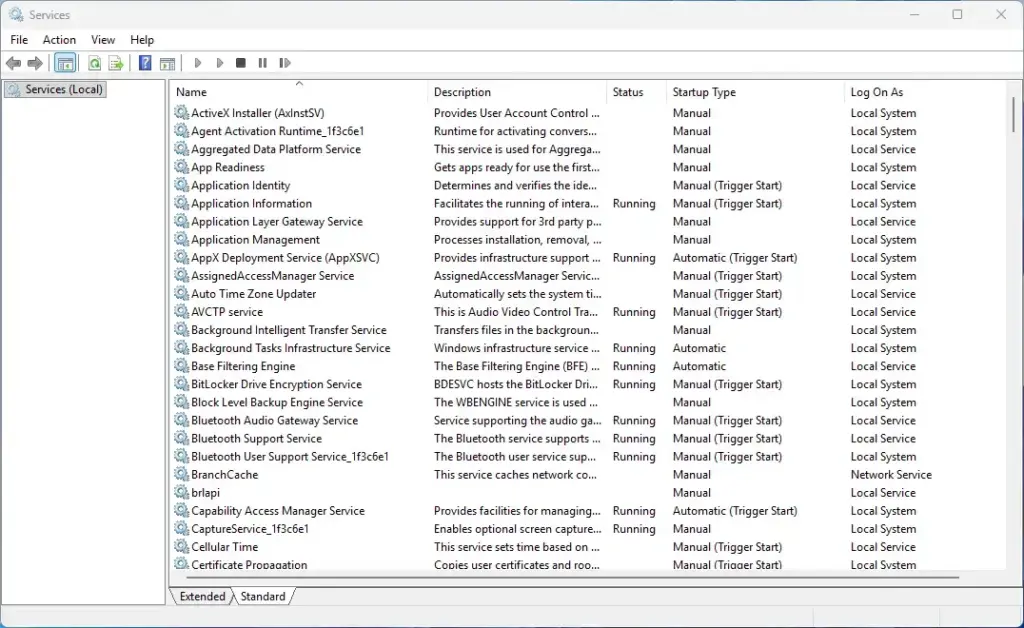
Services - A large window will open listing all system services. Click the Startup Type column header to sort the services by how they start.
- Look for services set to Automatic.
- Double-click any service you want to inspect. Read its description to see what program it belongs to.
- If it belongs to an app you do not want running constantly, change the Startup type drop-down menu from Automatic to Manual.
- Click Apply and then OK.
Only modify services associated with third-party software you are familiar with.
Summary
Cleaning up every hidden Windows 11 startup folder location is the best way to speed up a slow computer and take back control of your system. By checking personal folders with shell commands, reviewing modern apps in Task Manager, and inspecting hidden areas like Task Scheduler and Windows Services, you ensure your PC runs fast and clean.
Was this guide helpful?

About the Author
Richard
Tech Writer, IT Professional
Richard is a writer at Geek Rewind who turns complex IT tasks into clear, step-by-step guides. He draws on years of hands-on experience in system administration and enterprise IT operations, focusing on Windows, Linux and WordPress: the problems people actually run into, and the fixes that work. His server and WordPress guides come from systems he runs himself. Richard builds and maintains the platform behind Geek Rewind, from its Ubuntu servers and Nginx configuration to its custom WordPress plugins. Many new tutorials start with readers' questions, and he's always glad to answer them in the comments.
No comments yet — be the first to share your thoughts!