Change Default Automatic Daylight Saving Time Adjustment Rules in Windows 11 Date and Time Settings

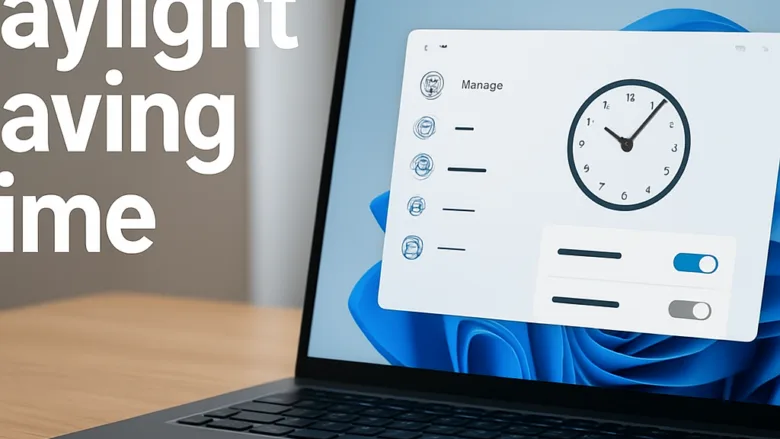
Daylight saving time (DST) settings in Windows 11 control how your computer clock moves forward or back by one hour twice a year. Windows does this with built-in time zone rules, and the controls are in the Settings app.
If you prefer to manage the clock yourself, you can turn off automatic time zone updates and choose your own DST behavior. The steps below apply to Windows 11 version 23H2 and newer builds. Menu wording can differ slightly on older builds.
To change default daylight saving time rules in Windows 11, open Settings , go to Time & language Date & time, turn off the Set time zone automatically switch, then click the Adjust for daylight saving time automatically switch to turn it on or off as needed.
How to Open Date and Time Settings in 🪟 Windows 11
The Date & time page is part of the main Settings app . You can reach it from the Start menu or with a keyboard shortcut. It is where you manage your clock, time zone and daylight saving rules.
If you are signed in as a standard user, Windows may ask for admin credentials, or some options may be greyed out.
- Click the Start button on your taskbar , or press the Win on your keyboard. The Start menu opens.

- Click the Settings gear icon. The Settings window opens. You can skip the Start menu entirely by pressing the Win and the I key together.
- In the left-hand menu, click Time & language. The right side of the window now shows the time and language options.

- On the right side of the screen, click Date & time. You should now see your current time, the time zone dropdown and the automatic switches.
This page is the control center for your clock. Everything in the rest of this guide starts here.
Setting the Date, Time, and Time Zone Automatically
Letting Windows set the time and time zone automatically keeps your clock correct with no manual work. Windows syncs with the internet, works out your location and applies the right time zone rules, including whether your area observes DST. For most people this is the best setup.
To turn on automatic time updates:
- Open the Settings app and go to Time & language Date & time.
- Find the switch labeled Set time automatically.
- Click the switch so it shows On.
- Find the switch labeled Set time zone automatically just below it.
- Click that switch so it also shows On.
With both switches on, Windows applies the correct regional rules, and your clock updates itself as long as your internet connection is active. If Set time zone automatically will not stay on, check that location services are enabled for your device. Windows uses your location to pick the time zone.
To undo this, click either switch again to turn it off. No restart is needed.
Managing Daylight Saving Time Adjustments Manually
Managing daylight saving time yourself helps when local rules change or when Windows guesses your location wrong. To do it, you turn off automatic time zone detection and then decide how DST is applied.
While Set time zone automatically is on, the option for DST may be missing or greyed out. This is normal. Windows keeps the two settings from conflicting with its own time zone data. To get manual control, turn the automatic time zone switch off first.
Follow these steps:
- Open the Settings app and go to Time & language Date & time.
- Click the switch next to Set time zone automatically to turn it Off. The Time zone dropdown becomes available.
- Look for the option labeled Adjust for daylight saving time automatically.
- Click the switch to turn it on or off, depending on what you want. Which options appear can vary with your Windows 11 version and your selected time zone. Some time zones do not observe DST at all, so the option may not appear for them.
Once automatic detection is off, check the Time zone dropdown on the same screen. Select the zone that matches your exact region so the clock stays correct all year. To go back, turn Set time zone automatically on again. Windows will then take over and your manual choices no longer apply.
Fixing Automatic Time Zone Errors Like Incorrect Locations
Wrong locations and wrong time zones are common in Windows 11. Windows often guesses your time zone from your network connection, such as your Wi-Fi signal, and that guess can be off. Checking your internet connection and location settings is the first thing to try. Switching to a manual time zone is the permanent fix.
If your internet service provider routes your connection through a different city or region, Windows can pick the wrong time zone and apply the wrong DST rules. To fix it:
- Open Settings and go to Time & language Date & time.
- Turn off Set time zone automatically.
- Find the Time zone dropdown menu on the same page.
- Click the menu and select your correct local time zone from the list. The clock should change to the right local time straight away.
- Leave the automatic time zone switch off so Windows stops changing the zone on its own.
Setting the time zone manually ties your computer to your real location and stops the jumps caused by your network. The downside is that if you travel, you must change the time zone yourself.
Unique Expert Tips: Keeping Your Clock Accurate All Year
Beyond the basic menu clicks, a few habits help you avoid common timekeeping problems on Windows 11. Most people leave everything at the defaults. A little attention to the clock saves you from missed alarms and scheduling mix-ups.
Tip 1Sync Your Clock Manually With Internet Time Servers
A clock can drift slightly over several months. Syncing with an internet time server corrects the drift. An inaccurate clock can cause problems with secure websites and online games, so a quick sync is worth doing if the time looks off.
- Open the Settings app and go to Time & language Date & time.
- Scroll down to the Additional settings section at the bottom of the page.
- Click the Sync now button. It may take a few seconds to finish.
Windows contacts an internet time server and sets your clock to the official time. You need a working internet connection for this to succeed. Use it whenever your clock looks out of step.
Tip 2Check Your Computer Hardware Clock Battery
Motherboards use a small coin-sized CMOS battery to keep the internal clock running while the power is off. When it dies, the clock resets at every startup, often to a date long in the past.
Replacing the battery fixes the problem. On a desktop this is usually a quick job once the case is open. On a laptop it can be harder to reach, so check the manufacturer’s guide first. After replacing it, turn on Set time automatically or use Sync now to correct the clock.
Summary
Understanding the Date & time settings helps you keep your clock accurate all year. This guide covered how to turn on automatic updates, how to switch to manual control when location errors happen, and how to sync with an internet time server. It also covered how a dead hardware battery affects your computer’s time.
Have a question about this guide?
Answered by AI from this guide. Good questions may be added to this page — please don't include personal details.
Did this guide fix your problem?

About the Author
Richard
Tech Writer, IT Professional
Richard is a writer at Geek Rewind who turns complex IT tasks into clear, step-by-step guides. He draws on years of hands-on experience in system administration and enterprise IT operations, focusing on Windows, Linux and WordPress: the problems people actually run into, and the fixes that work. His server and WordPress guides come from systems he runs himself. Richard builds and maintains the platform behind Geek Rewind, from its Ubuntu servers and Nginx configuration to its custom WordPress plugins. Many new tutorials start with readers' questions, and he's always glad to answer them in the comments.
No comments yet — be the first to share your thoughts!