How to Set Up File History on Windows 11

Setting up File History is a great way to protect your important data. This tool automatically makes copies of your files so you can recover them if they are ever lost or damaged. It acts as a local offline backup, keeping your data safe on a physical drive rather than just the cloud.
Why use File History?
Computers can fail, or you might accidentally delete an important document. File History keeps a backup of your personal files, such as your Folders (Documents, Music, Pictures, Videos, and Desktop) located in C:\Users\GenericUser. It also handles your OneDrive offline folders.
What happens when you are done?
Once you finish these steps, Windows will monitor your files for any changes. It will automatically copy those changes to your chosen backup drive. You will have peace of mind knowing your work is safe.
Note: You need an external USB drive or a network location to store your backups. Admin privileges are required to modify system settings in the Control Panel.
How to Access File History via Control Panel
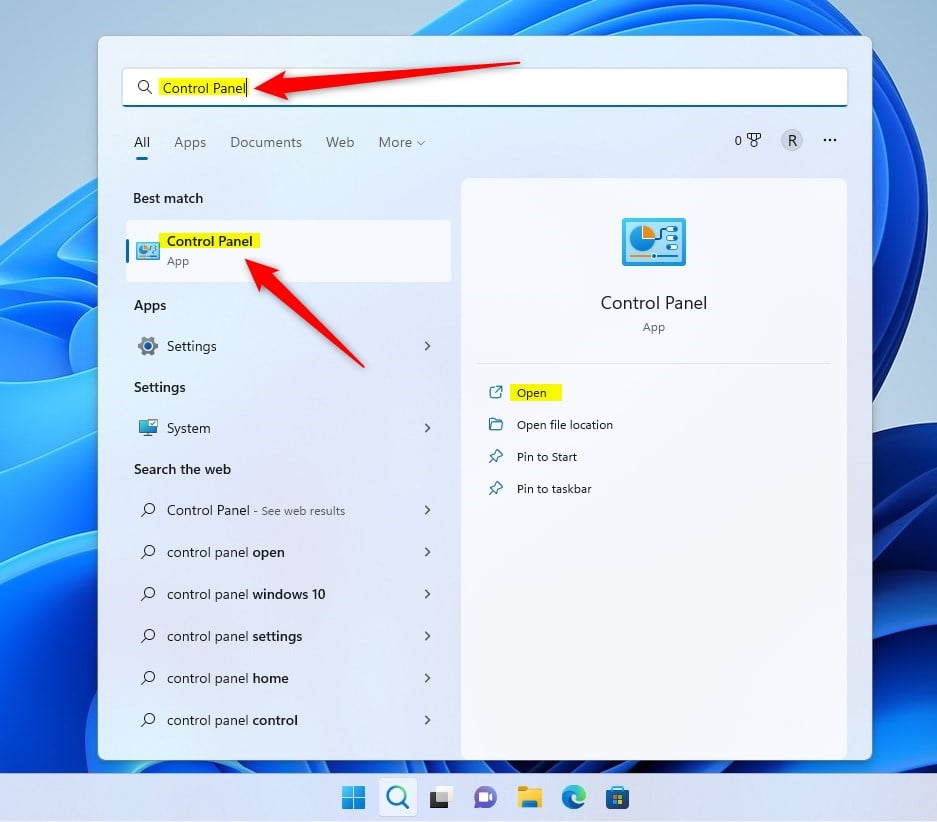
- Open the Control Panel app. Click the Start button, search for “Control Panel,” and select the app.
- Go to System and Security, then click on File History.
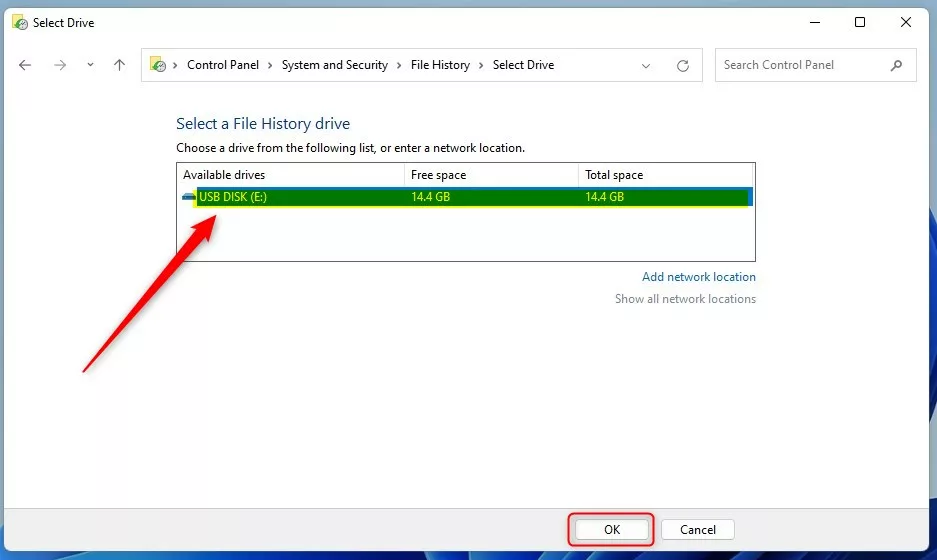
- Click the Select drive link on the left side of the window.

- Choose your external USB drive or network location from the list and click OK.
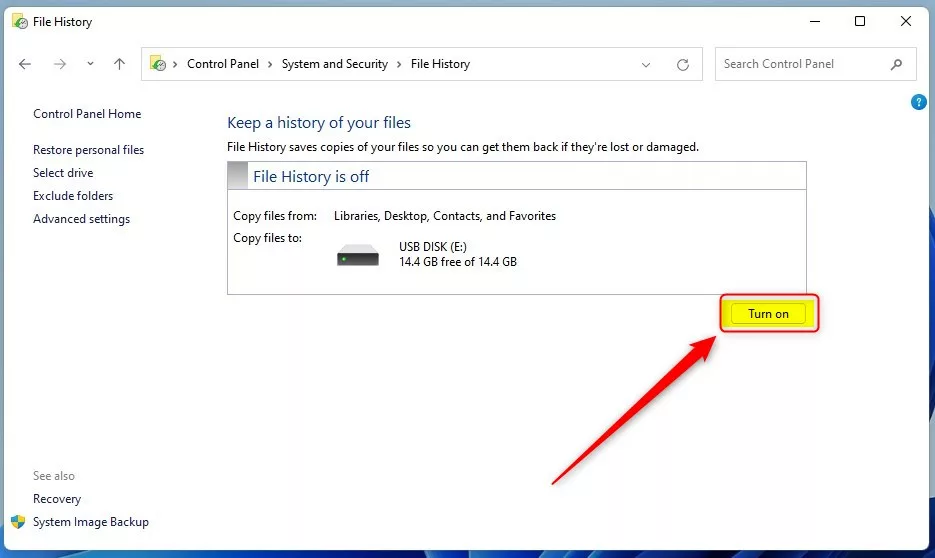
- After selecting your drive, click the Turn on button.
Advanced Configuration and Exclusions
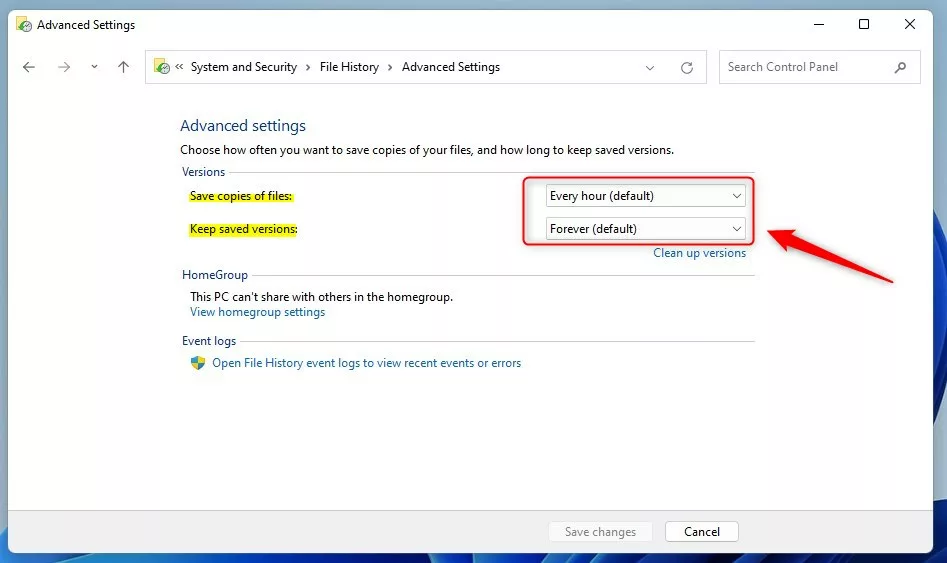
You can customize your backup experience. Click Exclude folders to stop specific files from being saved. Click Advanced settings to change how often Windows saves your files and how long it keeps them.
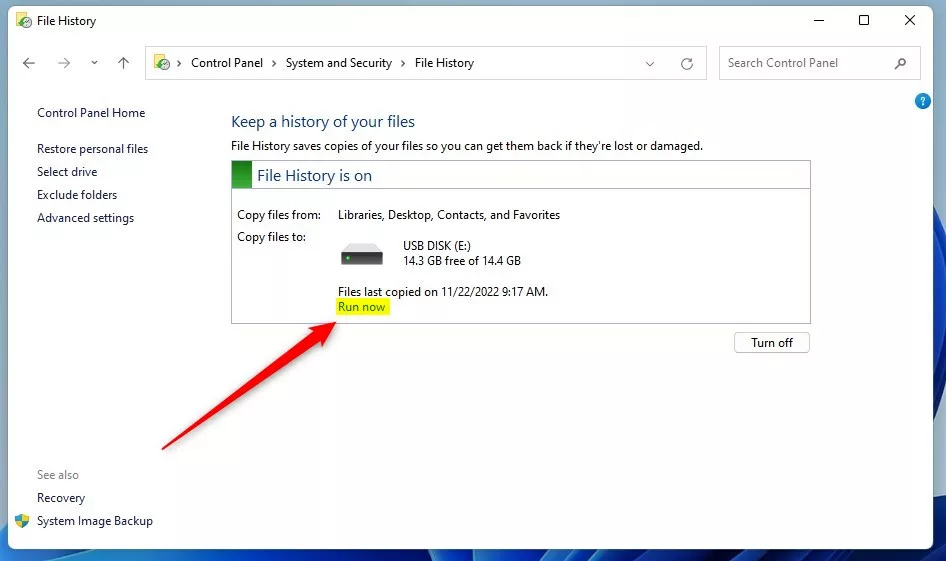
- Click the Run now link to start your first backup immediately.
How to Restore Deleted Files
If you lose a file, open the File History window and click Restore personal files. You can browse through different time versions of your folders. Select the file you need and click the green Restore button to bring it back to its original location.
File History vs. Cloud Sync
File History is a local-only solution. Unlike OneDrive, which syncs to the cloud, File History keeps your data on a physical drive. This is excellent for offline recovery but does not protect your data if your house is damaged or the drive is stolen.
Troubleshooting Common Errors
If your drive is not recognized, ensure it is formatted as NTFS. If the backup fails, check that your user account has read/write permissions to the drive. Sometimes, Windows Backup services may need a restart in the Services console.
Summary
File History is a reliable Windows 11 backup solution for local data recovery. By connecting an external drive, you can automatically save versions of your files. Remember to check your settings regularly to ensure your important folders are included and your drive has enough space for new versions.
Can I use File History without an external drive?
No, File History requires a dedicated storage location. While you can use a network share or a mapped network drive, you cannot use the same drive where Windows is installed. This ensures that if your main system drive fails, your backup remains safe and accessible on separate hardware.
Why is my File History drive not recognized?
If your drive is not showing up, ensure it is properly connected and formatted as NTFS. Sometimes, Windows may not see the drive if it is not assigned a drive letter. Try unplugging and replugging the device, or check Disk Management to ensure the drive is initialized and healthy.
Was this guide helpful?


[…] File History is a built-in tool that saves copies of your files. It backs up your home folder, including your Documents, Music, Pictures, Videos, and Desktop. These files are stored in your profile folder at C:UsersUsername. […]