Why Does My Printer Keep Going Offline in Windows 11

Printer offline errors in Windows 11 happen when your PC loses contact with your printer and stops sending jobs. This frustrating status means your PC cannot talk to your hardware, whether you use a USB cable or a home Wi-Fi network.
Wireless printers drop offline most often because a brief Wi-Fi hiccup breaks the link between devices. Windows 11 sometimes gets confused and keeps the offline label stuck on your screen, even after your printer turns back on and connects to the network.
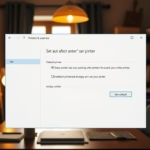
Your printer keeps going offline in Windows 11 because your computer loses its wireless connection or the background software gets confused. To fix this, open the Settings app, go to System, click Troubleshoot, select Other troubleshooters, and click the Run button next to Printer.
Run the Windows Printer Troubleshooter
The built-in Windows printer troubleshooter detects and fixes common connection errors automatically. You can launch this built-in utility directly from the Windows Settings menu under system troubleshooting options to quickly restore your printer’s connection.
You can also press the Win and the letter I on your keyboard at the same time to open Settings quickly.

In the Settings window, click on System from the menu on the left side.
Click on Troubleshoot on the right side of the screen.
Click on Other troubleshooters.
To fix your offline printer in Windows 11 version 23H2, open the built-in troubleshooter settings by going to Settings System Troubleshoot Other troubleshooters. Find the Printer item in the troubleshooter list and click the Run button next to the Printer item to automatically detect and repair connection issues.
Follow any instructions that appear on your screen. The tool will check your printer and try to fix any errors it finds.
General Troubleshooting Steps
If the automatic tool does not solve your problem, you can try several manual fixes. Work through these steps one by one until your printer comes back online.
Step 1. Unplug and Restart Your Printer
Unplugging and restarting your printer clears out temporary hardware glitches and forces the device to re-establish a stable connection with your local network. Power cycle the printer to clear out temporary hardware glitches and force the device to reconnect to your local network.
- Turn your printer off using its power button.
- Unplug the power cord from the back of the printer or from the wall outlet.
- Wait for about 30 seconds to let all the power drain completely.
- Plug the power cord back in and turn your printer on. Wait a minute for it to start up completely and connect to your network.
Step 2. Make Sure Printer Is Connected to the Same Wi-Fi Network
Confirming your printer and computer share the same wireless network prevents communication failures that cause offline status errors in Windows 11. Wireless printers must operate on the exact same network band and SSID as your main computer for print jobs to transmit successfully across your home network.
- Check your computer's Wi-Fi name by clicking the network icon near the bottom right corner of your screen.
- Check your printer's screen to see which network name it shows in its wireless settings menu.
- Make sure both devices use the exact same Wi-Fi name. If your router has a main network and a separate network for smart devices, make sure your computer and printer are both on the main network.
Step 3. Set Your Printer as the Default Printer
Designating your active hardware as the default printer prevents Windows 11 from misrouting print jobs or losing track of the correct device. You can disable automatic printer management in the Windows Settings app under Bluetooth and devices to lock in your preferred printing hardware permanently.
- Open the Settings app from your Start menu.
- Click on Bluetooth & devices on the left menu.
- Click on Printers & scanners.
- Look for your printer in the list and click on its name.
- Look for an option that says Let Windows manage my default printer and turn it off if it is turned on.
- Click the button that says Set as default if it is available.
Step 4. Check the Printer Queue
Inspecting the print queue allows you to delete stuck documents that block your entire printing system from processing new jobs. When a single file fails to transmit, it halts all subsequent print tasks until you manually open the queue and clear out the corrupted files.
- Open Settings and go to Bluetooth & devices, then click Printers & scanners.
- Click on your printer from the list.
- Click on Open print queue.
- Look at the list of documents waiting to print. If you see old or stuck documents, click the menu icon or right-click each document and select Cancel.
- Clear out everything in this list so the queue is completely empty.
Step 5. Reset the Service That Manages the Printing Queue
Restarting the Print Spooler service (a background program that manages all print jobs in Windows) fixes software crashes that freeze your printing queue. You can quickly stop and restart this background utility using the Windows Services application to restore normal printing functions immediately.
- Click the Start button, type Services in the search box, and click the Services app that appears with a gear icon.
- Scroll down the alphabetical list until you find Print Spooler.
- Right-click on Print Spooler and select Stop.
- Open your computer file explorer and go to this exact folder path: C:\Windows\System32\spool\PRINTERS
- Delete all the files inside this folder. These are leftover print files causing the jam. *(Note: This step requires administrator privileges.)*
- Go back to the Services window, right-click Print Spooler, and select Start.
- Right-click Print Spooler again, select Properties, find Startup type, and make sure it is set to Automatic. Click OK.
Step 6. Remove and Reinstall Your Printer
Reinstalling your printer clears away stubborn software glitches and corrupted driver links that trigger persistent offline errors in Windows 11. You can remove the device through your system settings, restart your computer, and add the printer back from scratch to re-establish a clean connection.
- Open Settings and go to Bluetooth & devices, then click Printers & scanners.
- Click on your printer name.
- Click the Remove button to delete the printer from your computer completely.
- Restart your computer.
- After your computer turns back on, go back to Printers & scanners in your settings.
- Click the Add device button to let Windows search for your printer and install it again.
Step 7. Restart Your PC
A simple computer restart often clears out temporary memory glitches.
- Click the Start button on your taskbar.
- Click the Power icon.
- Click Restart and wait for your computer to turn off and turn back on.
Advanced Fixes: Fixing SNMP Status Settings
Disabling SNMP status monitoring (a protocol that checks if your printer is awake) stops Windows 11 from displaying false offline error messages. You can turn off this monitoring feature within your printer properties to prevent the operating system from incorrectly marking a ready printer as offline.
You can turn off SNMP status monitoring to stop Windows from mistakenly marking your printer as offline.
- Open Settings and go to Bluetooth & devices, then click Printers & scanners.
- Click on your printer from the list.
- Click on Printer properties (this is different from normal properties). A new window will pop up on your screen.
- Click on the Ports tab near the top of that window.
- Look at the list of ports and click on the one that your printer uses (it usually has a checkmark next to it and says standard TCP/IP port).
- Click the Configure Port button below the list.
- Look near the bottom of this new window for a box that says SNMP Status Enabled.
- Uncheck the box next to SNMP Status Enabled.
- Click OK to save your changes, then click Close on the printer properties window.
Advanced Fixes: Setting a Static IP Address
Assigning a static IP address stops your home router from automatically changing your printer's network address and causing recurring offline errors. Most routers assign temporary addresses that change over time, but setting a permanent IP address ensures Windows 11 always finds your printer on the exact same path.
To fix this, you can assign a permanent, static IP address to your printer through your router or printer settings panel. Giving your printer a permanent address ensures your Windows 11 computer always knows exactly where to find it.
- Print a network configuration page directly from your printer's screen to find its current IP address (it looks like four numbers separated by dots, such as 192.0.2.10).
- Open your web browser on your computer and type that IP address into the web address bar, then press Enter to open your printer's web management page.
- Log in with your printer administrator details if required.
- Find the network settings or TCP/IP settings section.
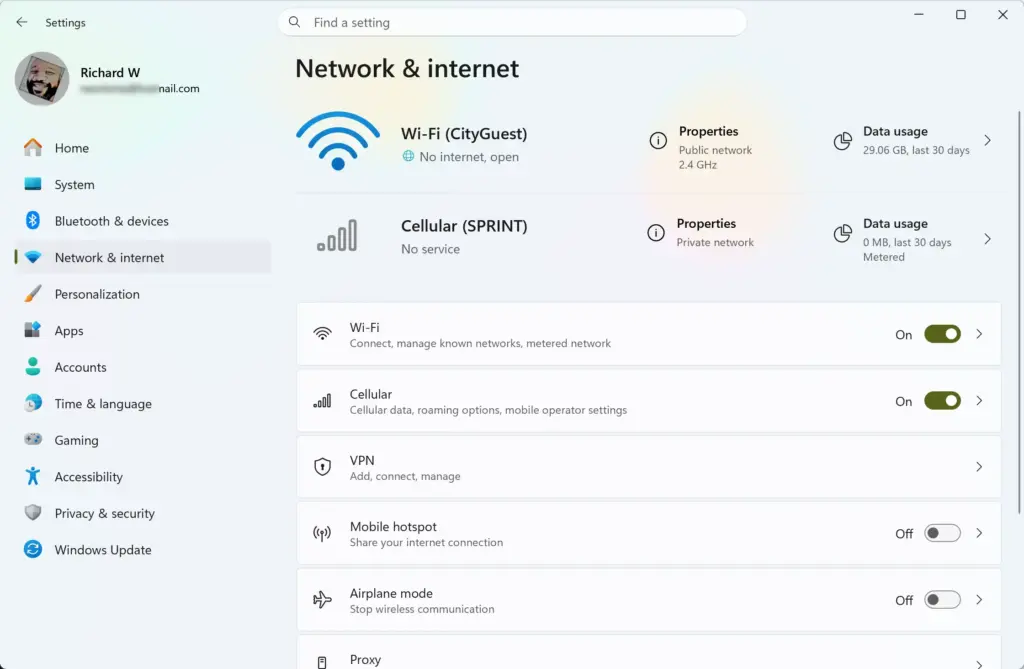
- Change the IP address setting from Dynamic (DHCP) to Static.
- Save your settings. Your printer will now keep this exact address permanently, stopping Windows from losing track of it.
Summary
Resolving an offline printer in Windows 11 typically requires basic troubleshooting steps like restarting hardware, verifying Wi-Fi networks, and clearing stuck print queues. Advanced fixes such as resetting the print spooler or disabling SNMP status monitoring provide reliable backup solutions if basic methods fail.
Why does Windows say the printer is offline?
Windows marks your printer offline when it loses connection to the device. This happens when Wi-Fi drops, the USB cable disconnects, or the printer powers down. Sometimes Windows gets stuck on the offline label even after your printer reconnects—restarting the printer or running the built-in Printer Troubleshooter clears this.
Why is my printer connected but not printing?
Your printer may be connected but not printing if it's set as offline in Windows, the print queue is stuck, or outdated drivers block communication. Check Settings Devices Printers & Scanners to confirm it's online, then clear stuck jobs in the print queue or update drivers from your manufacturer's website.
My Epson printer is offline. What can I do to fix this?
Restart your Epson printer first. Then check your Wi-Fi connection and make sure the printer shows online in Windows Settings. Run the Printer Troubleshooter from Settings System Troubleshoot Other troubleshooters If that fails, uninstall and reinstall the printer driver from Epson's support page.
What are some common printer problems and how can I fix them?
Common issues include offline status (restart the printer and run Troubleshooter), stuck print jobs (clear the queue in Settings), connection problems (check Wi-Fi or USB cable), and driver issues (update from manufacturer's site). For most problems, restarting the printer first and running the built-in Printer Troubleshooter solves it.
Was this guide helpful?

About the Author
Richard
Tech Writer, IT Professional
Richard is a writer at Geek Rewind who turns complex IT tasks into clear, step-by-step guides. He draws on years of hands-on experience in system administration and enterprise IT operations, focusing on Windows, Linux and WordPress: the problems people actually run into, and the fixes that work. His server and WordPress guides come from systems he runs himself. Richard builds and maintains the platform behind Geek Rewind, from its Ubuntu servers and Nginx configuration to its custom WordPress plugins. Many new tutorials start with readers' questions, and he's always glad to answer them in the comments.
No comments yet — be the first to share your thoughts!